Who doesn’t love a hedgehog? They’re almost part of what it means to be British aren’t they? Ever since our childhood we had this image of Beatrix Potter’s Mrs Tiggy-Winkle helping out her local community. The real hedgehog is just as helpful in our gardens, hoovering up garden pests like slugs and snails.
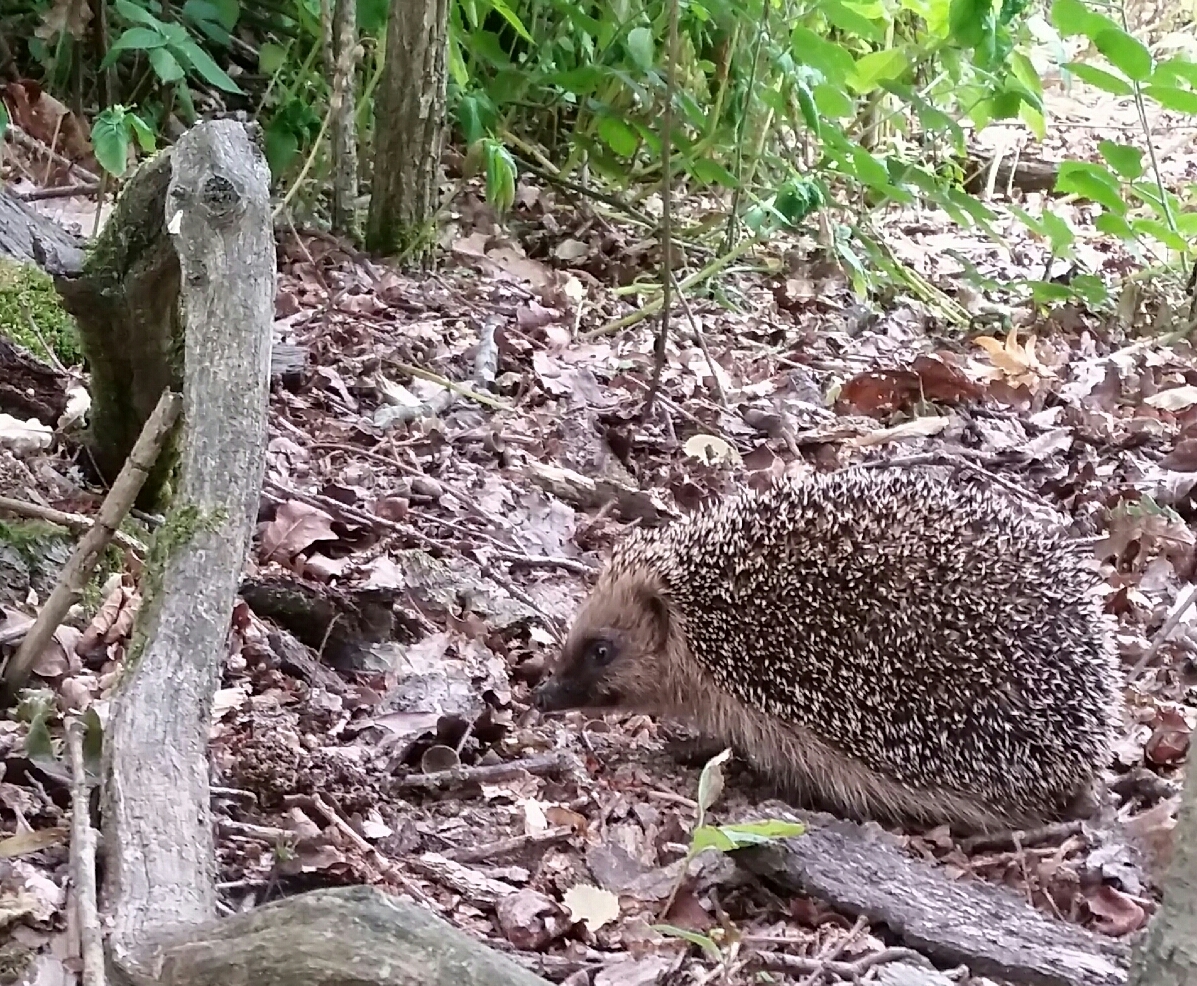 Their scarceness and nocturnal nature makes it an absolute treat to find one. Even more rewarding if it’s out snuffling about, rather than curled up in a defensive tight ball. Regrettably the odds are stacked against the hedgehog, coping with predators and being squished on our roads is taking its toll on the overall population. As our woodlands and gardens get ever tidier they may also be lacking suitable housing for day sleeping, rearing their young and hibernating. At least we can do something about that!
Any hedgehog house is better than nothing. I don’t mean to get too sniffy about the £20 jobs available on the high street. At least this will give them a nice place to rest-up during the day and some protection from predators and dogs. However, if you’ve got the where-with-all, here’s a guide on how to build a substantial hedgehog house that’ll be good for all their needs, including hibernation.
The Materials
I like to use oak for outdoor construction as its strong and durable without the need of chemicals to preserve the timber. There’s nothing much better that natural heartwood oak for chemical free durability. It costs a bit more, but I get satisfaction in knowing this hedgehog house will last a good 25 years, hopefully being home for many generations of hogletts. Some of those cheaper high street jobbies will be good for a couple of years at best.
For this construction all my oak planks are sound oak heartwood around 20mm thick and my batten wood (battens are the bits you nail the planks to) is about 50mm square in section. I’m using two inch nails (50mm) to nail it all together. If your oak planks are well seasoned they might be prone to splitting when nailing, so pre-drilling your holes will reduce the likelihood of that happening.
Building the House
Start by making your sides. Nail your planks to your battens. My sides are 50cm long and 30cm high at the back reducing to 25cm at the front. This will give your roof a bit of a fall to shed water.
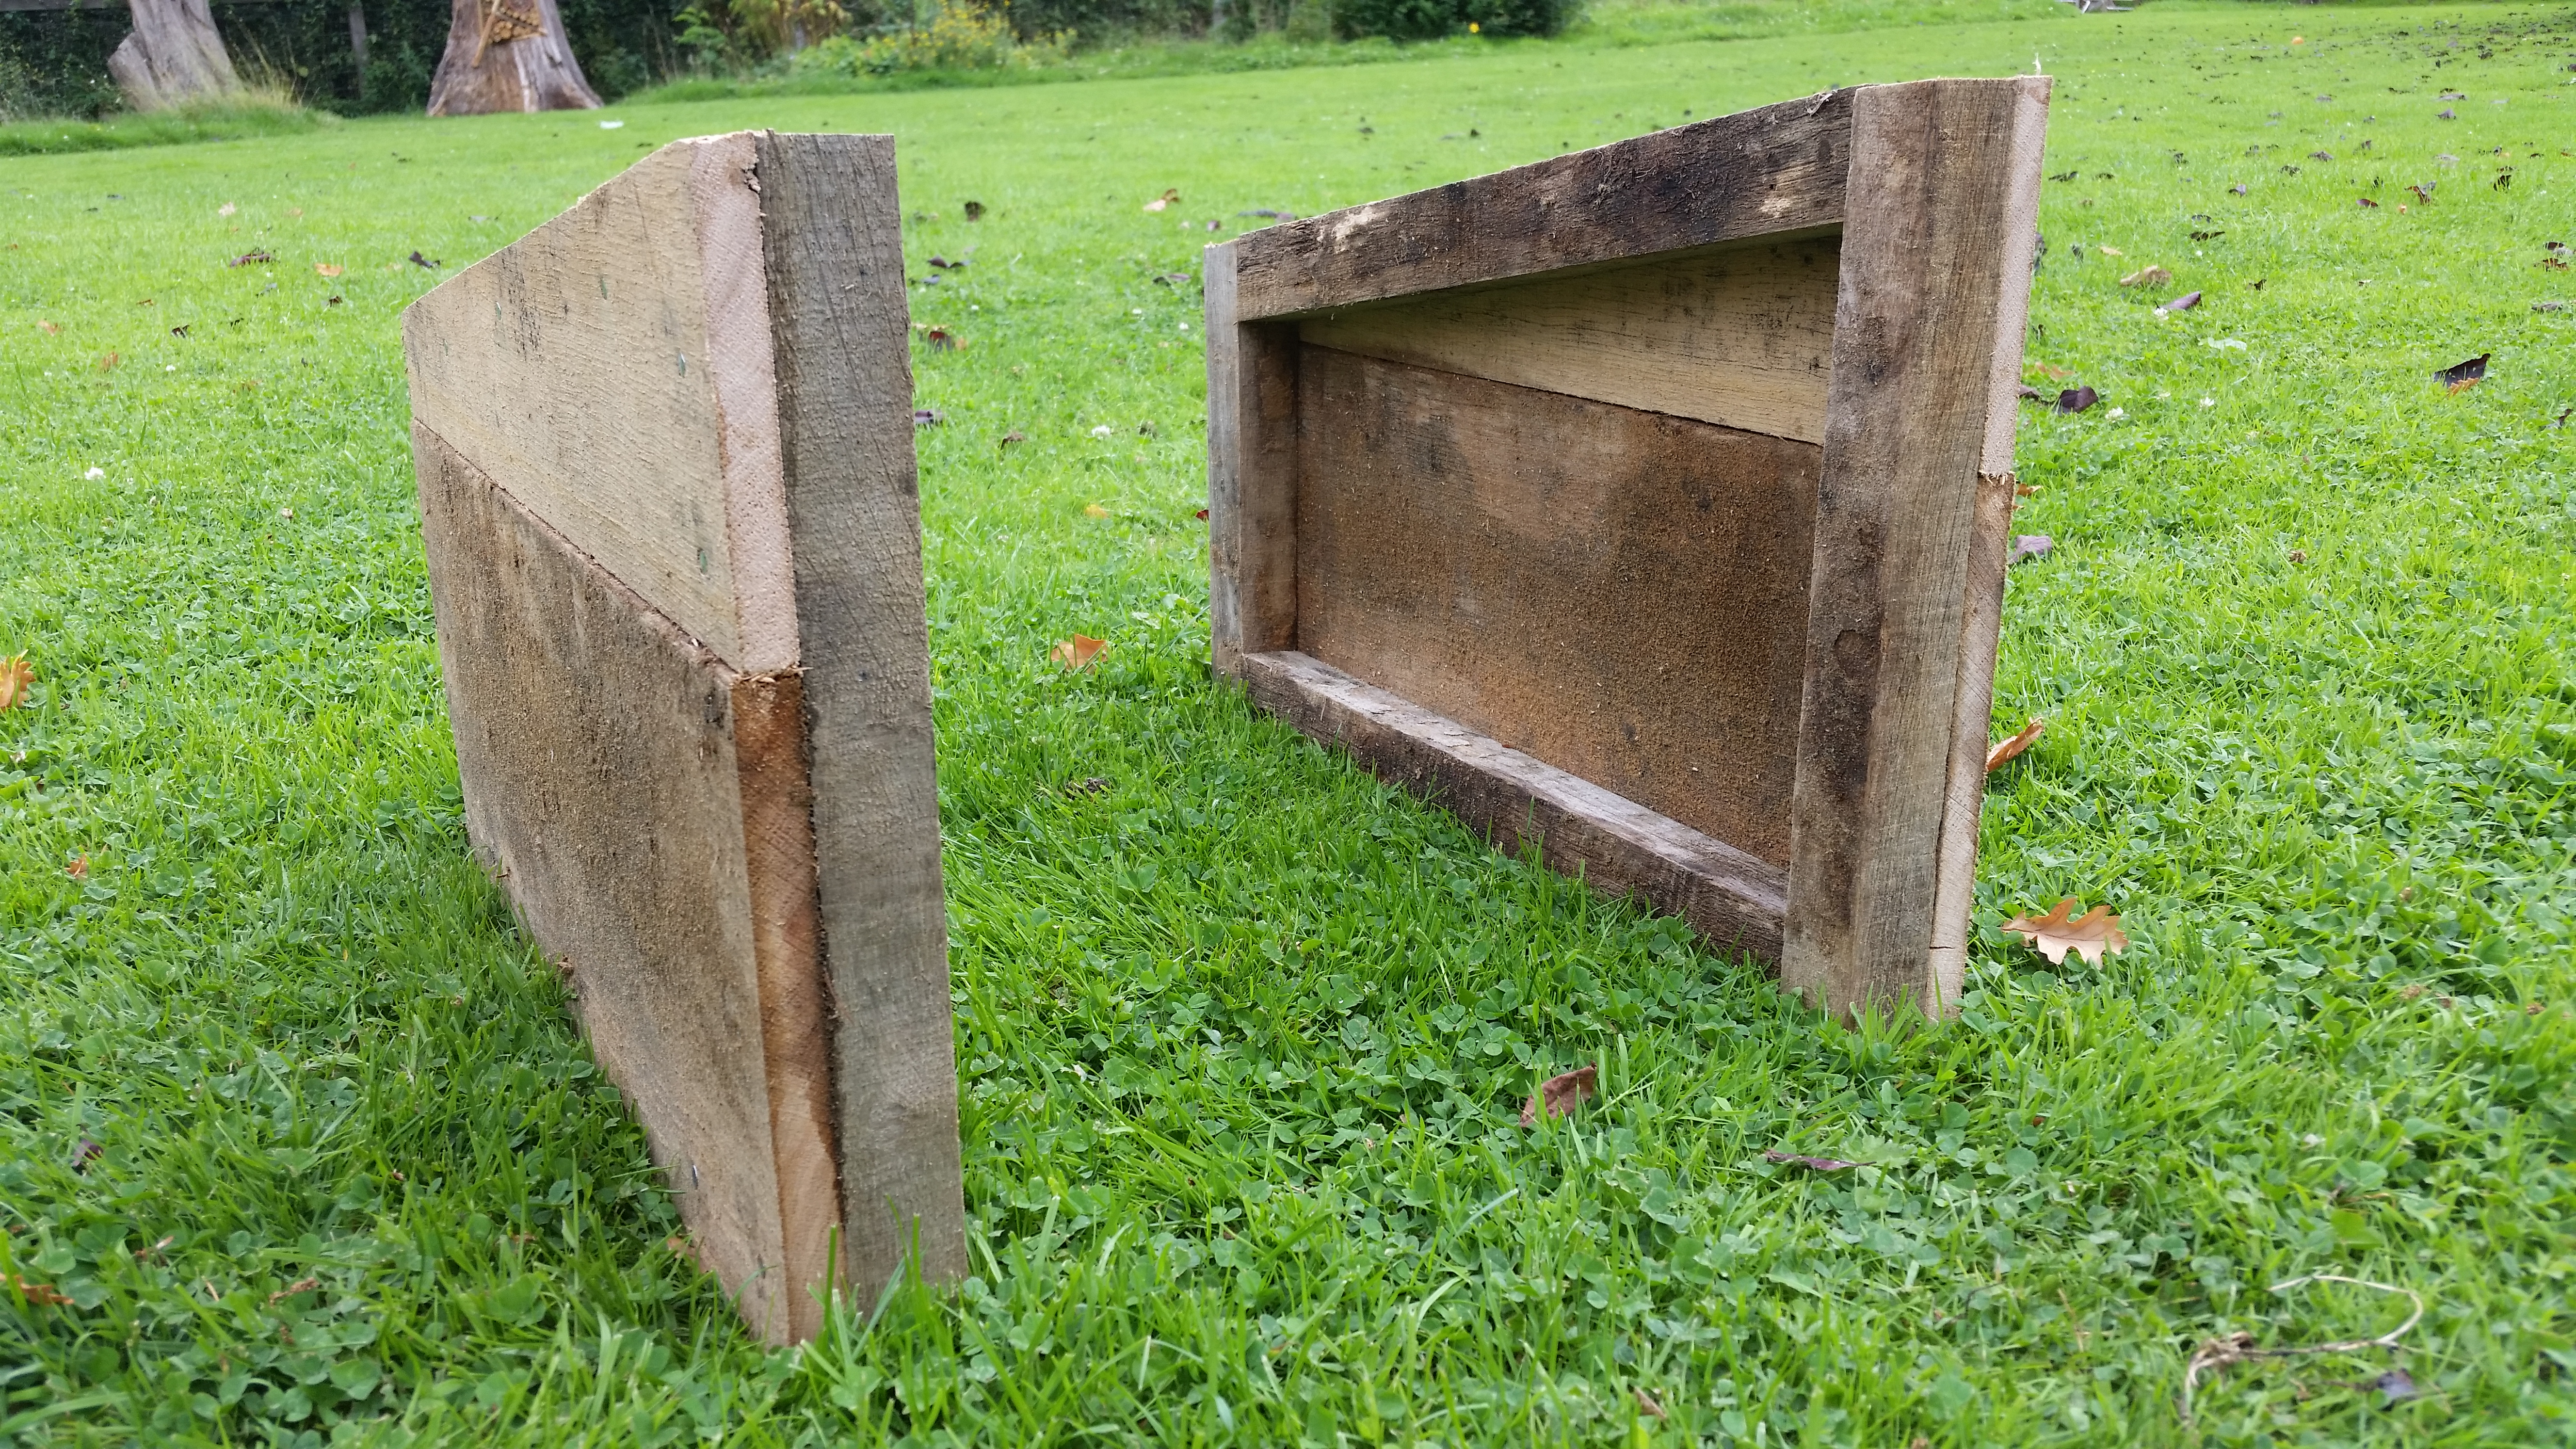 It might take a little while to make your two sides, but don’t get despondent. Believe it or not, you’re already almost halfway there.
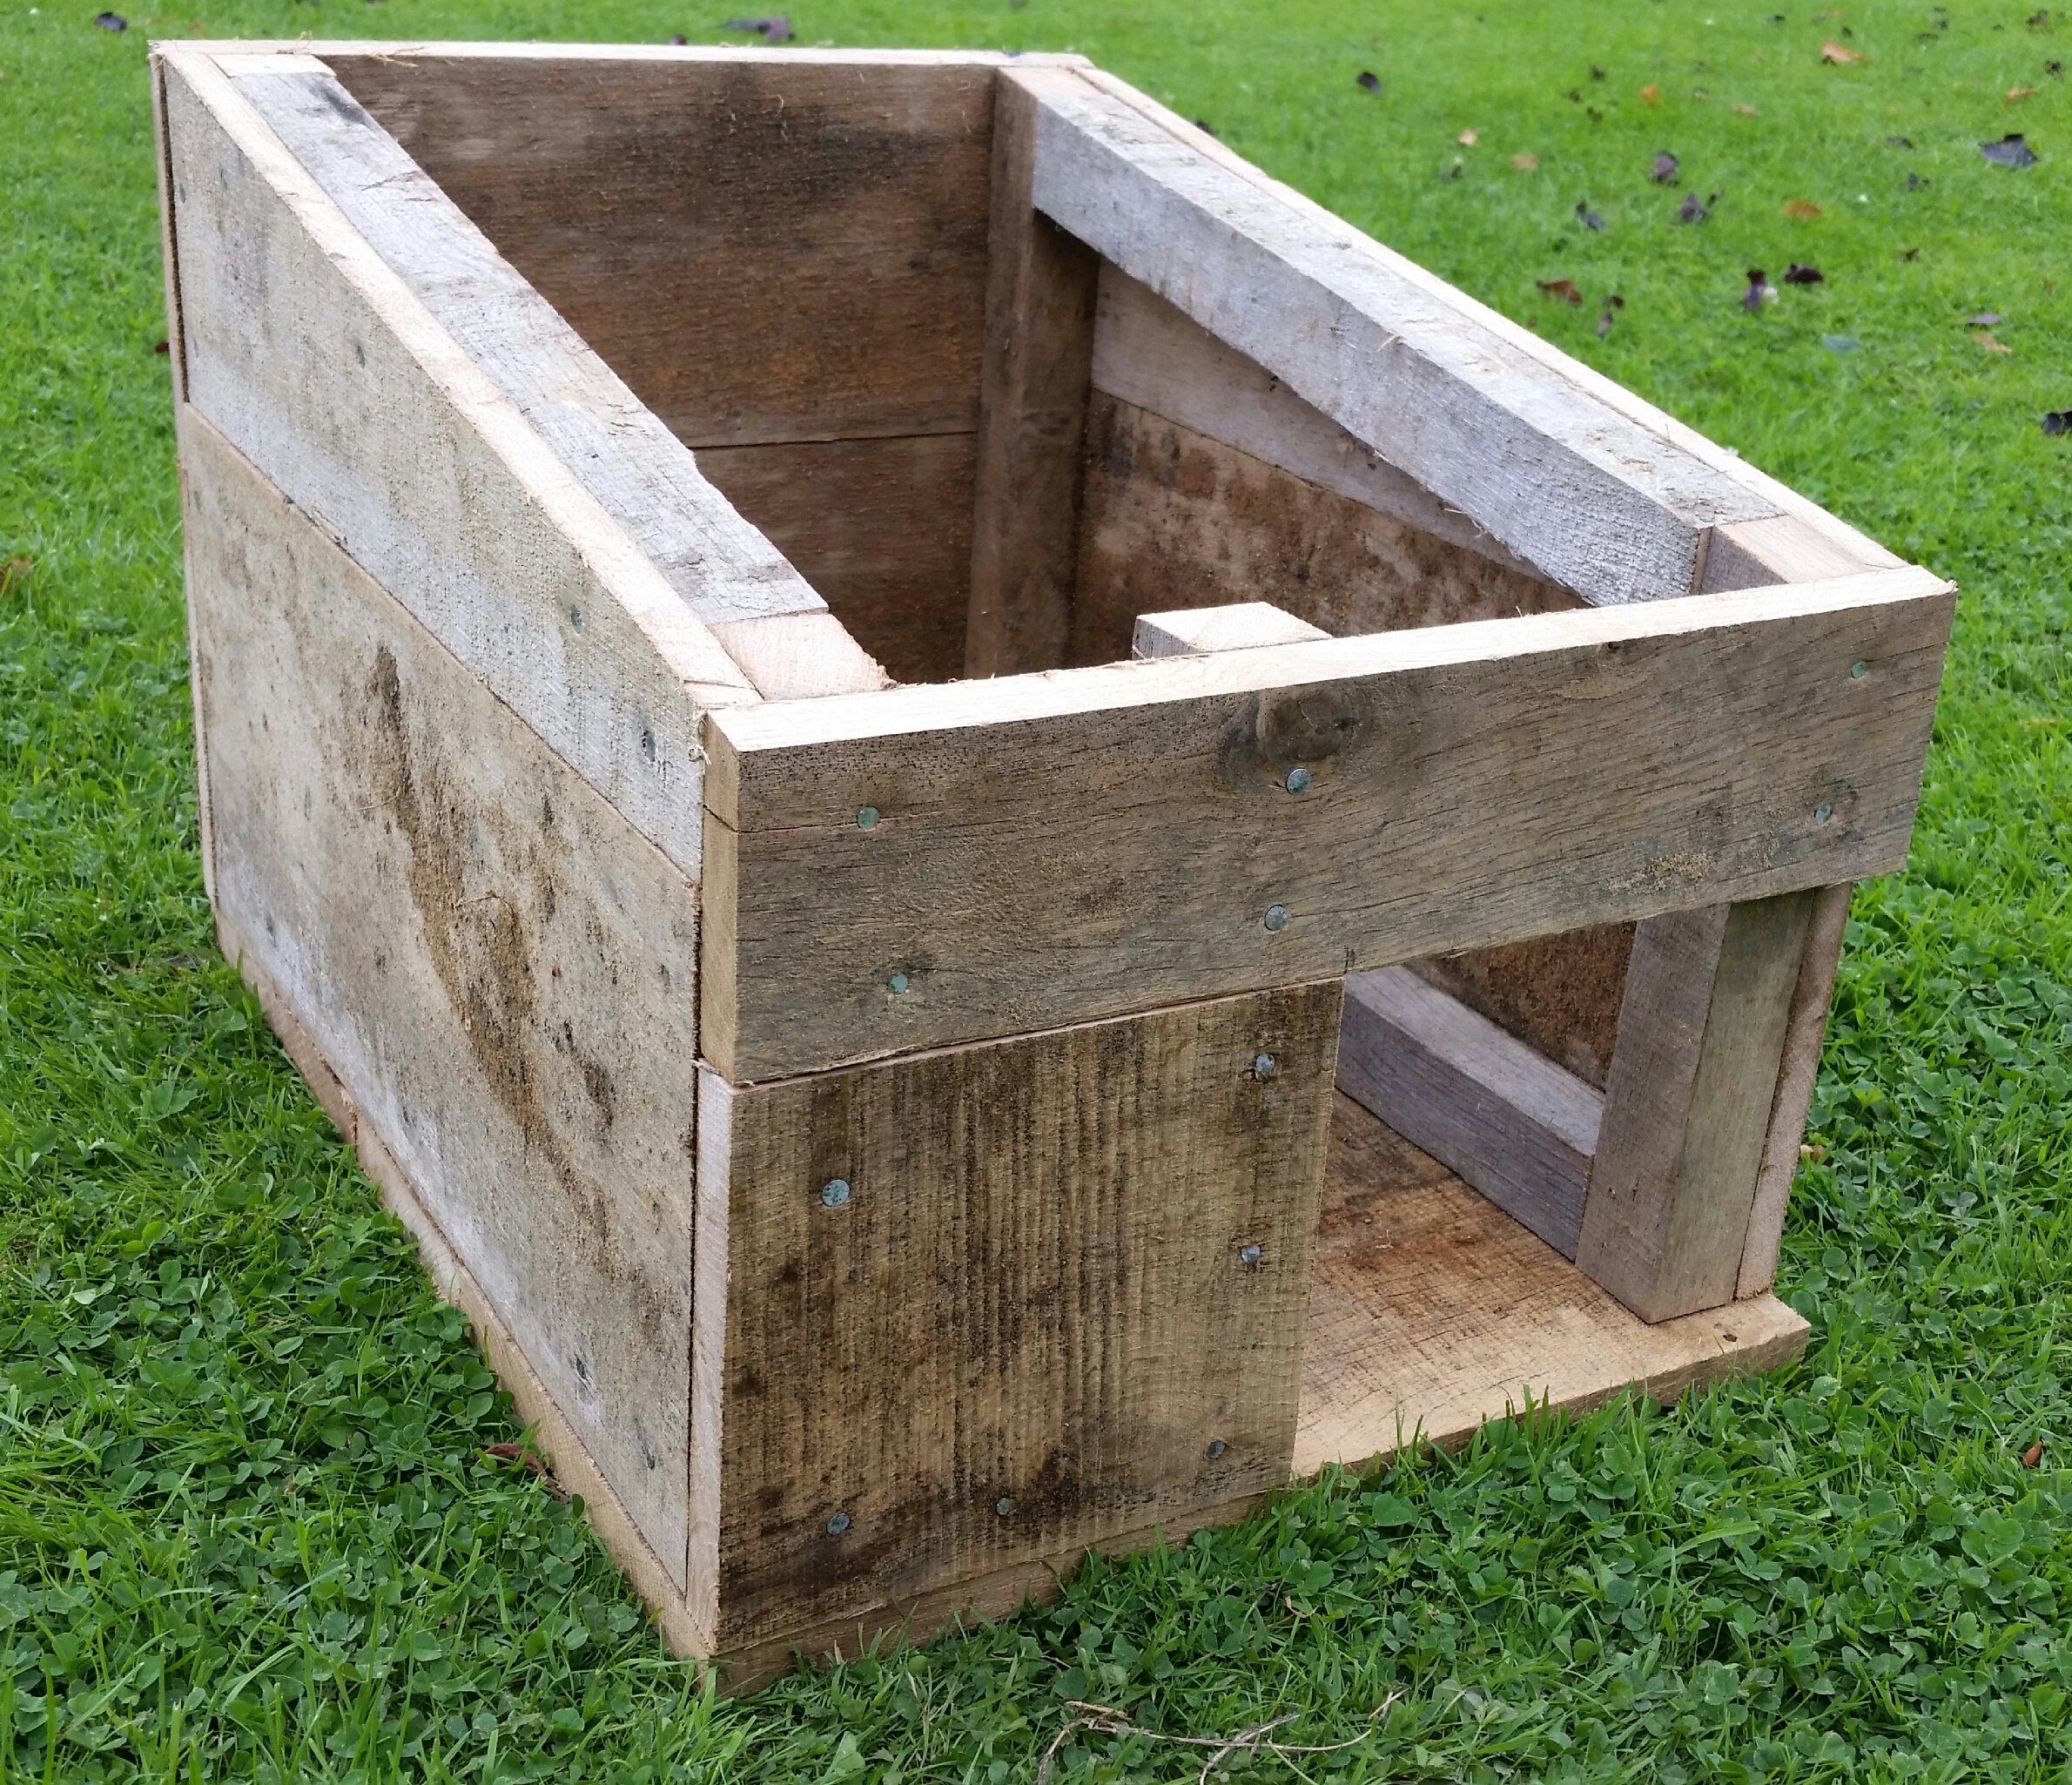
Then cut planks to 35cm long for the back of your house and nail them on. Also nail on your floor, trimming the planks as necessary.
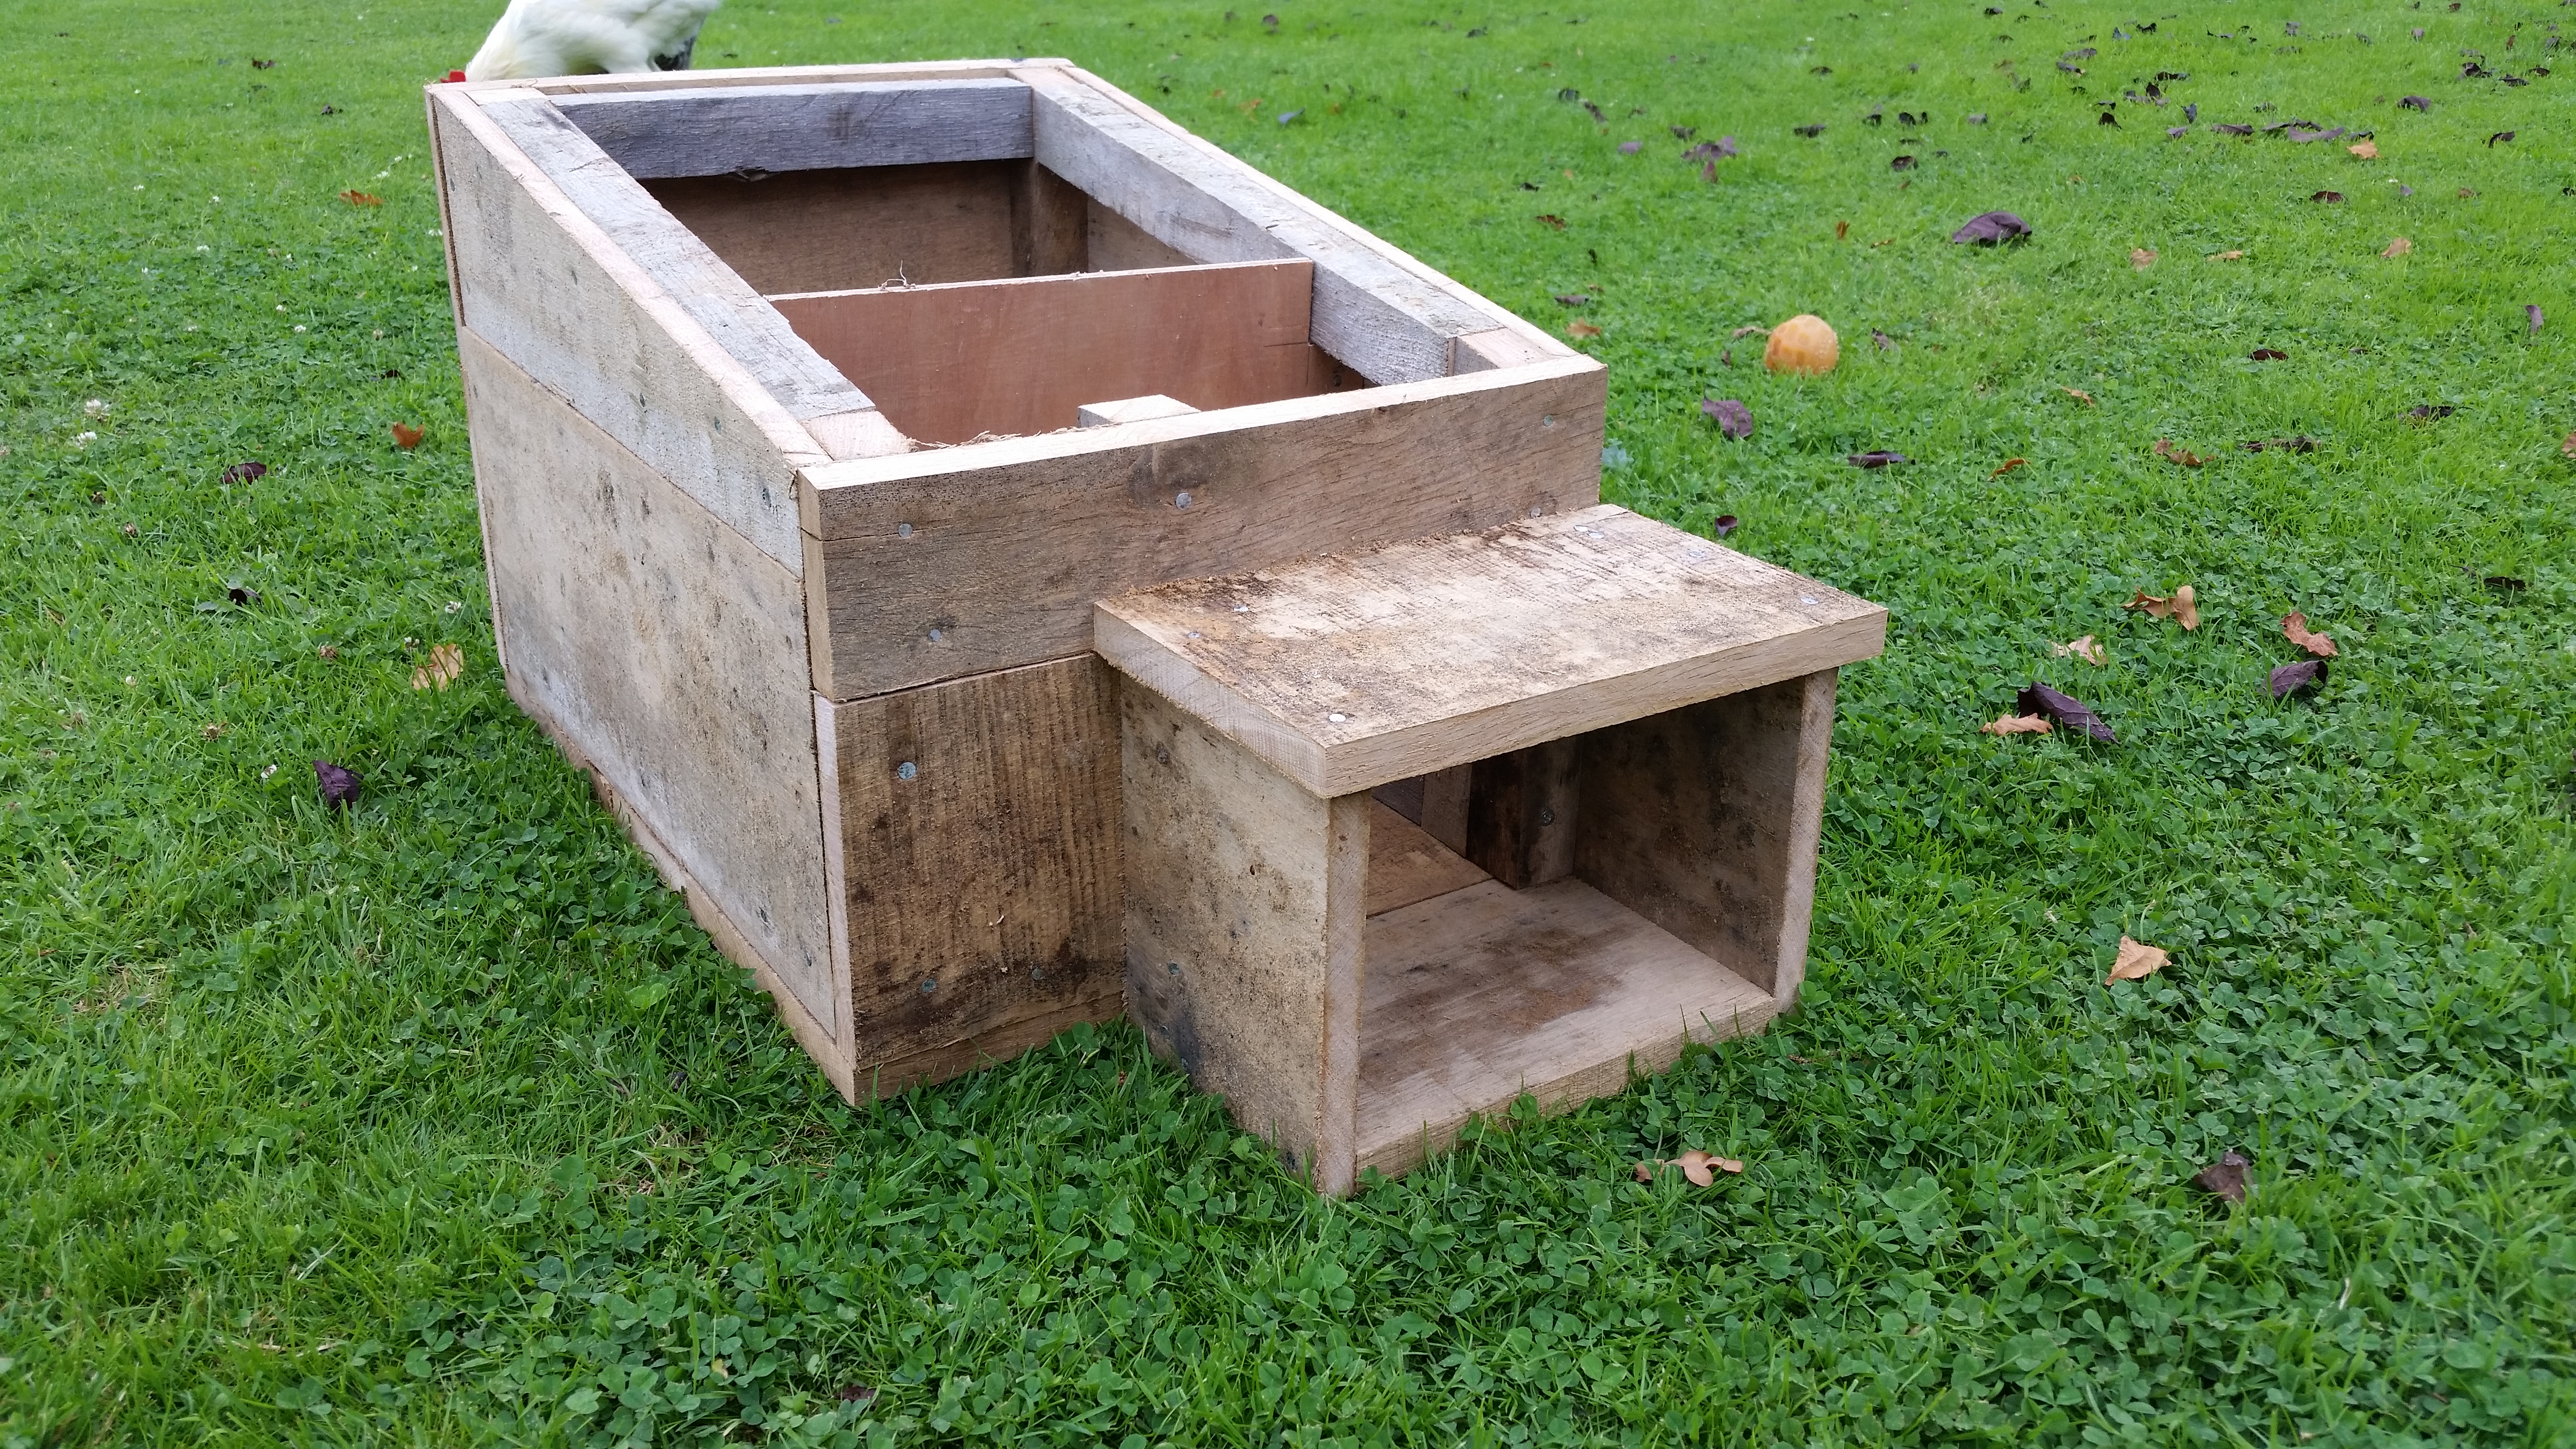
 Then nail one across the front of your house, leaving a six inches (15cm) gap below it for your hoggy to get in and out. Your hedgehog won’t need the full width to gain access and their house will be warmer if you reduce it to six inches (15cm) with another plank and battening, as seen below.
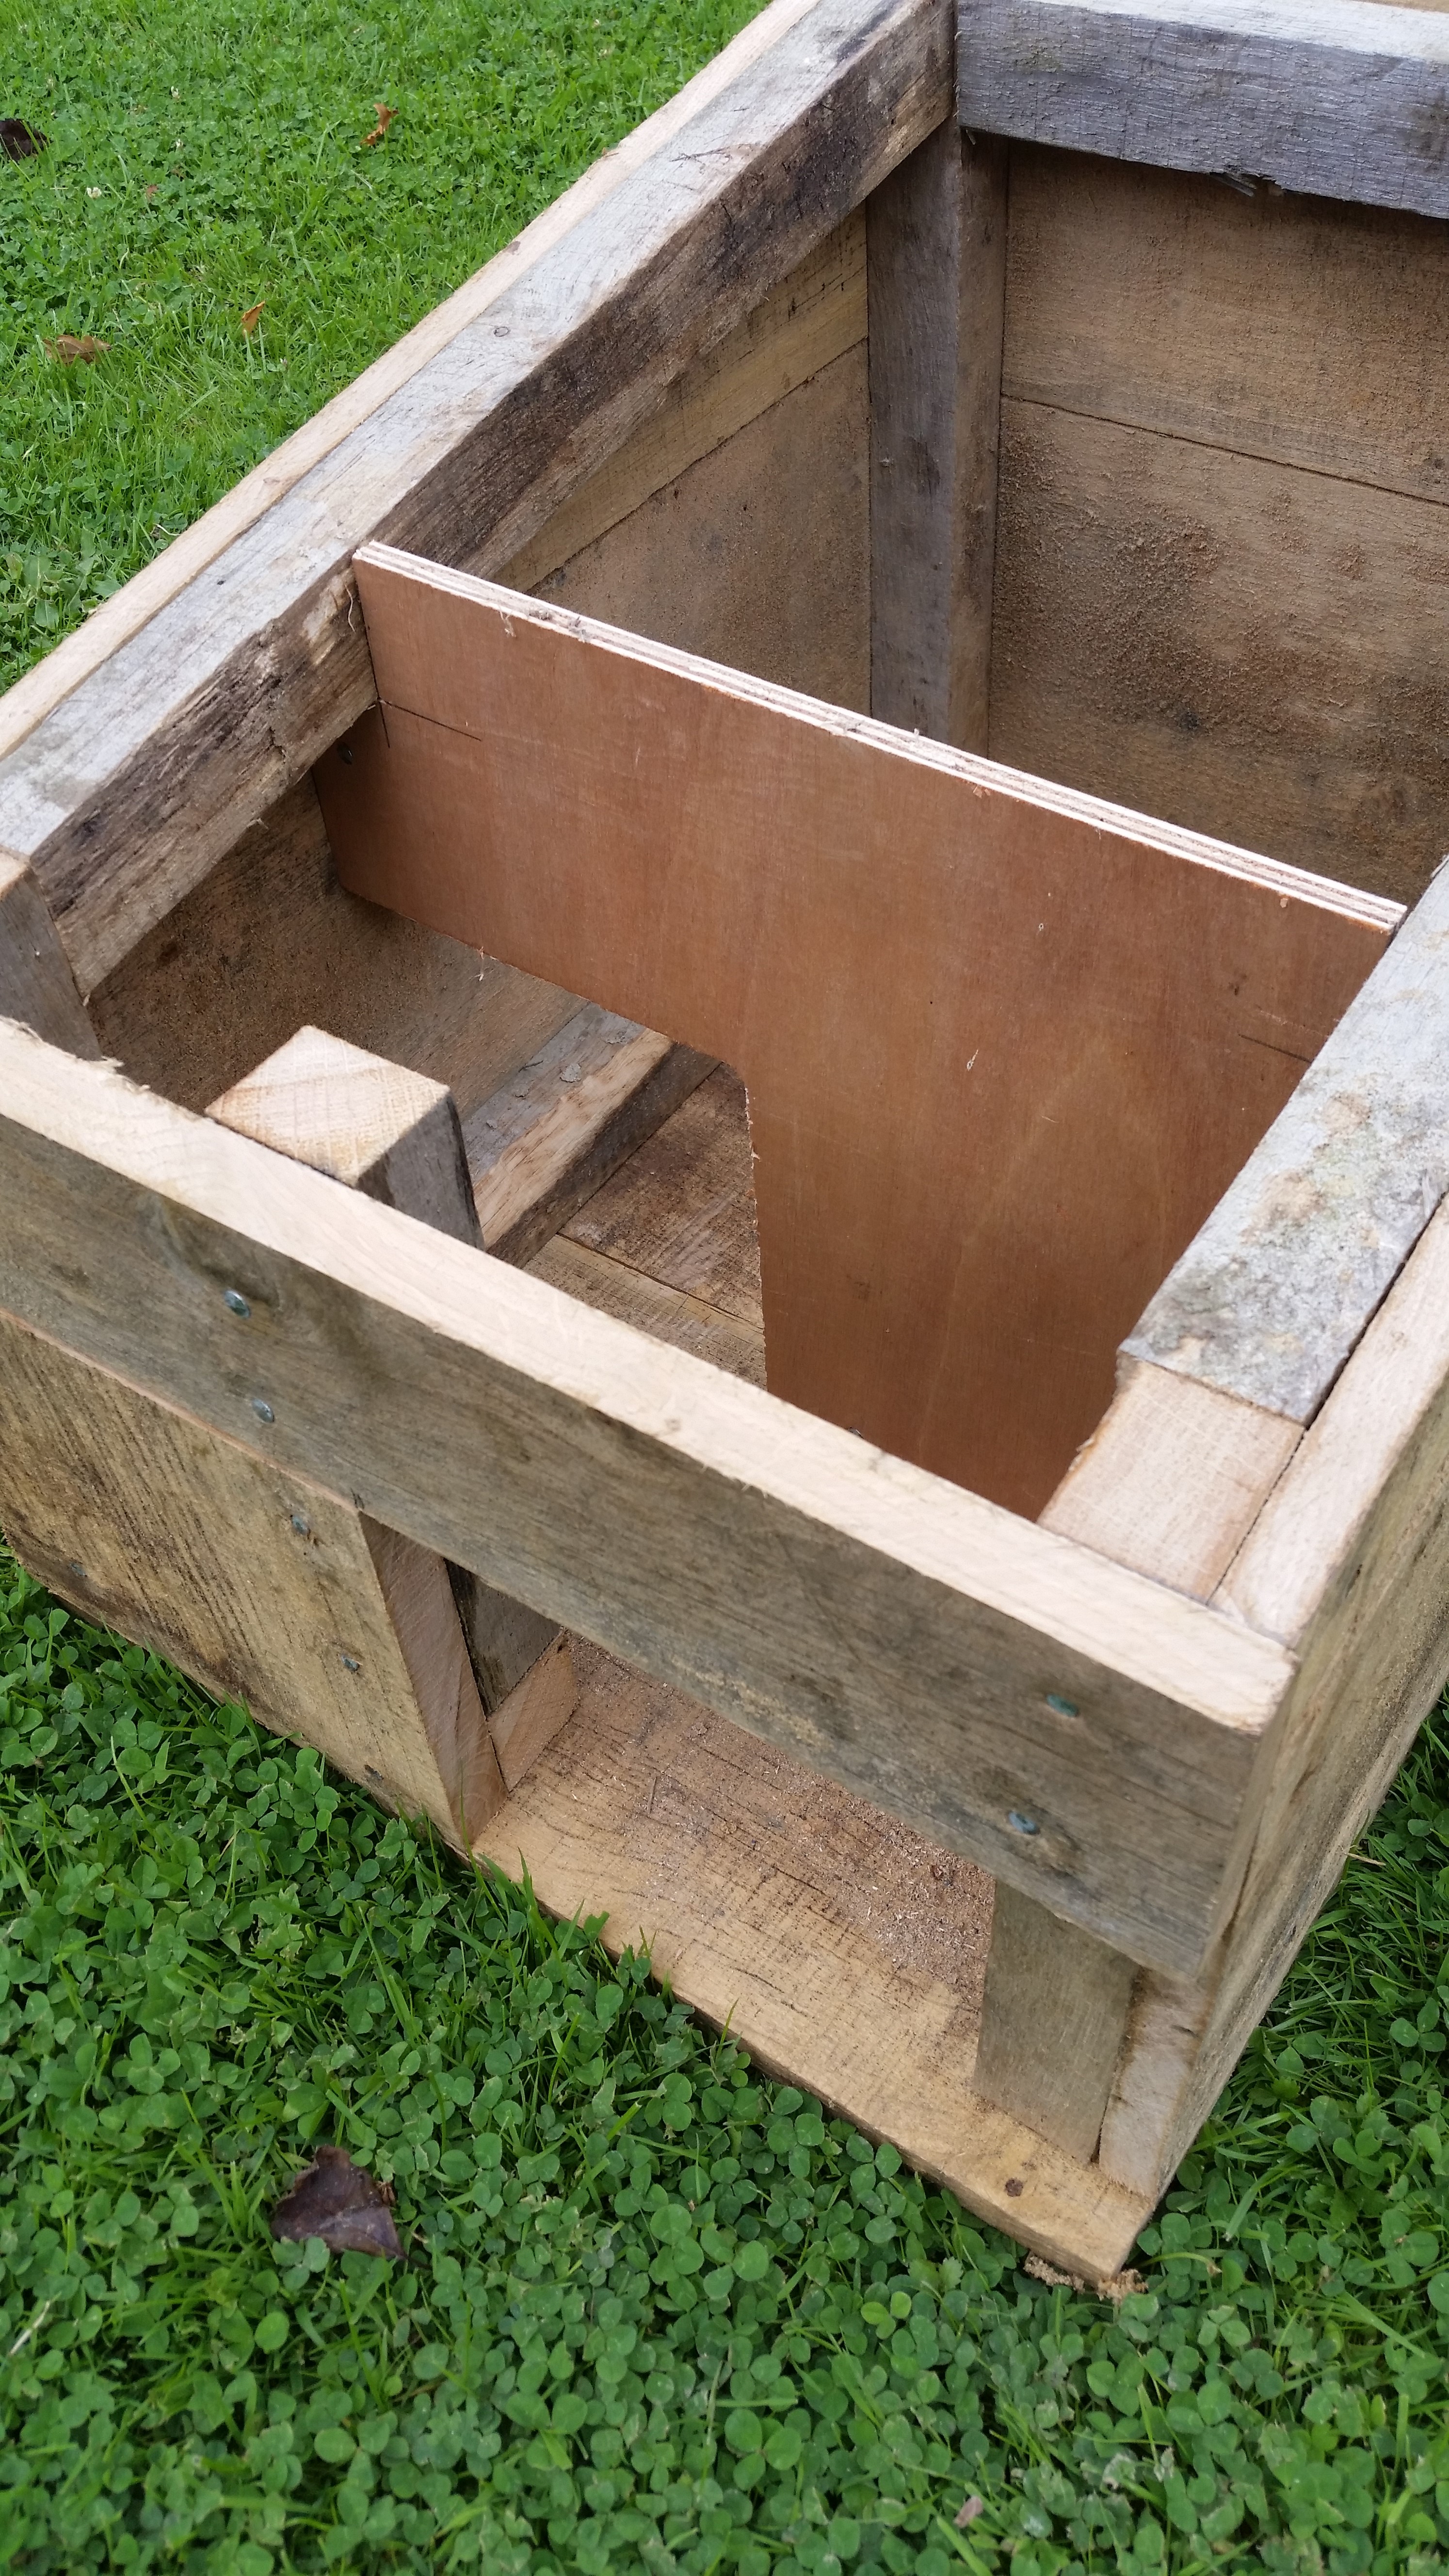
 Talking of a warm snuggly house, there’s a couple more things you can do to make it even cosier. Inside your box, about 15cm in from the front entrance wall, build an internal wall with another six inch by six inch entrance hole. I made this internal division out of plywood, mounted on battens. Don’t line up the entrance holes in front of one another, as then the cold air can just blow straight in. Your hedgehog will have no difficulty in navigating a bit of chicane to get to a cosy bed.
 Then build a short tunnel onto the entrance as this will reduce those drafts further still. Well worth doing as your hoggies won’t like sleeping in a draft, especially in the winter.
 Cut some more planks for your roof ensuring you’ve got an overhang all the way round of at least 5cm. Oak will swell when its wet and shrink when its dry so I overlapped my planks to ensure my roof won’t leak. Nobody wants to sleep in a wet patch! You could cover this with roofing felt or tin sheeting if you wanted to, but the oak will last for years anyway.
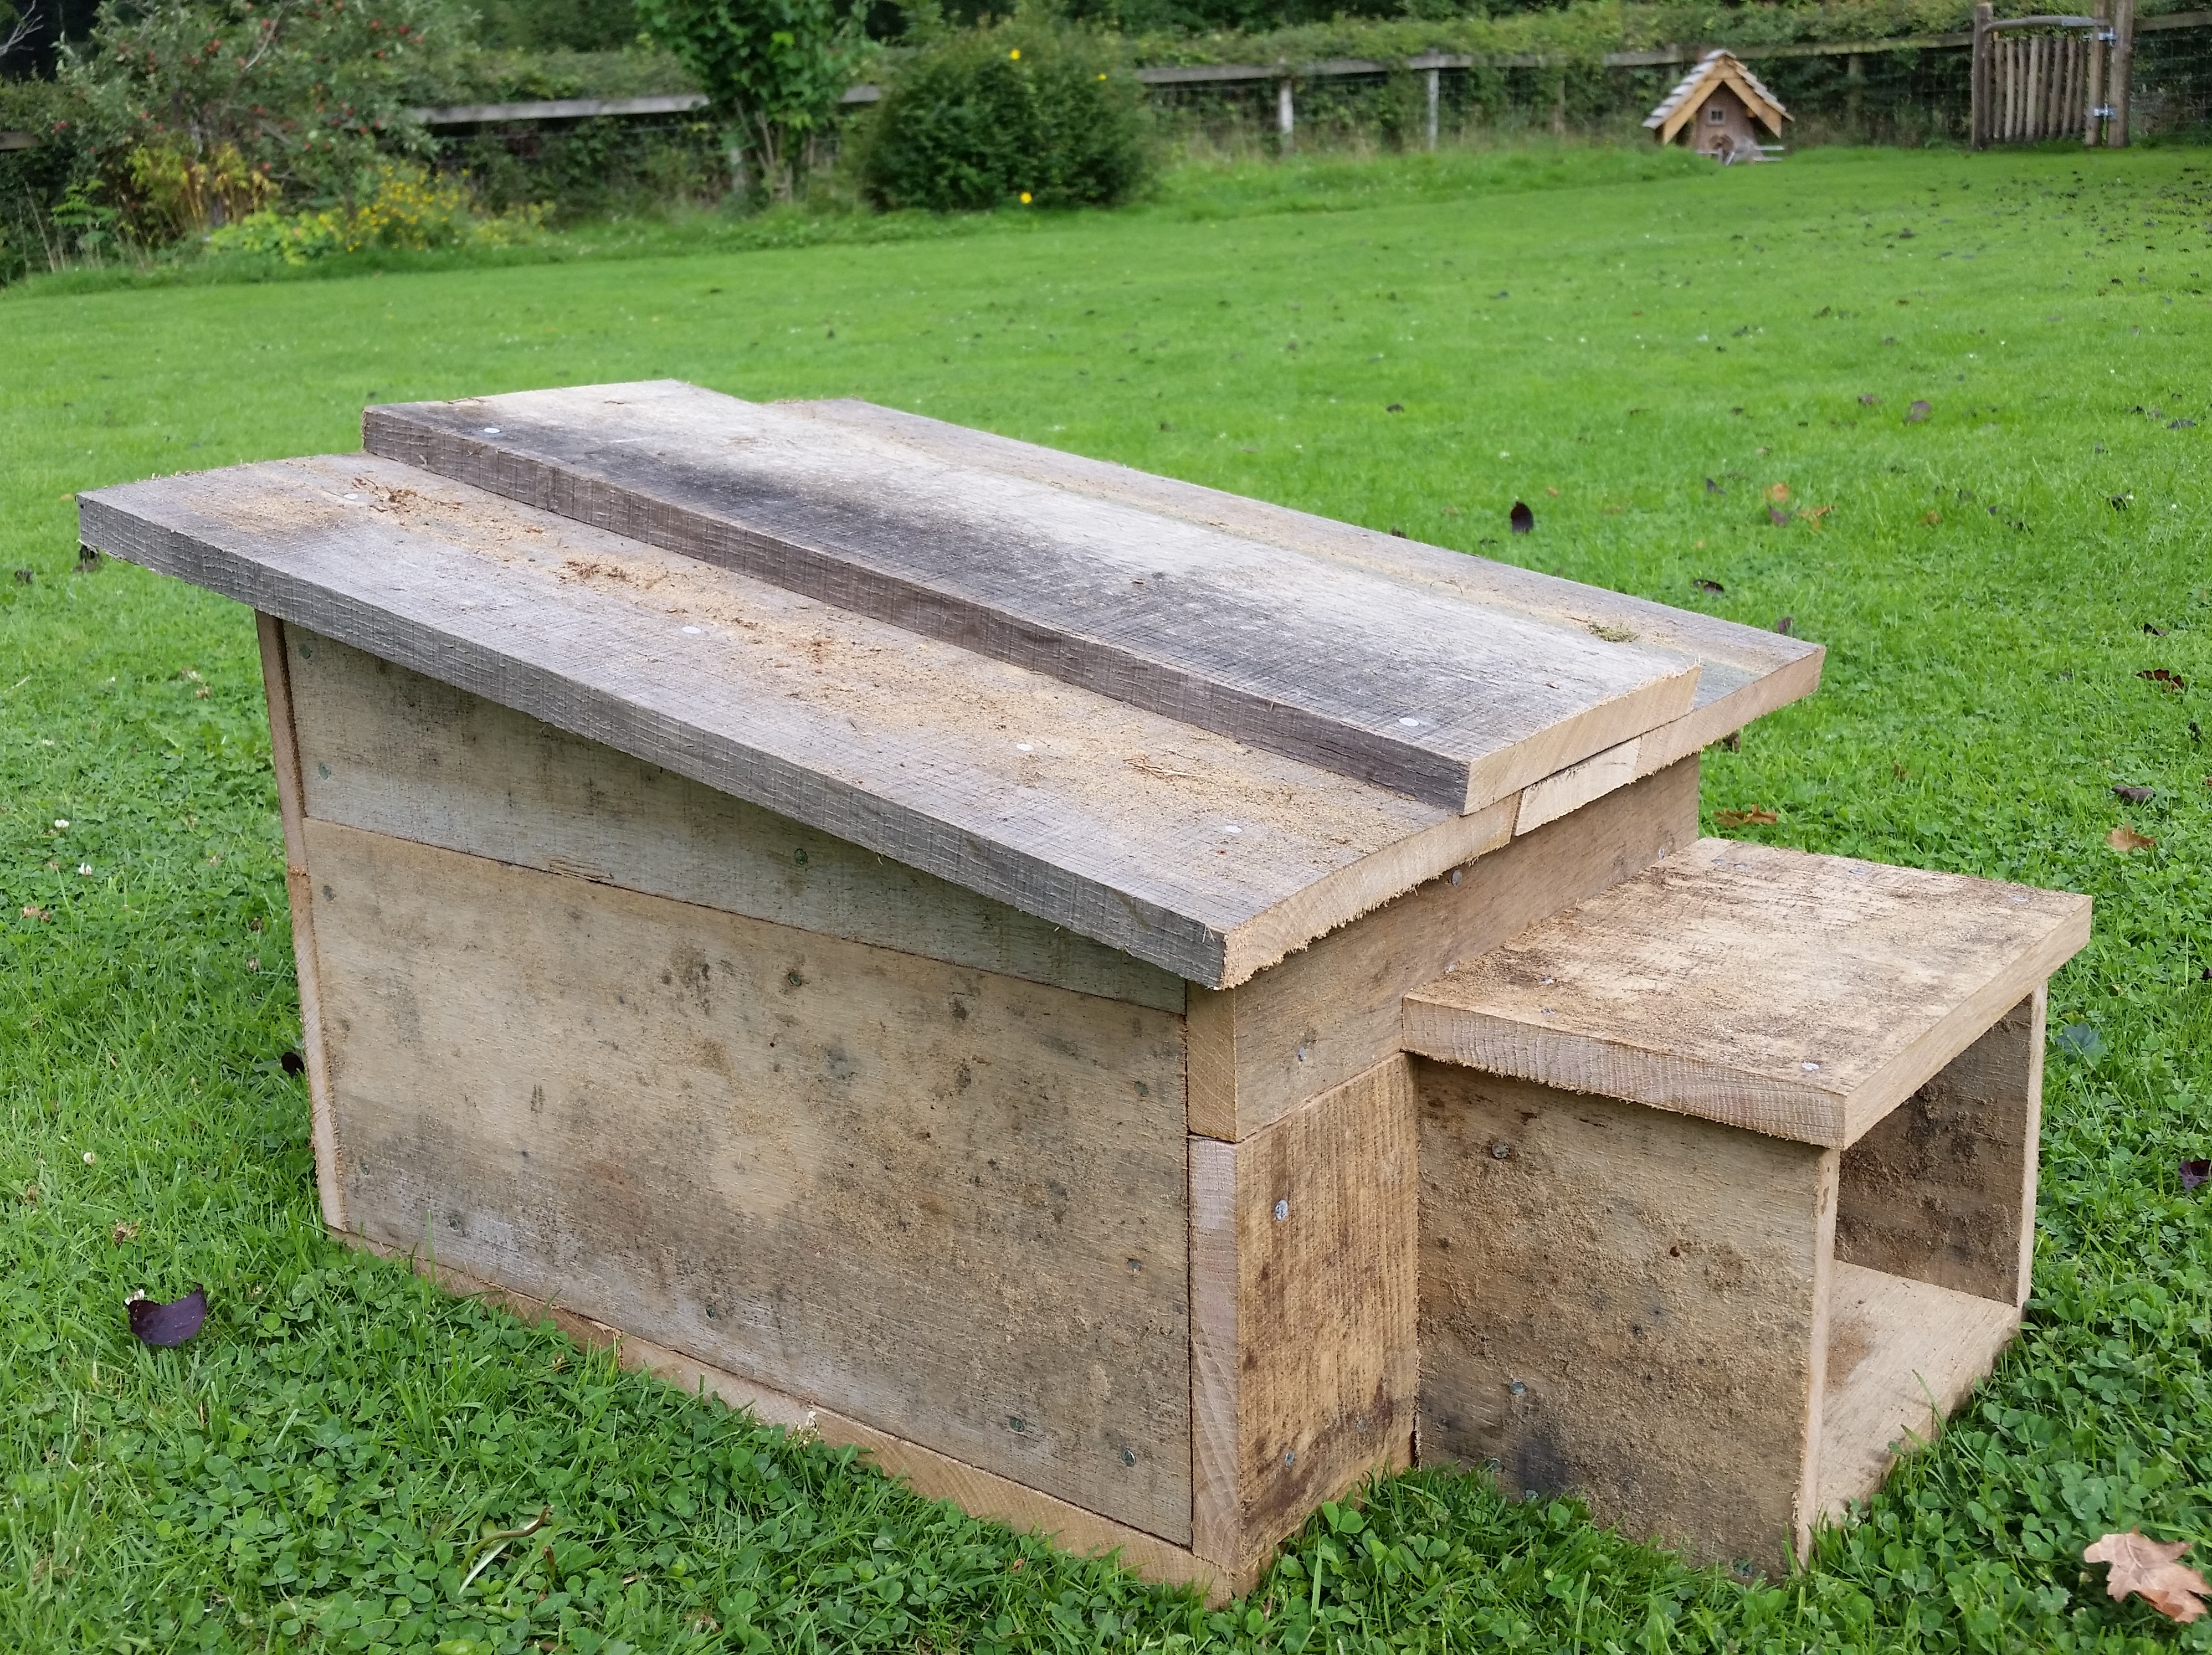
The last thing to do is to stuff the rear chamber full of dry straw so hoggy can burrow into it, all nice and cosy.
Locating your Hedgehog House
If you’ve seen hedgehogs out at night, put you house in the area you’ve found them. They’re quite inquisitive and are likely to check it out sooner rather than later. Alternatively, place it in a corner where a couple of hedges meet to increase enquiries from passers-by. I’ve situated mine at the base of a big oak tree. This will keep the worst of the frost and weather off it. To protect it even further and to make it even more natural I’ve then stacked logs and cord-wood, (cord-wood is lengths of round timber), over it. Given that I know I’ve hedgehogs about, and given that it’s chemical free, natural wood in a natural setting, I’ve very high hopes that my hedgehog house is going to be used.
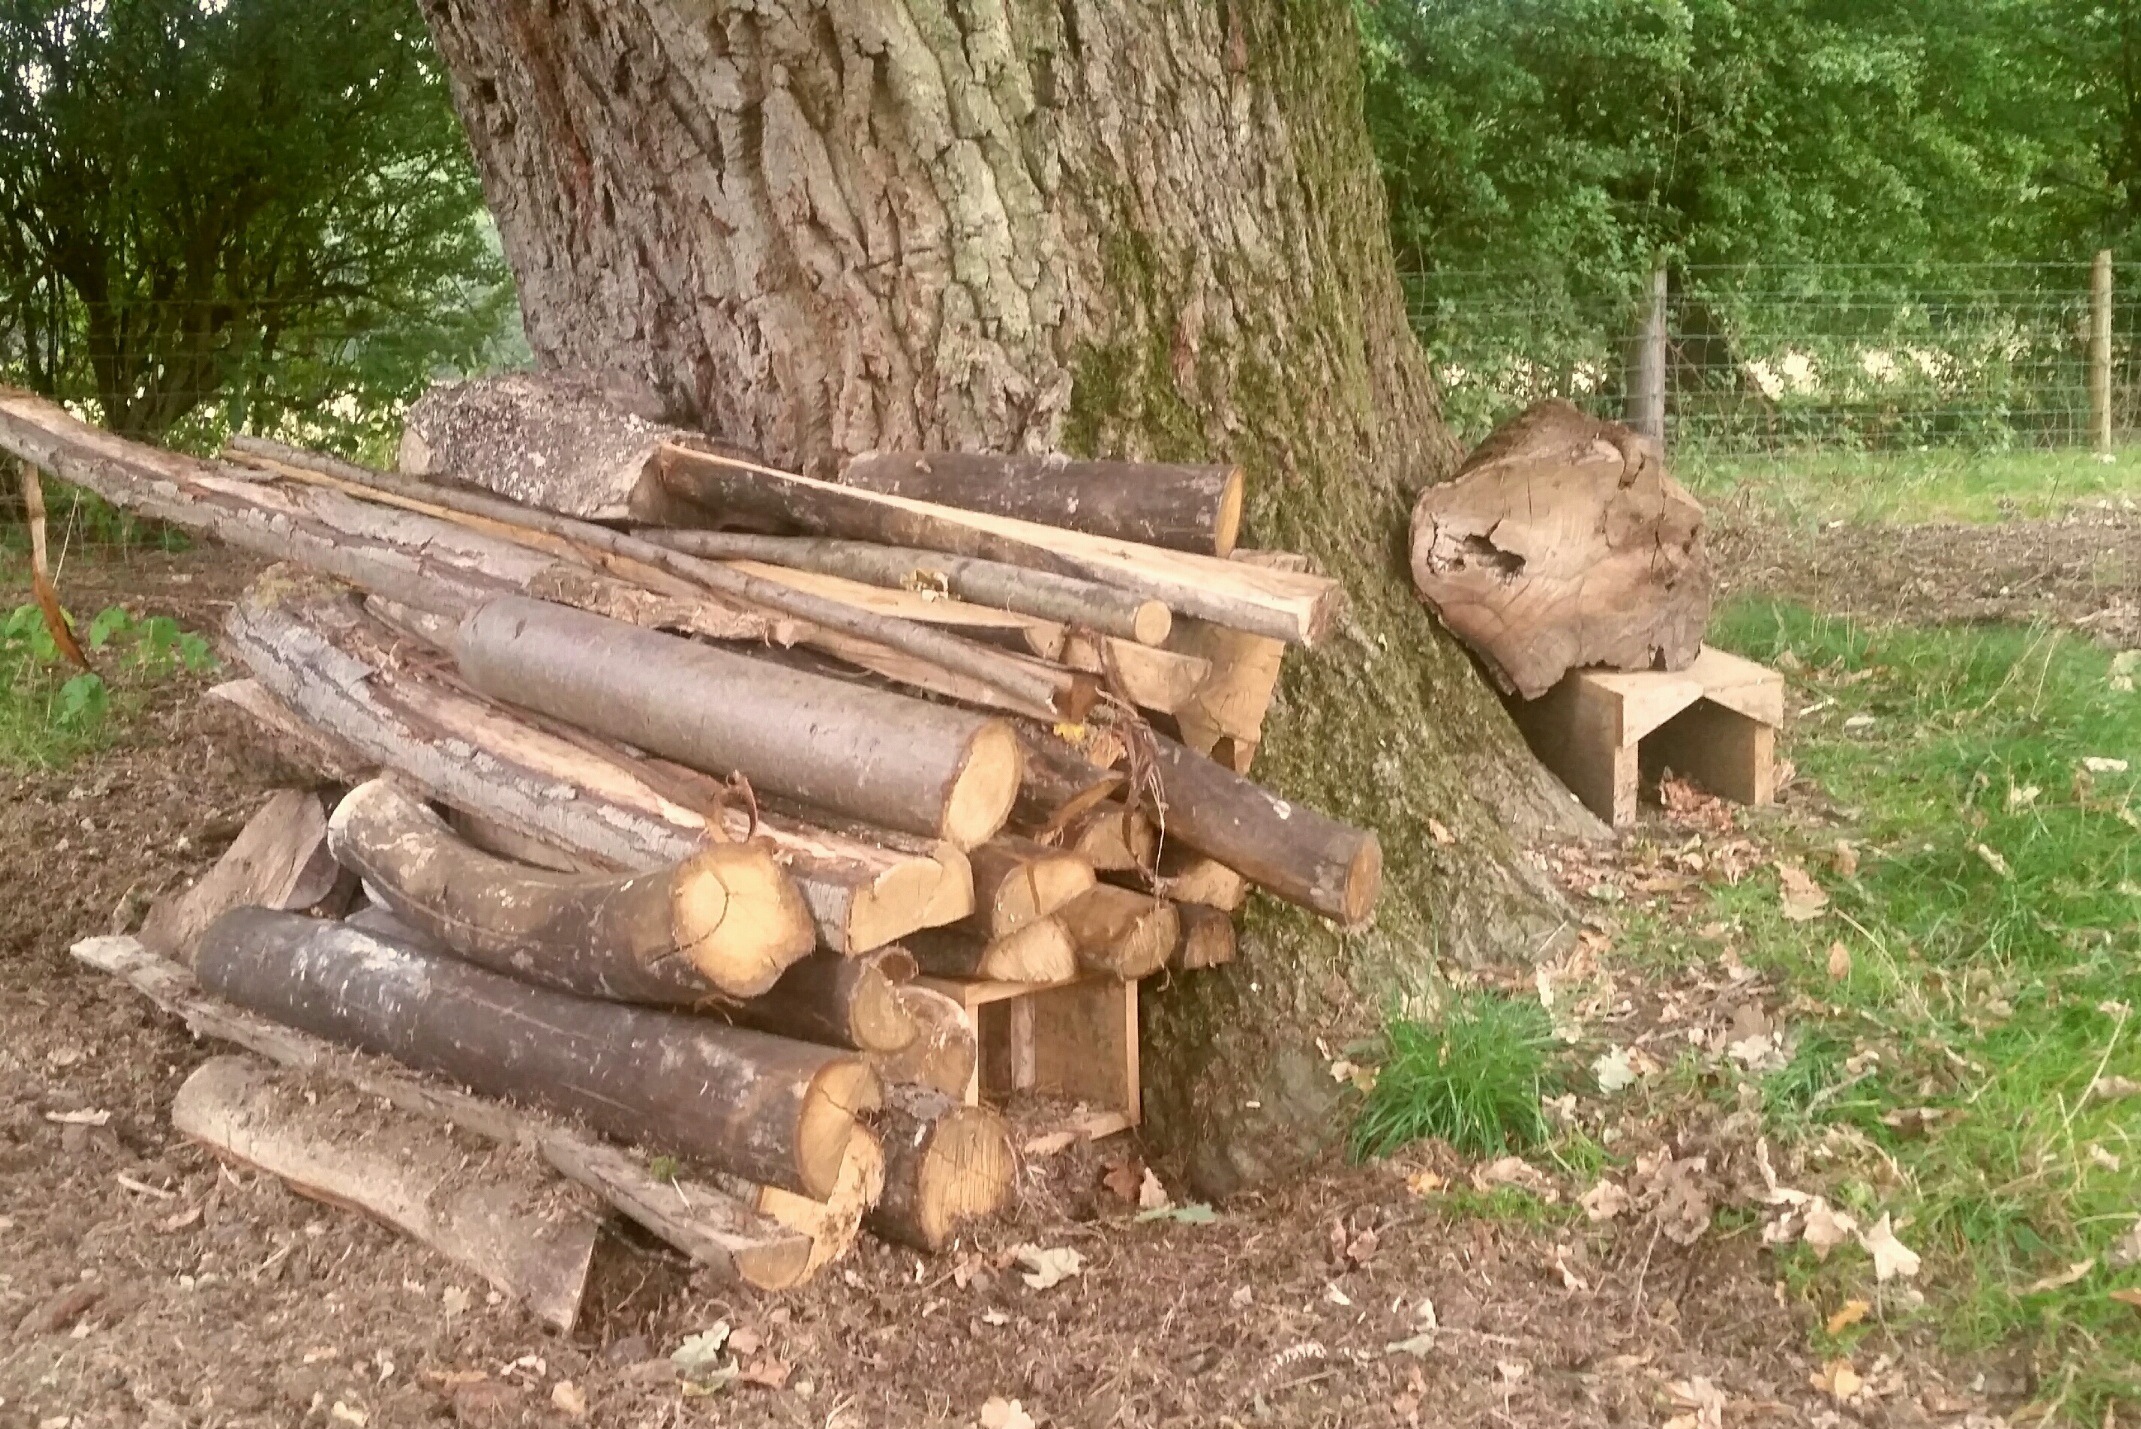 I’ve also built an oak tunnel with an entrance of six inches square and two feet long, pictured on the right. I’m putting pet food in my tunnel and waiting to see if the hedgehogs find it. Putting the feed in the end of the tunnel will stop other birds and animals eating it. The big log will stop foxes turning it over to get at the grub. Don’t put feed in your hedgehog house though as this may attract irritating insects, moulds and fungi that are harmful to health.
And finally I’m setting up some trail cameras to see if I can capture my hedgehogs on film. It’s going to be so rewarding checking the footage of a morning to see if they’ve been to the feed station, or even better, into their new home!
From start to finish it took me about a day to make by the time I bought my oak and got set up. They’re not too tricky to make, but if you don’t have the time or the inclination we can make you an oak one for £200. Send me an e-mail info@conservationandaccess.co.uk and we can chat through your requirements.
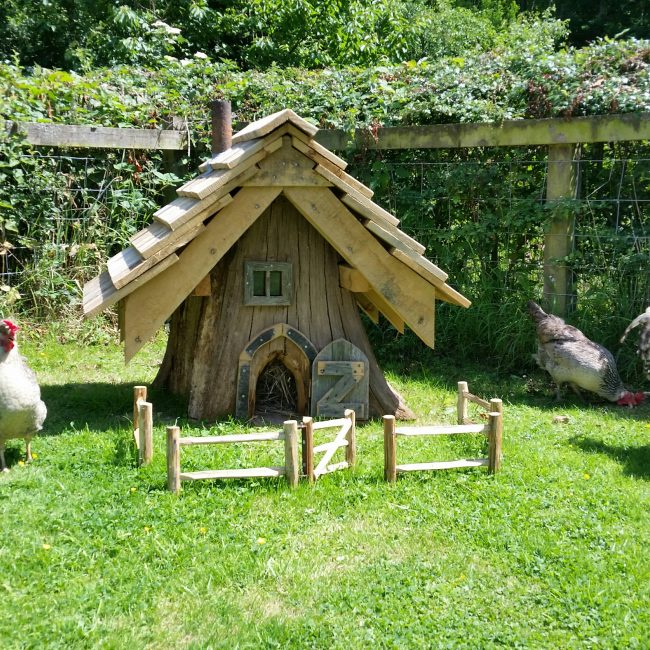
Please check out my other natural wood homes, especially the bug hotel and the fancy hedgehog house.
Thanks for reading.
2 comments on Building a natural hedgehog house

Great for my hedgehogs hibanation.
Brilliant. Let me know how you get on and if they take up residence. Good luck!!