First find your gnarly old tree stump, the more character it has the better. Windblown trees are ideal as there is likely to be some nice rooty buttresses that look great. Try and find a tree that’s been dead for a while and lost its sapwood, (the bark and the soft stuff beneath it) so it looks hard, gnarled and bony without too much rot. Oak is great for this, and it’s durable so it’ll last.
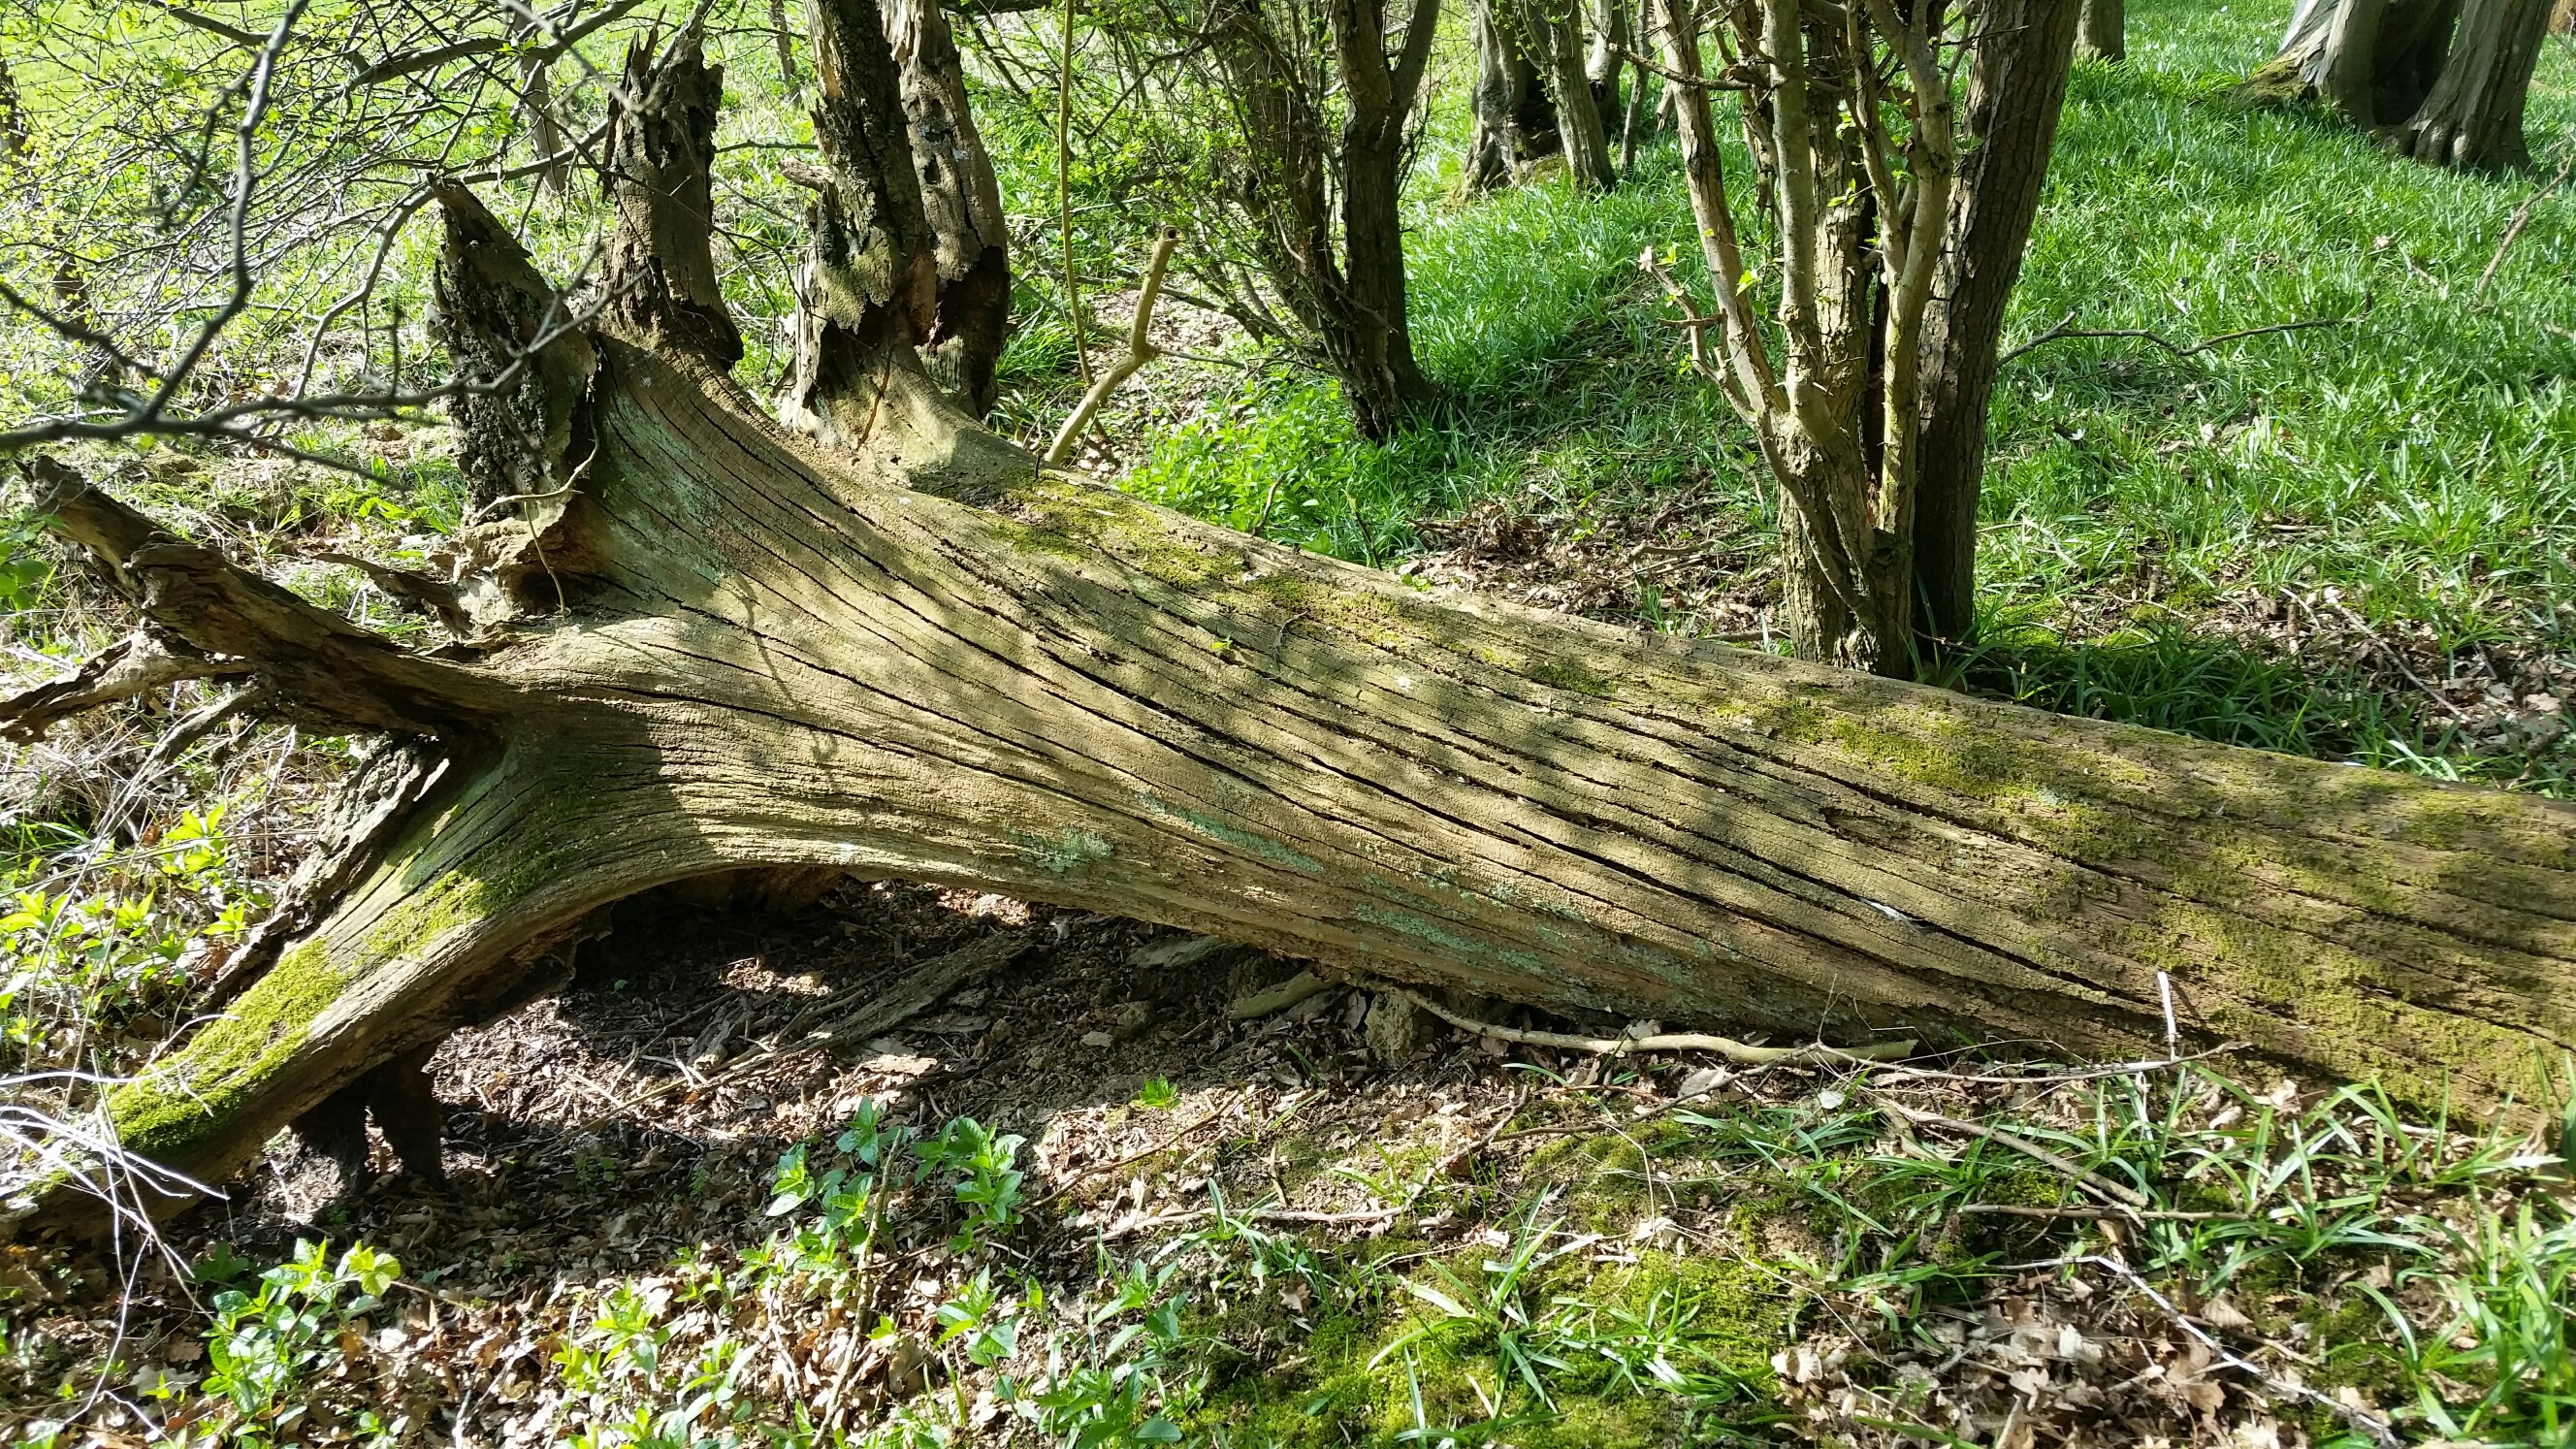
When you cut your stump from the rest of the tree, keep as much buttress as possible. You can always trim it again when you get home if necessary. Remember you need to strike a deal with the landowner before you crack on and help yourself! These things are heavy!! You’ll need kit to move it, but assuming you’ve got it home, you’ve made a great start.
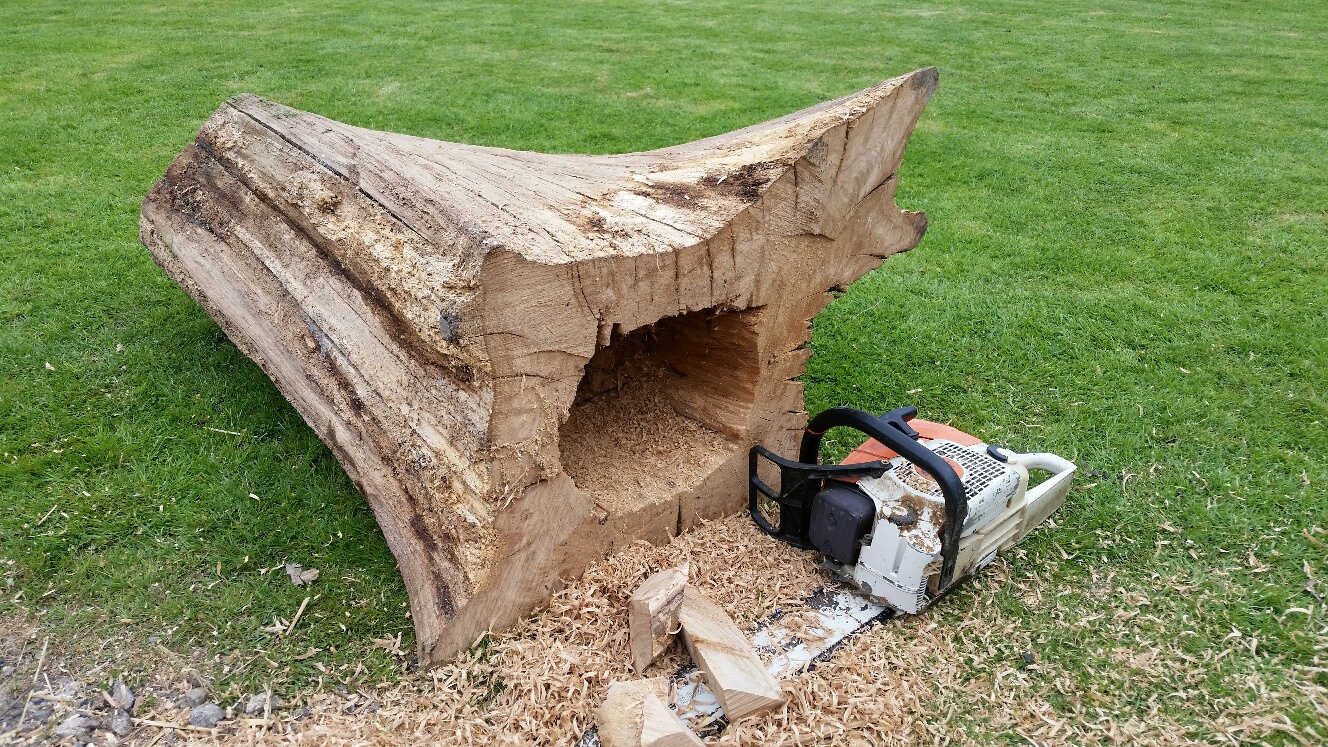
Tip it onto its side and carve a hole into its base with a chainsaw. Be careful of kick-back when using the nose of a saw, particularly with hard seasoned oak. Once you’ve hollowed out a nice hole of a foot or so round, carve yourself a little doorway. About 15cm will be wide enough for your hedgehogs to get in and out.
Roofing
Stand your stump up again and ensure you are happy it roughly stands upright.
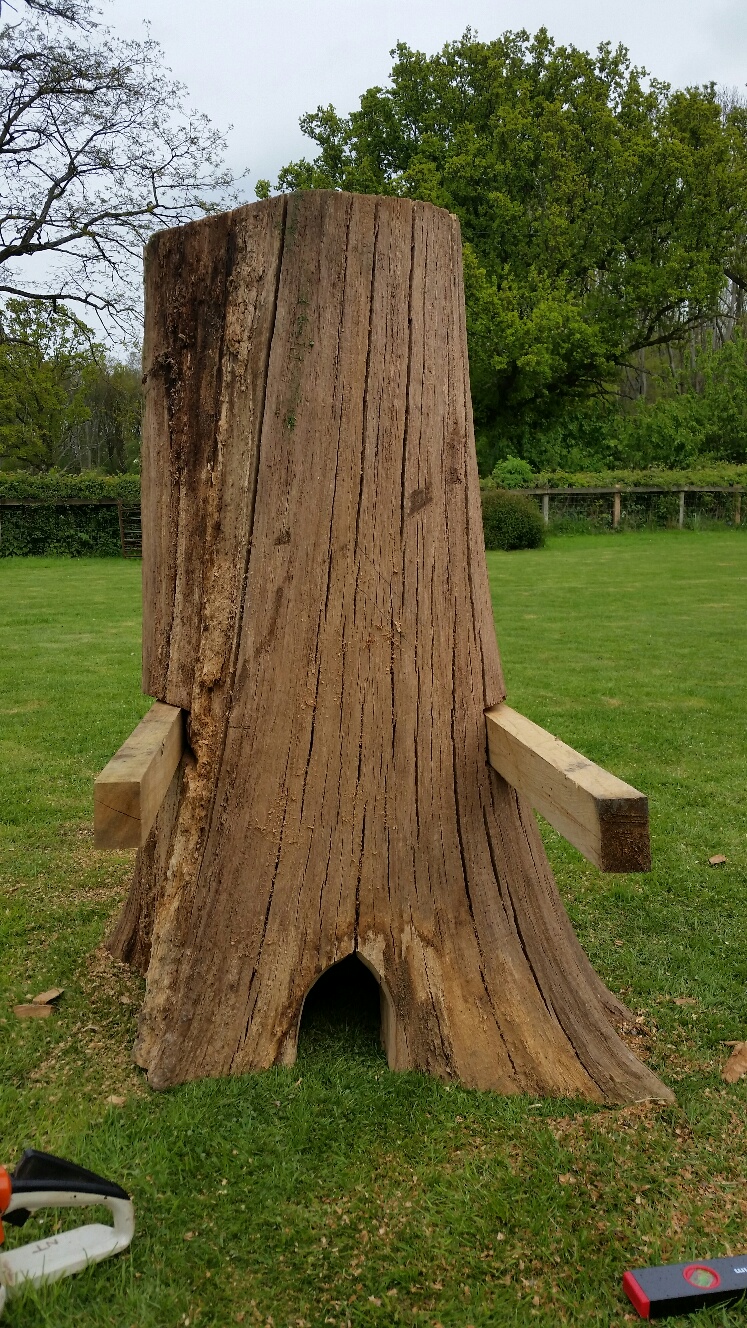
Trim the bottom as necessary to achieve this. Once you’re happy its upright, chainsaw some stots into the side to attach your roof plates to. Make sure you get these horizontal and parallel with each other. This can be a bit fiddly, but important to get right or you’ll be all over the place cutting loads of different angles when building your roof. I used 2” x 3” for mine and used landscape/sleeper screws wound in with an impact driver. They really hold hard!
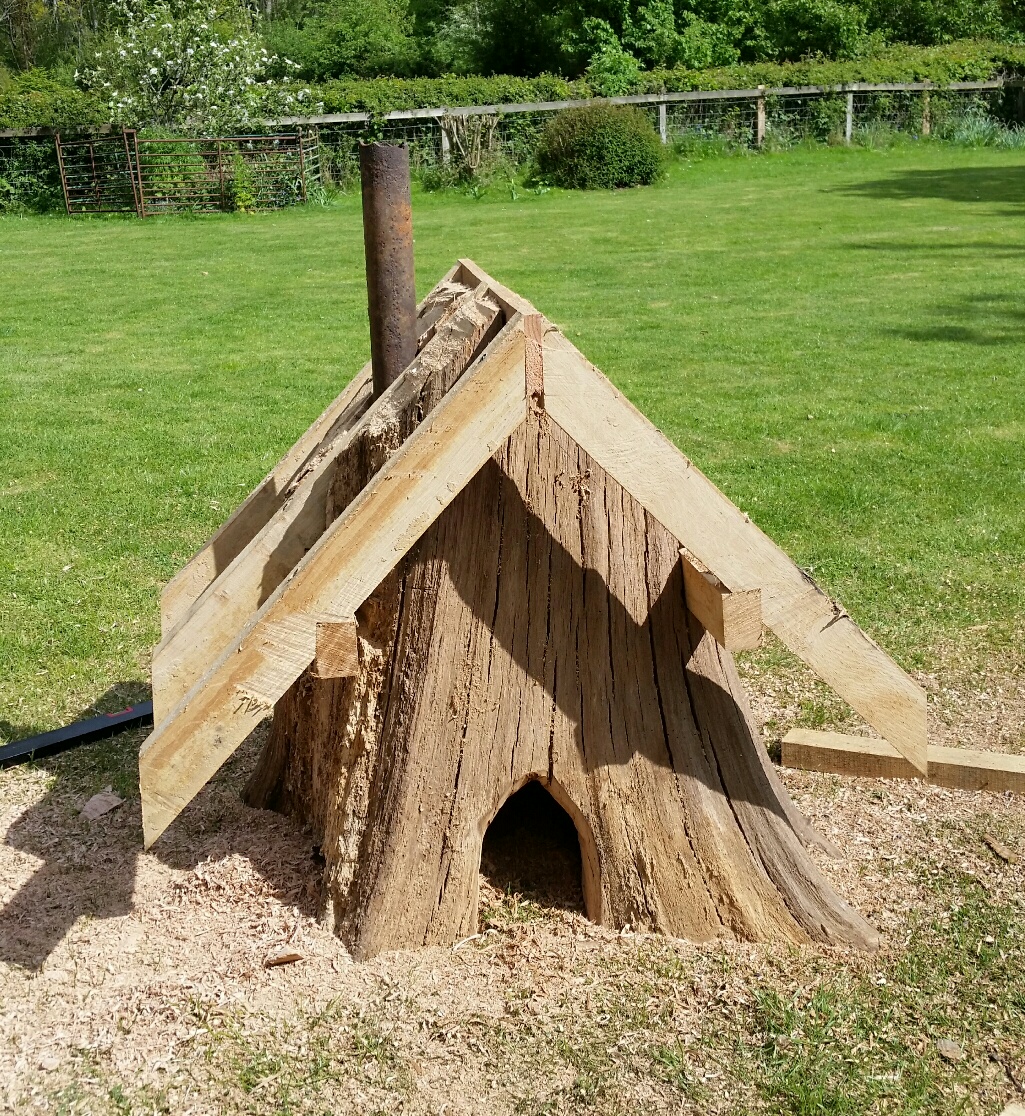
Then attach your a-frame to the roof-plates at the desired angle. You can decide your own pitch and overhang, but my roof angle is roughly thirty odd degrees. I use landscape/sleeper screws again for this. They’re not going anywhere! At this point add your chimney if you want one, (and I think you should!). My chimney is a piece of cast iron guttering downspout. They even have the lugs to make it easy to attach to your roofing a-frame.
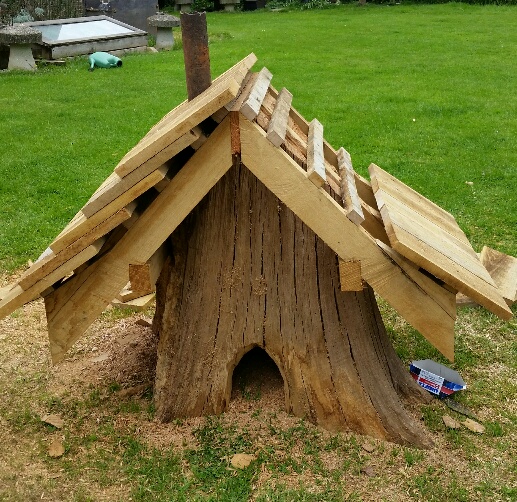
I then screwed on some battens and screwed on my roof shingles, ensuring they overlap each other so you don’t see the screws and to ensure they shed rain water. Your roofing shingles are really important as this will have a massive bearing on the longevity of your house. Mine are made of oak with absolutely no sapwood – heart wood only! Sap wood will rot and let the water in within a few years and your house will start to deteriorate. If you get it watertight it should last a good 20 years plus. That’s also why I attached lead flashing around the chimney. Firstly, it looks cool, but secondly it’ll help keep the water out.
Finish off your roof with a ridge that’s nailed on. You want this thing to look oldy worldy so nails are better than screws for this finishing touch. At this point I attached a marine plywood floor to my hedgehog house. This will also preserve it as well as making it more cosy and attractive to your prickly guests.
Finishing touches
Next I used some weathered oak from an old gate to make my door frame and door. I wanted it to look solid and robust, like an old church door.
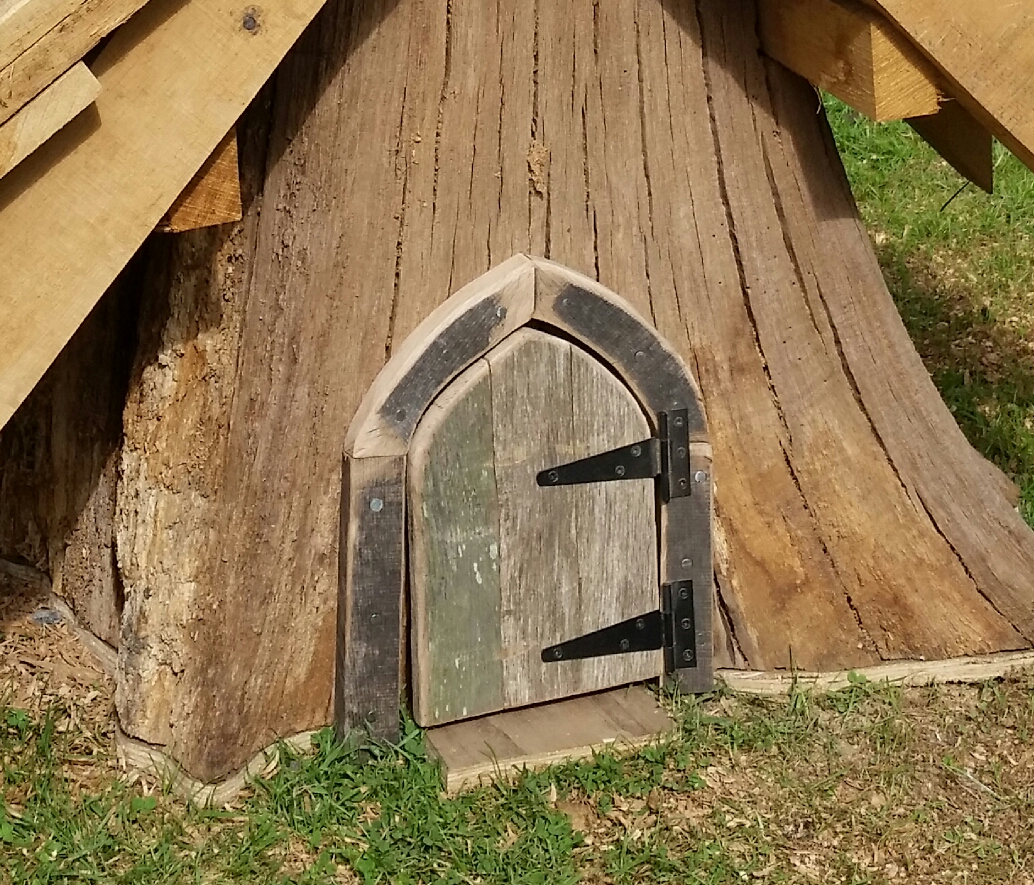
And the final touch was a little window. I chiselled out a shallow hole for my window, maybe four or five centimetres deep. I painted the inside of the hole black, fitted a piece of glass and fixed my window frame over it. Painting the inside of the hole black gives the impression of looking into a room of a house.
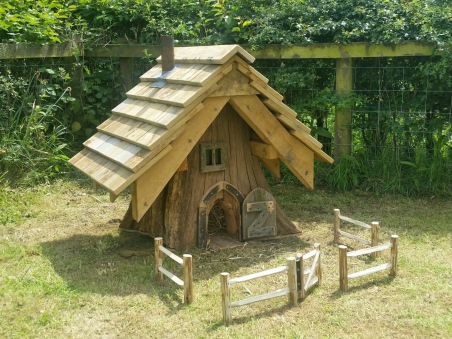
Finishing touches are the welcome mat and little garden demarked by cleft chestnut hurdles and a working gate. A cute piece of garden art that you can tell kids is a fairy house, but also has a wildlife benefit too.
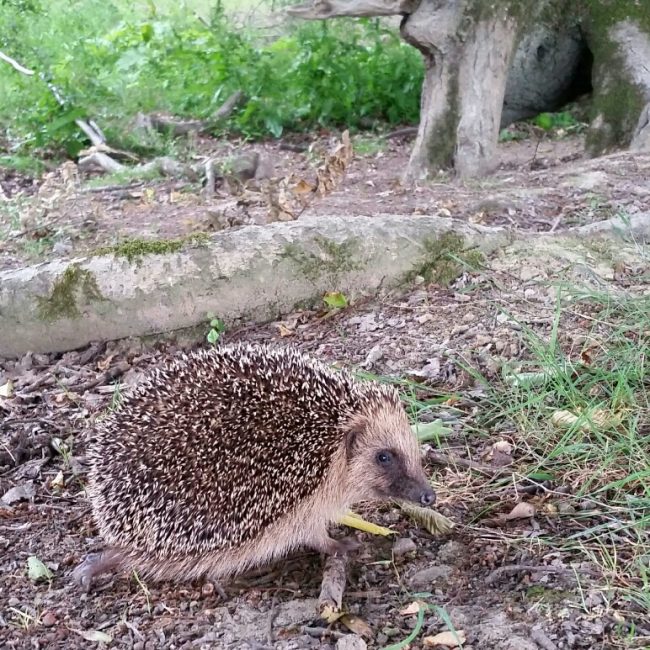
Look who I saw snuffling around the hedgehog house!!!
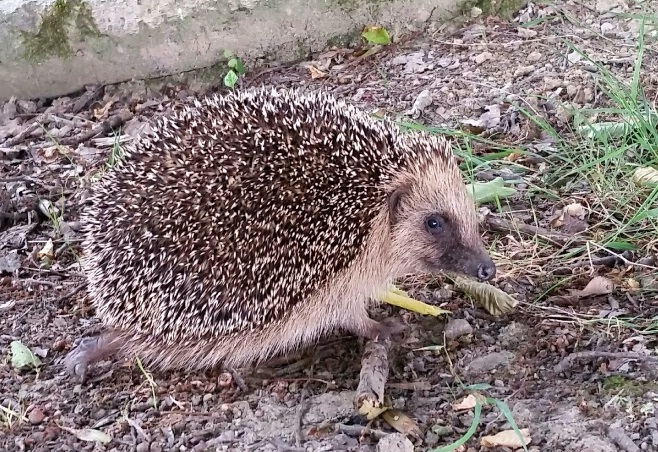
Who said, “Build it and they will come!”. Ok, that’s a quote from a naff film, but it sounds like a quote from a notable figure in history. I’m impossibly excited to see a hedgehog in the vicinity of my house. HAPPY DAYS!
From start to finish it took me about a week to make, including the foraging of the stump, buying the oak and sweet chestnut. It’s a fab project, but if you haven’t the means to make your own, you can buy this one for £1,200 and we’ll make another one. Alternatively, if you like this one but would like something slightly bespoke, send us an e-mail and we can chat through your idea.
Thanks for reading.
3 comments on Building a Hedgehog House or is it a Fairy House?

love it!!!! im off to find an ol stump!!
Nice one! let me know how you get on. I’d love to see pictures.
Just come across this site…..Brilliant……I have an old stump ….. will let you know how we get on.