Read on if you’d like some simple, practical advice on how to plant an economical wildlife friendly hedge from native species. There’s lots of fancy-pants ornamental hedging species out there for horticulturally aesthetic gardening that I’m not covering here. Read on if you’re interested in planting an agricultural-style hedge for your cottage garden or field boundary.
What species of hedge should I plant?
Always go for native species if you want to give our wildlife a helping hand. Native plants are far more helpful to our ecosystem than imported exotics. It stands to reason that if a plant has grown in this country for the past 10,000 years, more of our natural wildlife will be adapted to make use of it. Having said that, some early and late season pollinators can be great for insects. PLEASE PLEASE PLEASE don’t plant leylandii. Yes they grow quickly and provide an evergreen cover, but you’ll be forever trimming them or they’ll bolt away to be a big green monster. Once the monster stage has been realised, getting them back to a nice manageable hedge is nigh-on impossible. They look out of place in the British countryside, not great for wildlife and are prone to ailments and wind-burn.
The choice of native species depends on what you want your hedge to do, and where you want to grow it. For example, if you need an evergreen screen consider native privet, holly or yew. Yew is a great plant, but just remember yew is toxic to livestock so don’t grow it next to grazed fields. Beech and hornbeam hang onto their autumn leaves for most of the winter and will also offer you some all-year screening.

Beech hedge in March, hanging onto last years leaves
You might be planting in a shady area, in which case you want some shade tolerant hedging plants like holly, yew hazel or blackthorn. If I’m planting a mixed hedge across a field and I need to plant under an old tree, I’ll make sure I put more of the shade tolerant species underneath it.
A single species hedge or a mix?
Unless there is a necessity to do so, (like shading or screening as mentioned above), I’d always advocate a mixed of species hedge, with the core component being hawthorn – sometimes referred to as “quick thorn” – doing what it says on the tin – growing quickly. Hawthorn grows well on most soils and its tangled woven growing style makes for a great hedge. It also grows lots of haw berries that can provide our birds with food well into the winter.
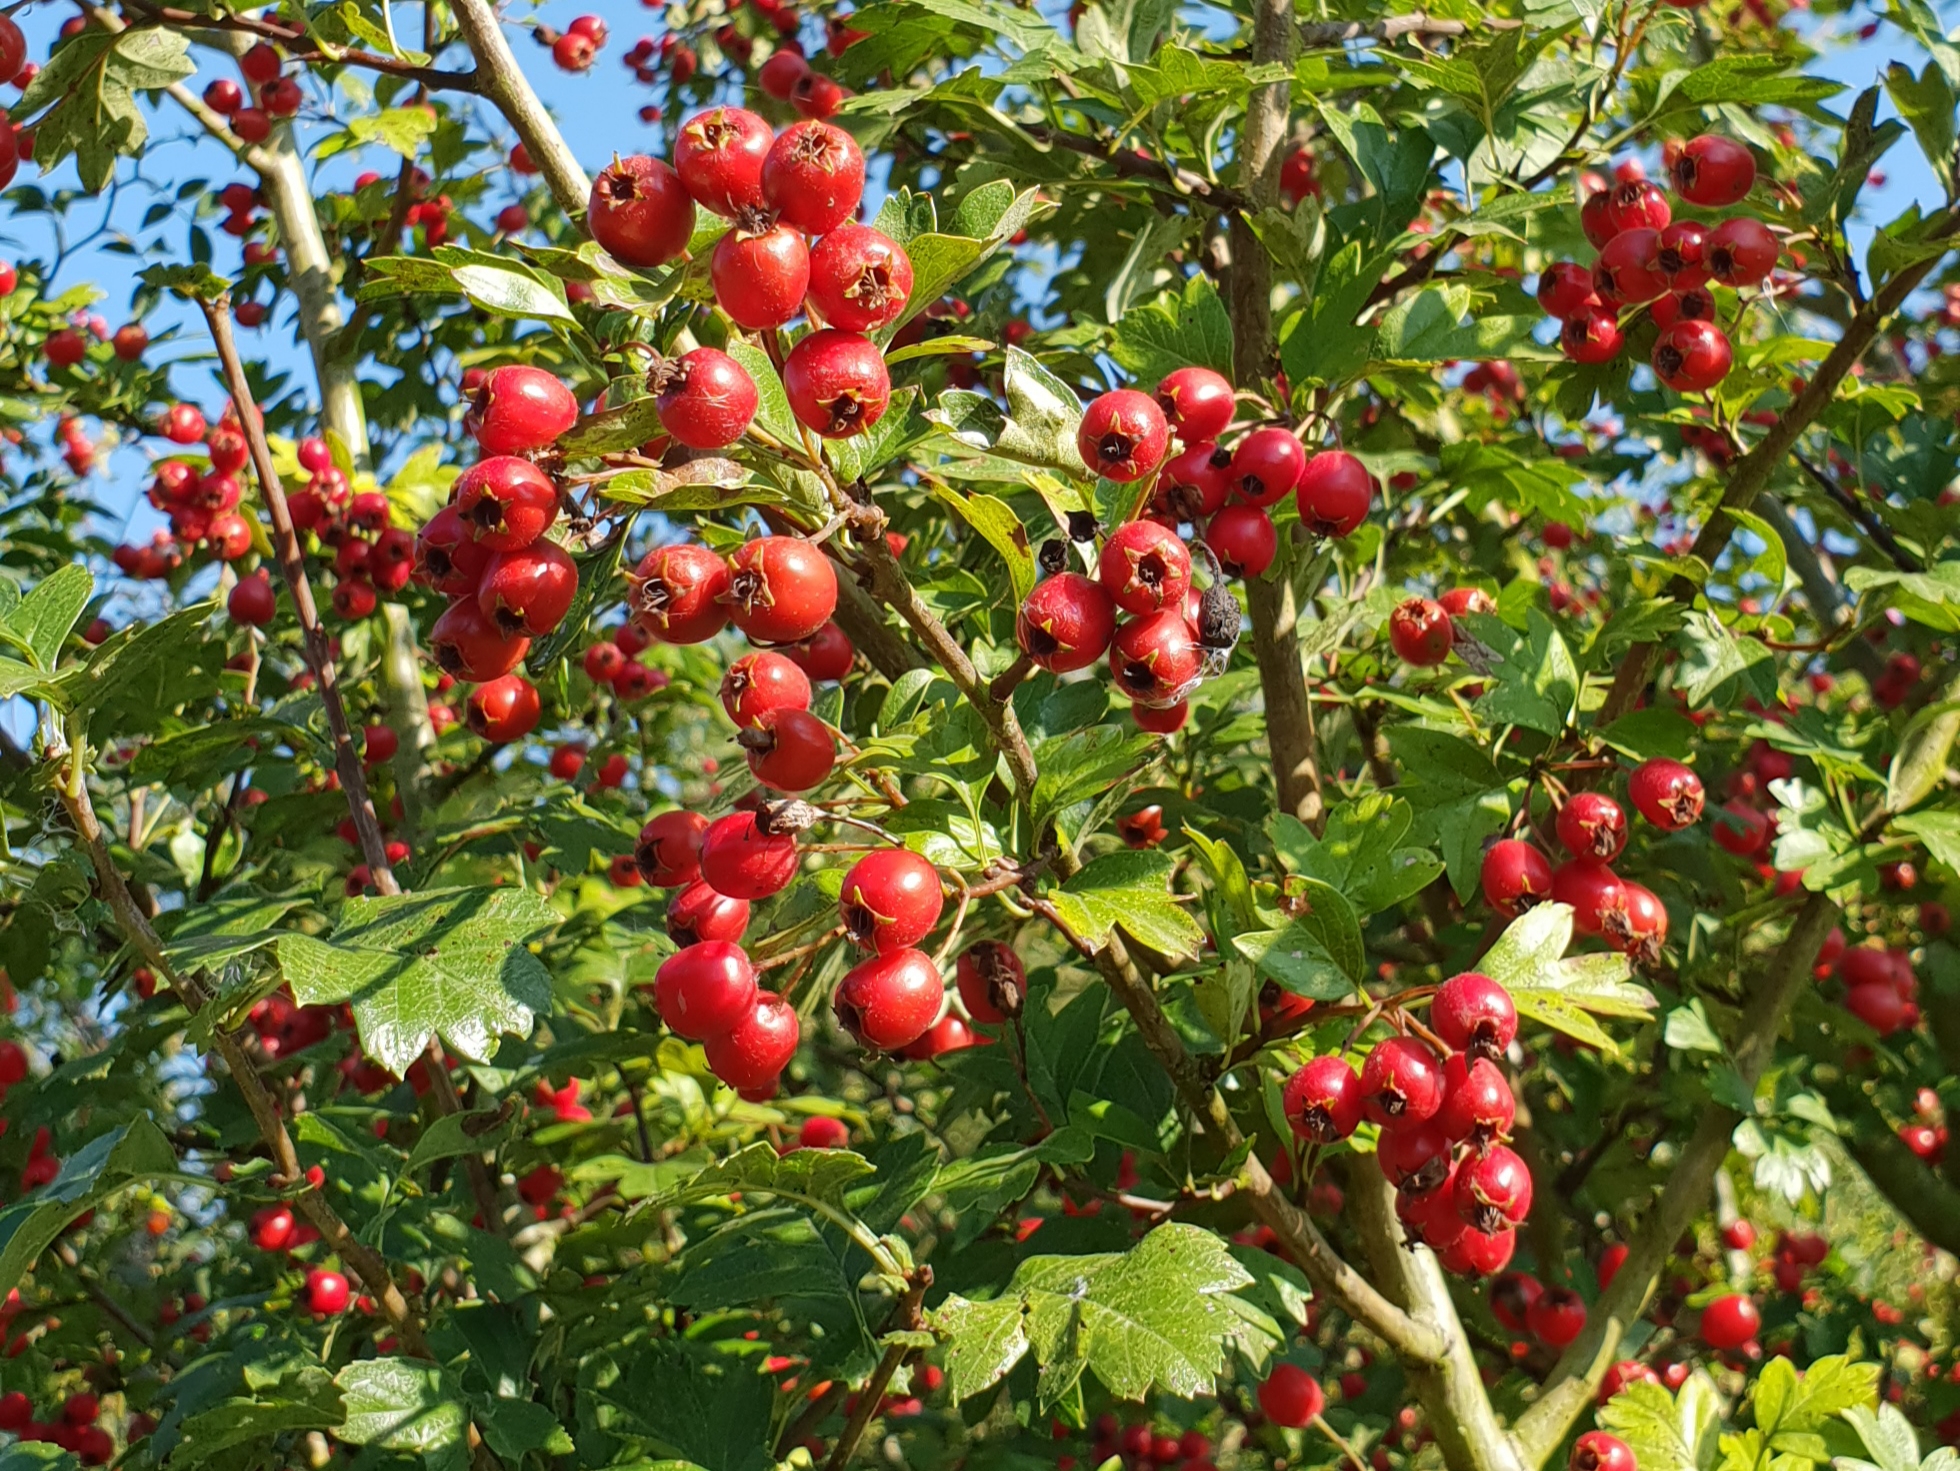
Hawthorn Berries
Have a look at the species composition of the hedges around you and consider replicating those. This will ensure you get the right plants on the right soil-type too. For example beech likes the alkaline chalk, gorse likes the acid sand and gravels, whereas hornbeam does exceptionally well on the clay. That being said, for a good mixed rural looking hedge, I’d advise 60% hawthorn and make up the rest of localised native species, which might include blackthorn, holly, yew, beech, hornbeam, field maple (which would also make a nice little hedgerow tree if you let it grow), hazel, dogwood, gorse, privet and native dog rose. I would also consider adding a few less-unusual hedgerow species like honeysuckle and spindle to add some interest for yourself and wildlife.
You could also consider planting a fruit tree that will grow out of your hedge. Perhaps a damson or crab apple?
OK, so you’ve decided on the species, what to buy?
This depends on how deep your pockets are. You can buy larger container grown plants, but expect to pay decent prices for them. They’ll also be more time consuming to plant as each one will need to be pit-planted. That means digging a little hole the size of the pot to plant them into. If the roots spiral around the pot, you should tease these out so the roots grow evenly. Then back-fill you hole and firmly heel in your plant. This amounts to lots of time and effort, but if it’s a short length of hedge and you want it to be a decent height ASAP this could be your option.
By far, the most economical way to buy hedging is bare rooted plants, sometimes referred to as whips. You can buy whips of various sizes, paying a little more for the larger ones. They can be as little as 20p each – even less if you’re buying in bulk. They get delivered to your door in planting bags, (white on the outside and black on the inside to prevent the sun from heating the roots up), bundled up in quantities of up to 50.
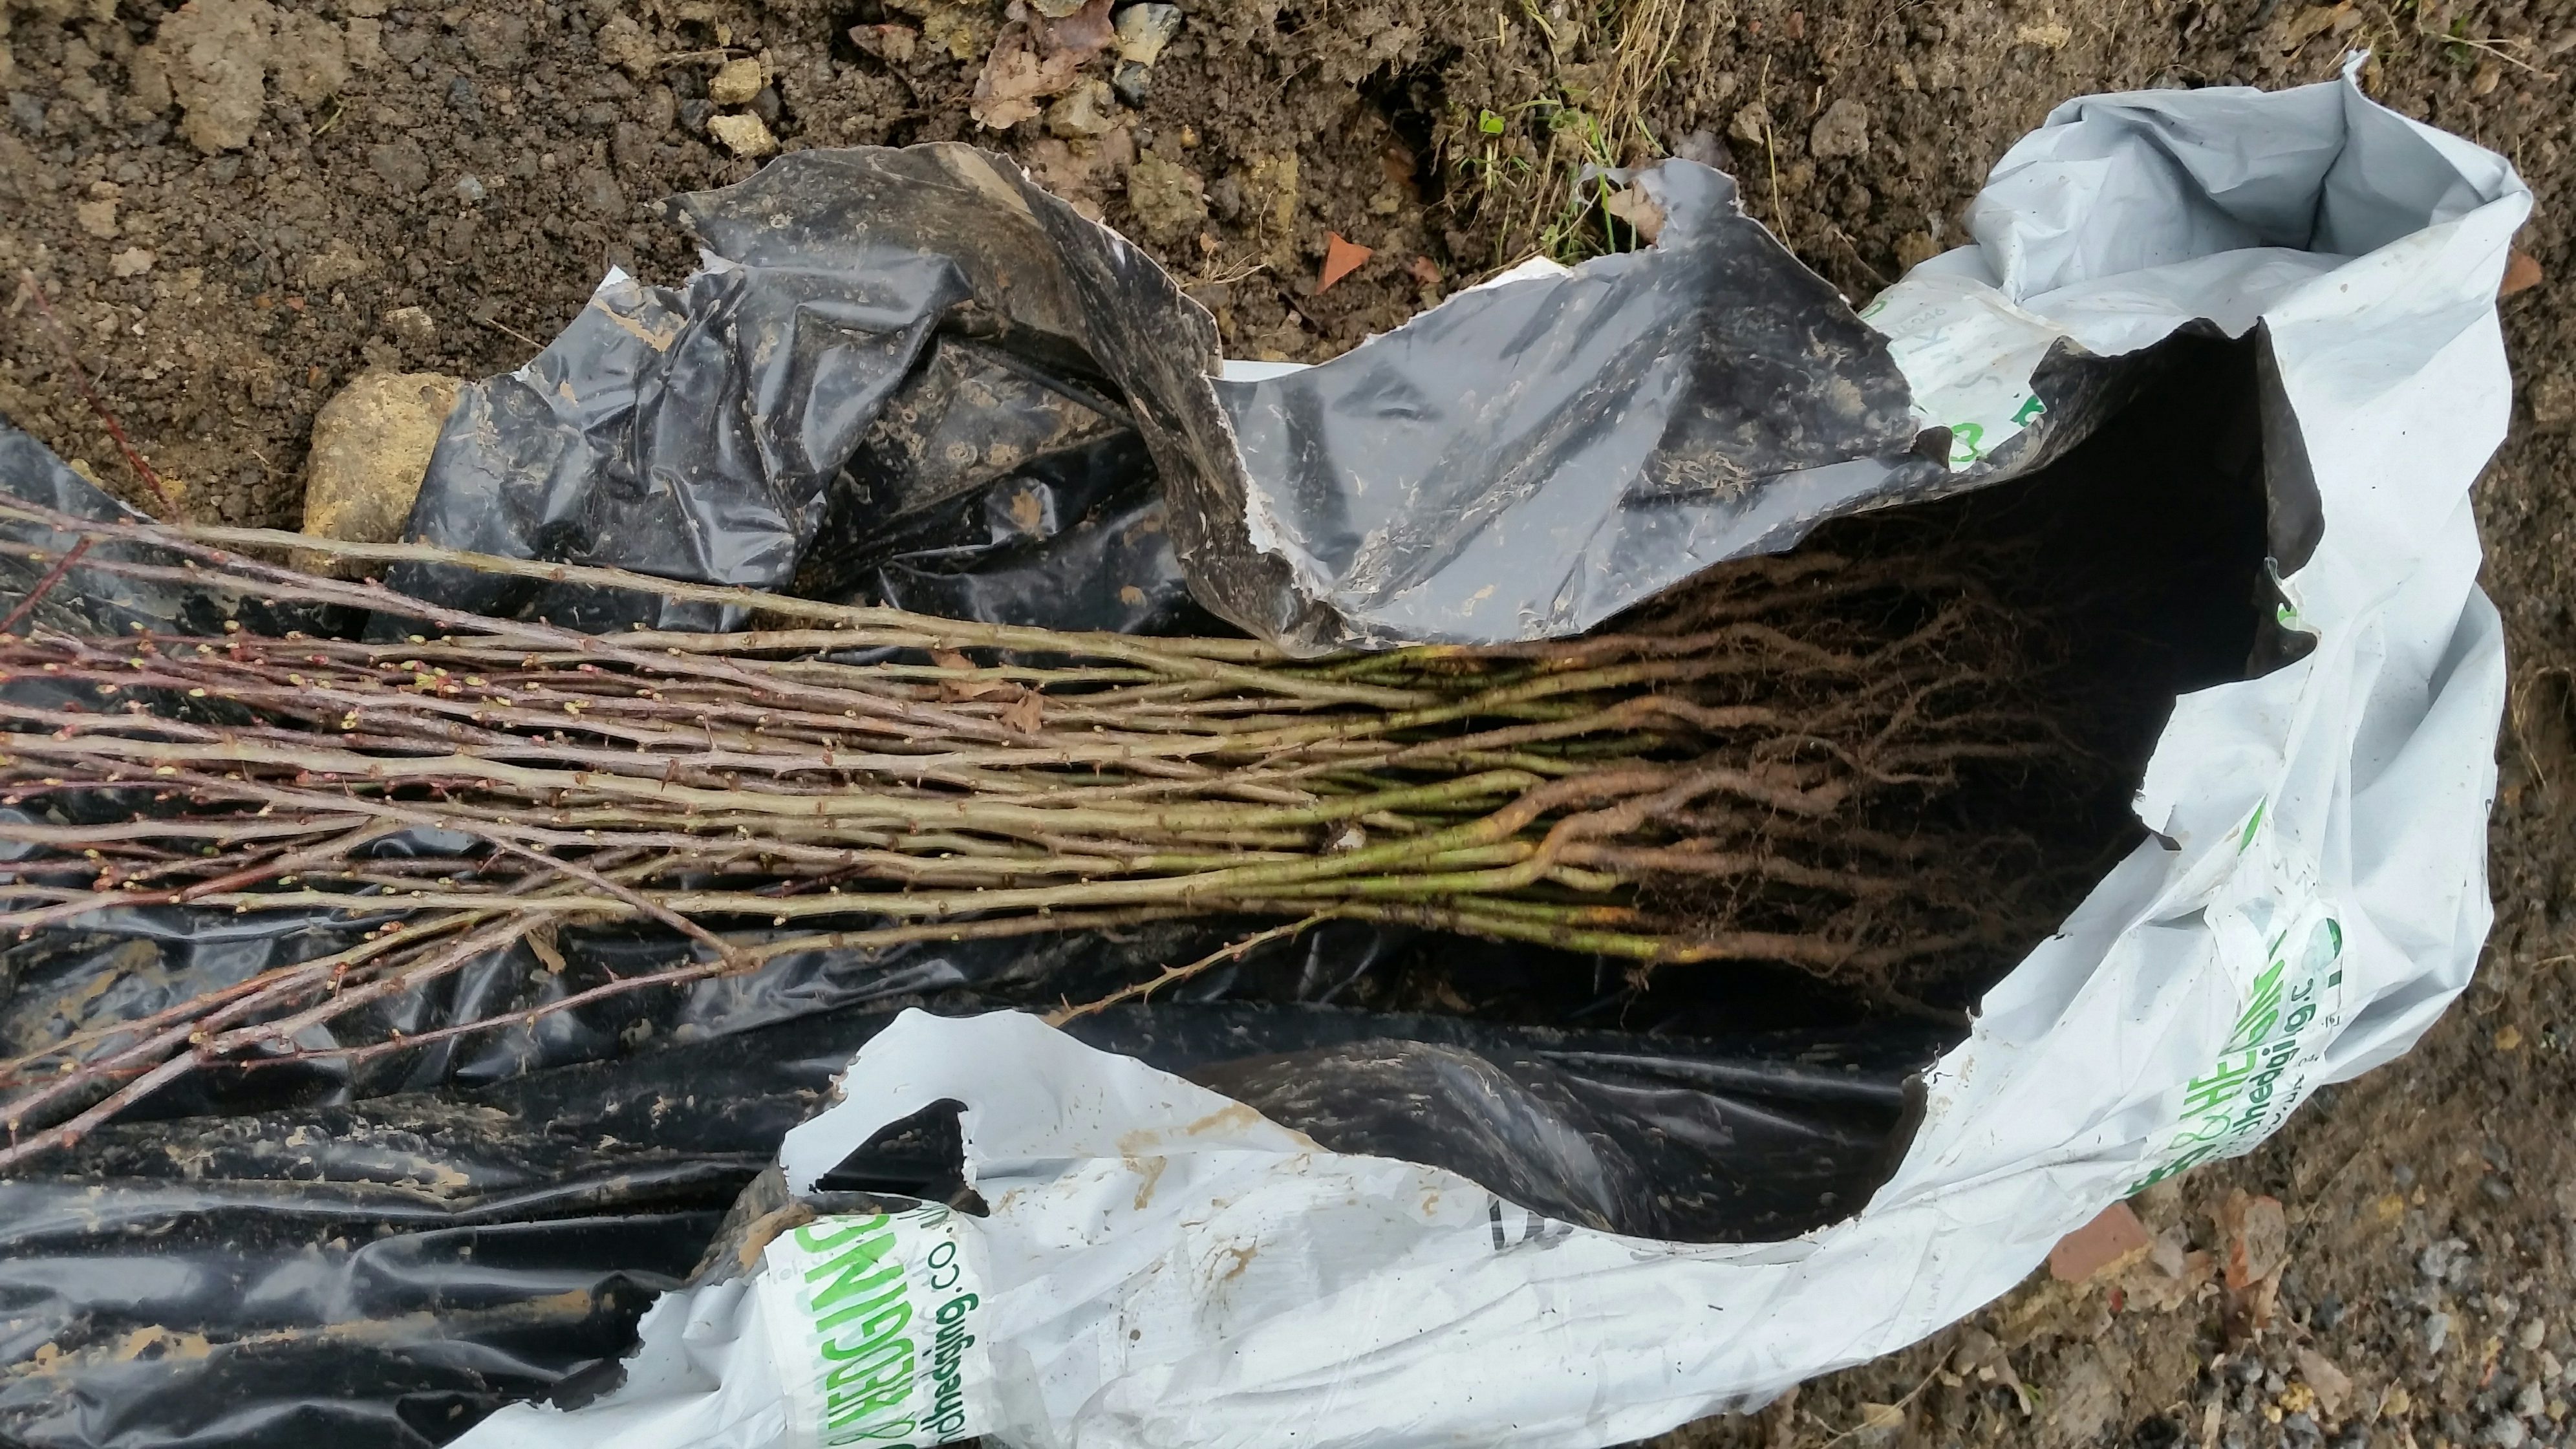
Whether you buy bare root or container grown, take care to keep the roots moist. Many species really don’t like having their roots dry out and you can quickly kill hedging plants by leaving the roots exposed in the sun and wind whilst you have a cuppa.
When to plant your hedge
You can plant your container grown hedging whenever you like, but those roots are likely to dry out much quicker in the summer. In my experience you tend to lose more plants if they’re summer planted. I suspect it’s the shock of the active plant being interfered with, (in winter they’re dormant), the roots being dried in the air and insufficient watering whilst the soil settles around them. Even though we heel plants in, we probably never do it perfectly. Any air pockets stand a chance of being filled in during the wetter winter months, whereas gaps in the summer might mean the roots to dry and die.
Don’t plant into frozen ground or ground that has snow on it. You don’t want the bare roots of your plants to freeze or you may kill them. It’s not a good idea to plant in very dry conditions either. I’d always plant in the winter months given the choice.
Planting your hedge
We’ve covered planting container grown plants, so what about the inexpensive bare-rooted plants?
When you plants are delivered, open the bag and check the roots are moist. They should be dark in colour and wet. If they’re light coloured and dry, raise you concerns with your supplier before you plant them. Send them a photo of the dry roots as proof. They might replace them there and then.
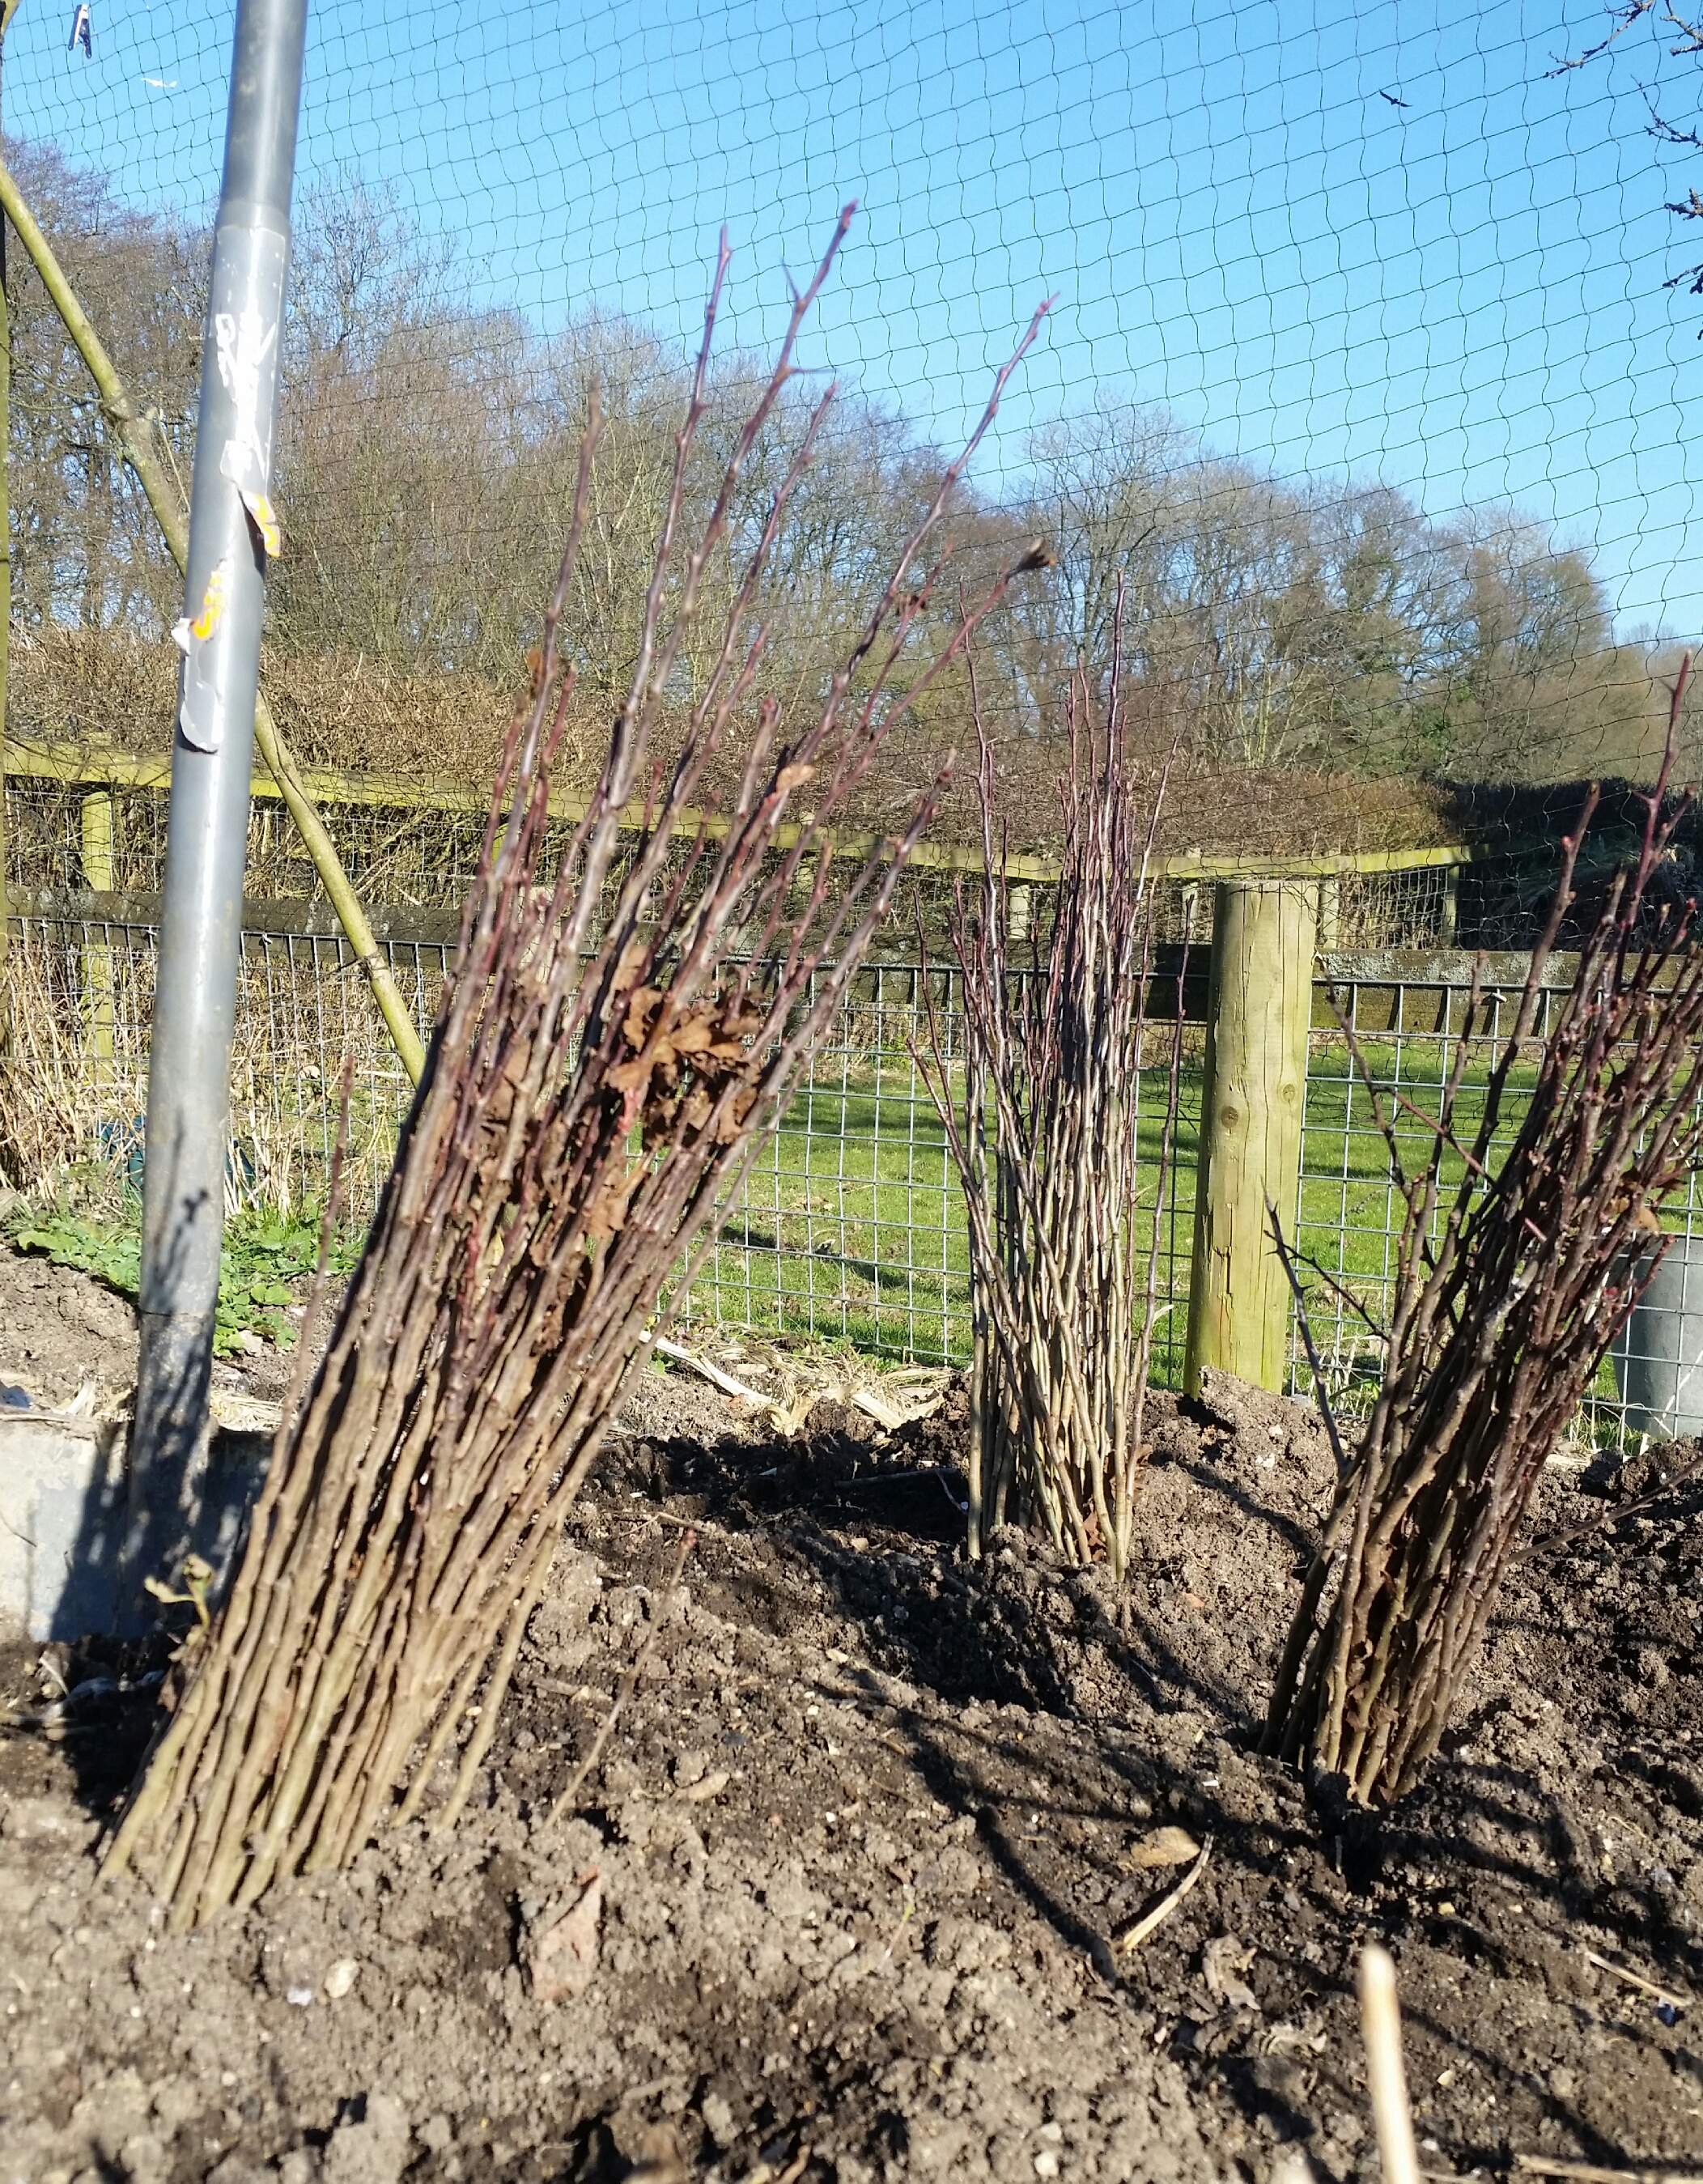
Assuming your plants look good, but you’re not quite ready to plant them, temporarily heel them in. This means digging a little pit or trench a foot or so deep and covering the roots with wet soil. Press the soil down over their roots with your heel to remove air pockets and then water them. They’ll keep safe and sound like that throughout the winter.
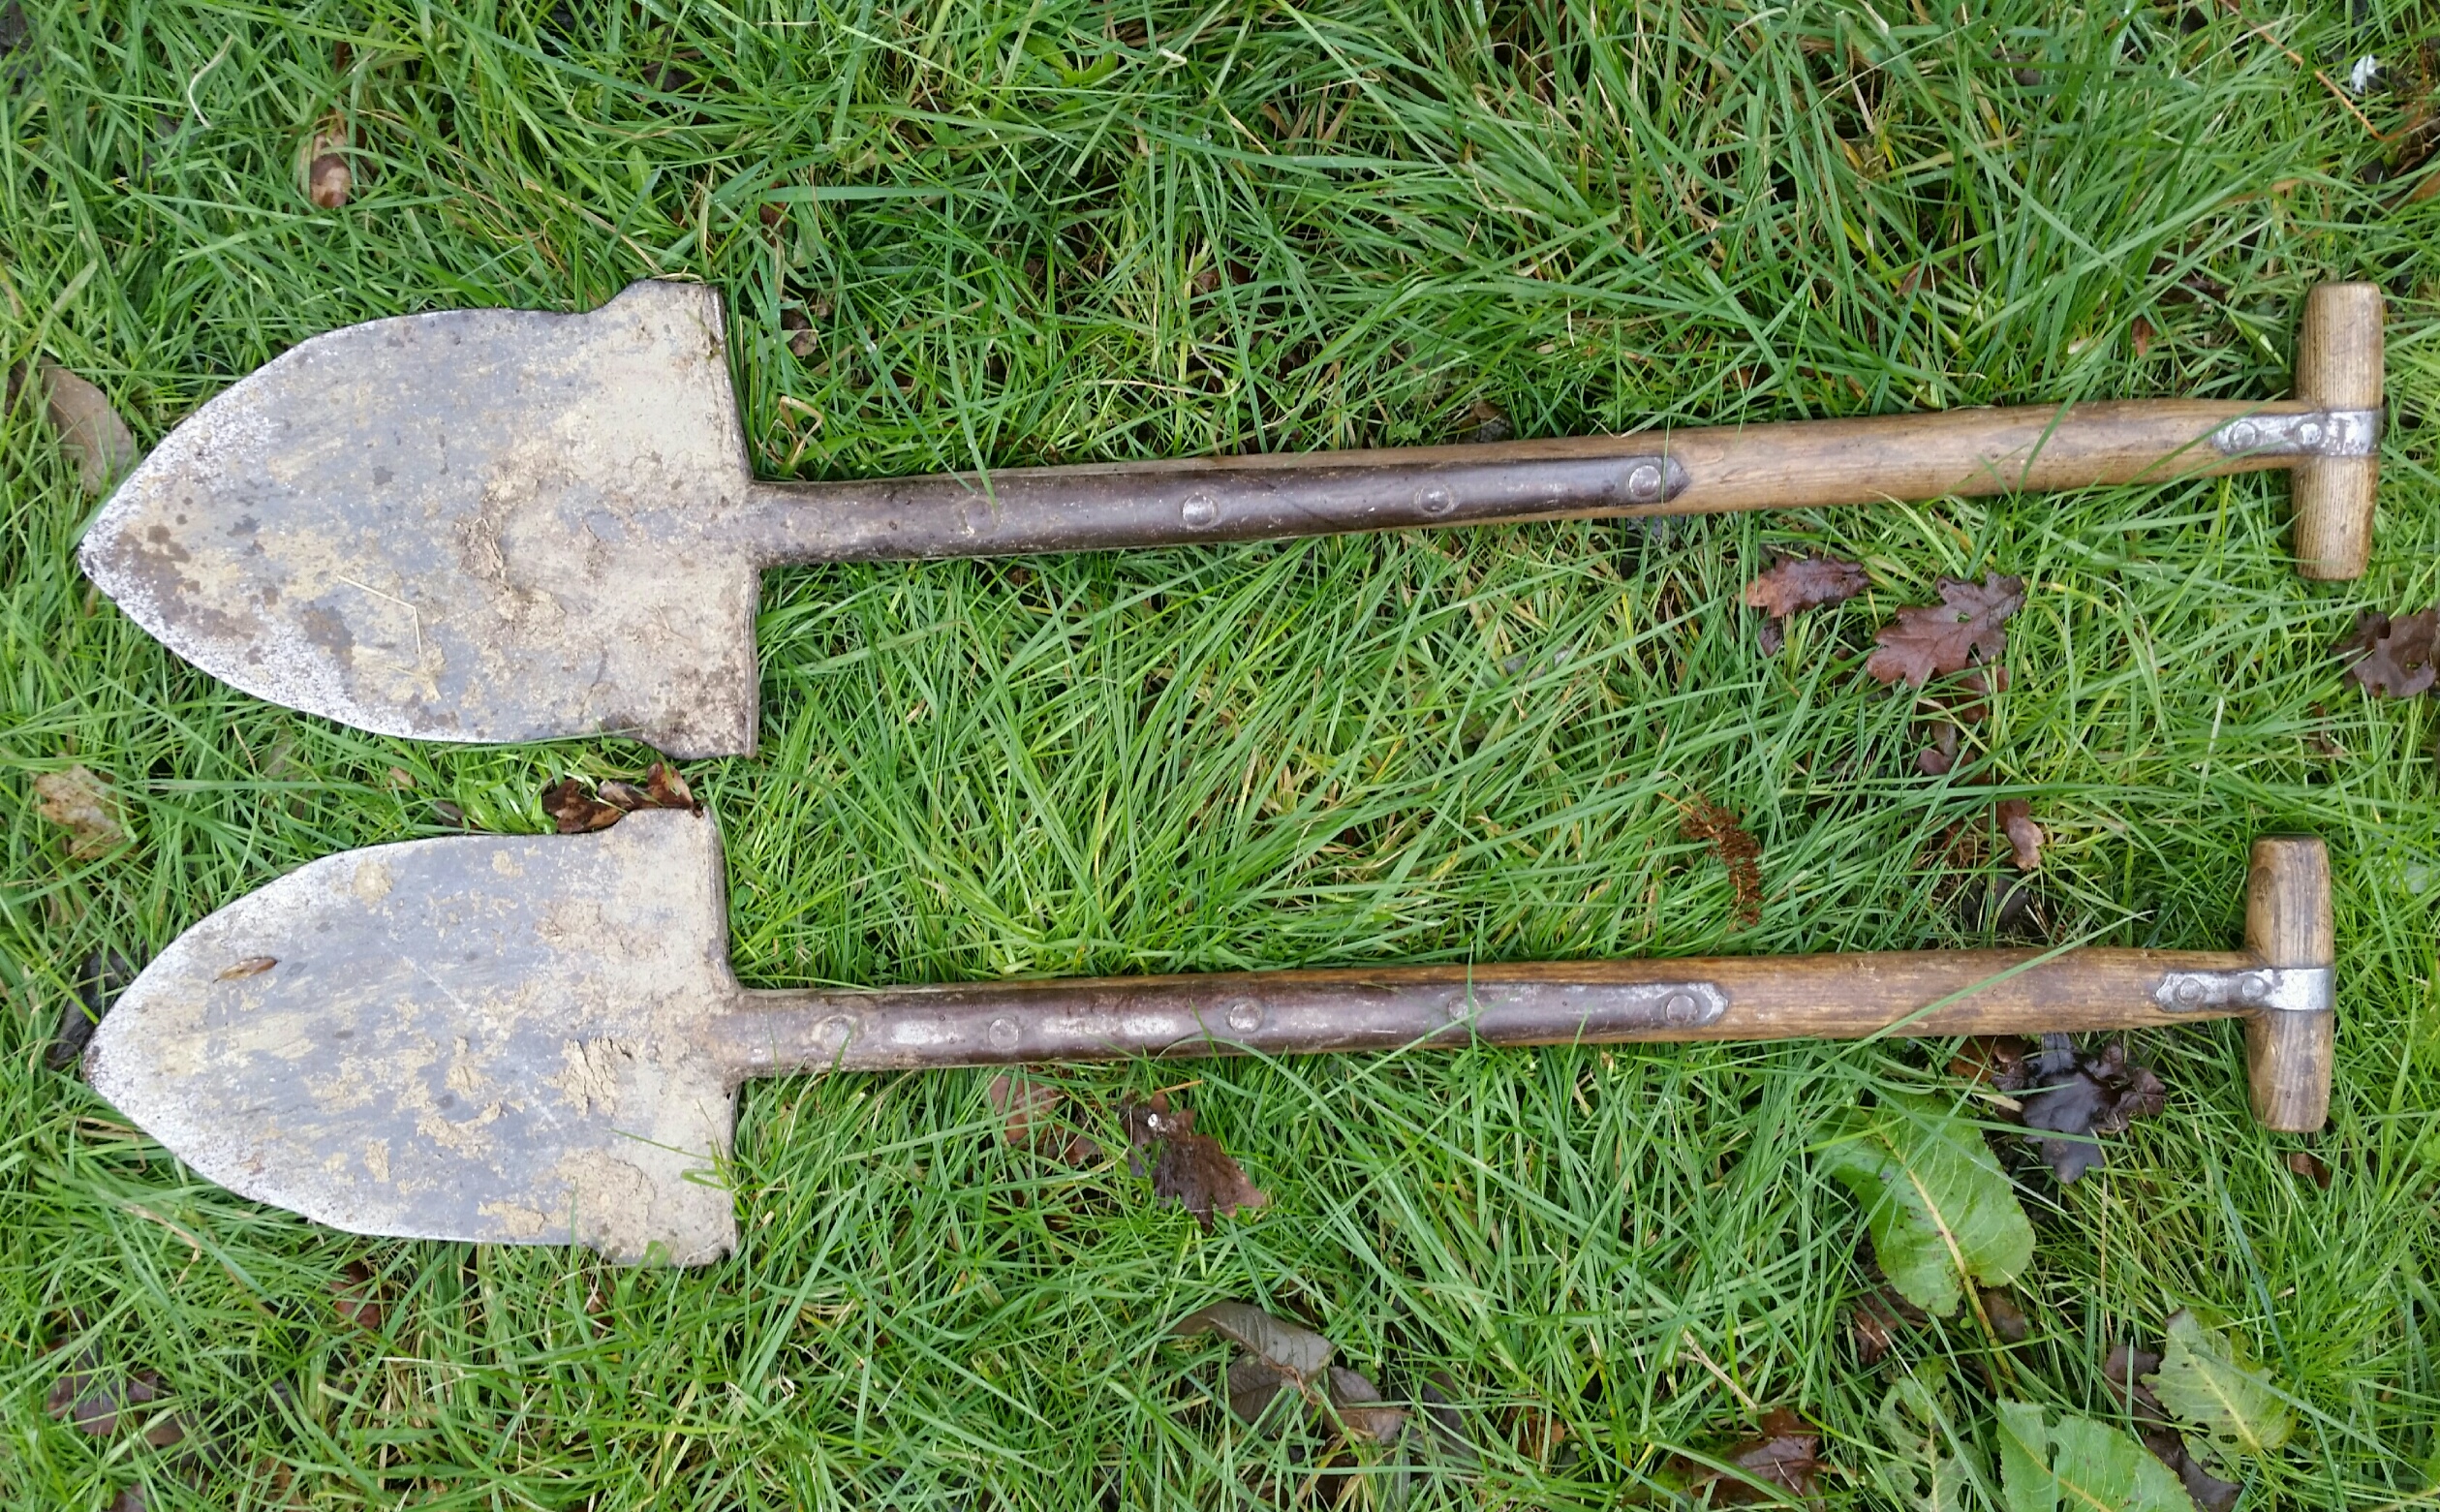
You can get special planting spades, and if you’re planting lots it would be worth considering. They’re sturdy, have foot plates on them and a nice pointed profile. However, for your garden hedge a small digging spade will probably do.
Split your bundles of various species and bag them up in your chosen ratio of species, keeping those roots moist. I know I keep banging on about it, but it was drummed into me by foresters as a youth.
Planting couldn’t be easier. Push your spade into the ground, using your foot to help if necessary, and wiggle it back and forth so it makes an open slit in the ground. Then take a hedging plant out your bag and slide its roots into the slit.
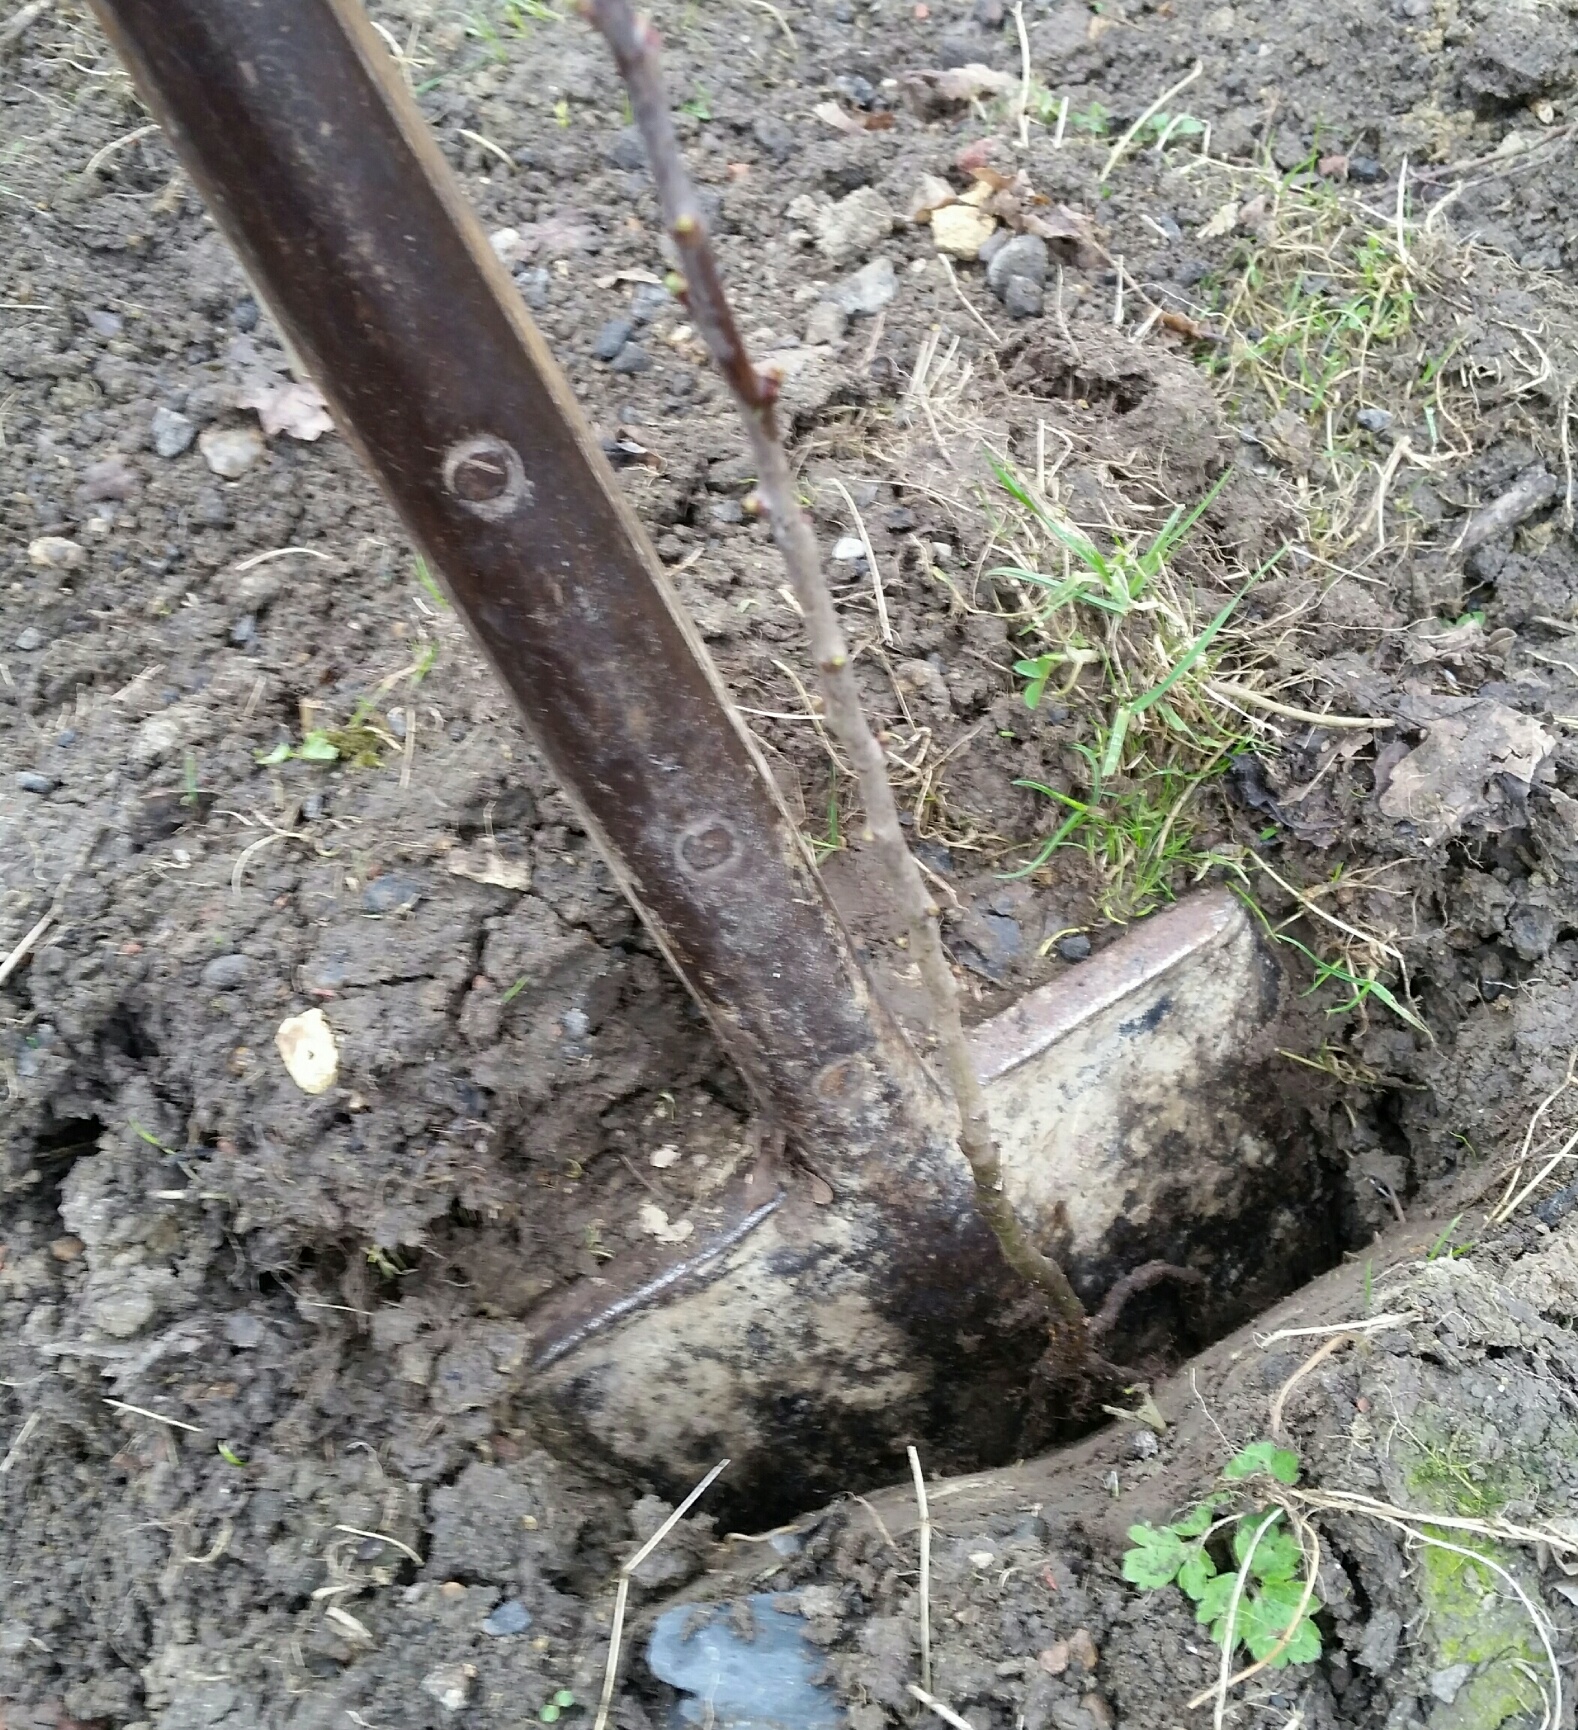
Whilst holding your plant upright and at the right depth, use your heel to firm up the soil around it. Heel the slit from both direction to ensure your plant is upright and to make sure you’ve fully closed the slit up, avoiding air pockets and move on to plant the next one.
Spacing
Have a look at the suppliers recommendations for spacing your plants out, but for whips I favour two rows about 18 inches (45cm) apart. I stagger the plants so they’re not planted in pairs resulting in a fuller hedge.
Protecting your hedge
Having gone to the expense, time and effort of planting your hedge you don’t want some critter to come along and eat it all! The main culprits are rabbits, hares and deer. You can buy tubes, spirals or mesh guards. If you have rabbits or deer you’ll definitely need them. If you think you’ll get away without them, don’t use them, but just be warned a single bunny can do a lot of damage in a very short space of time.
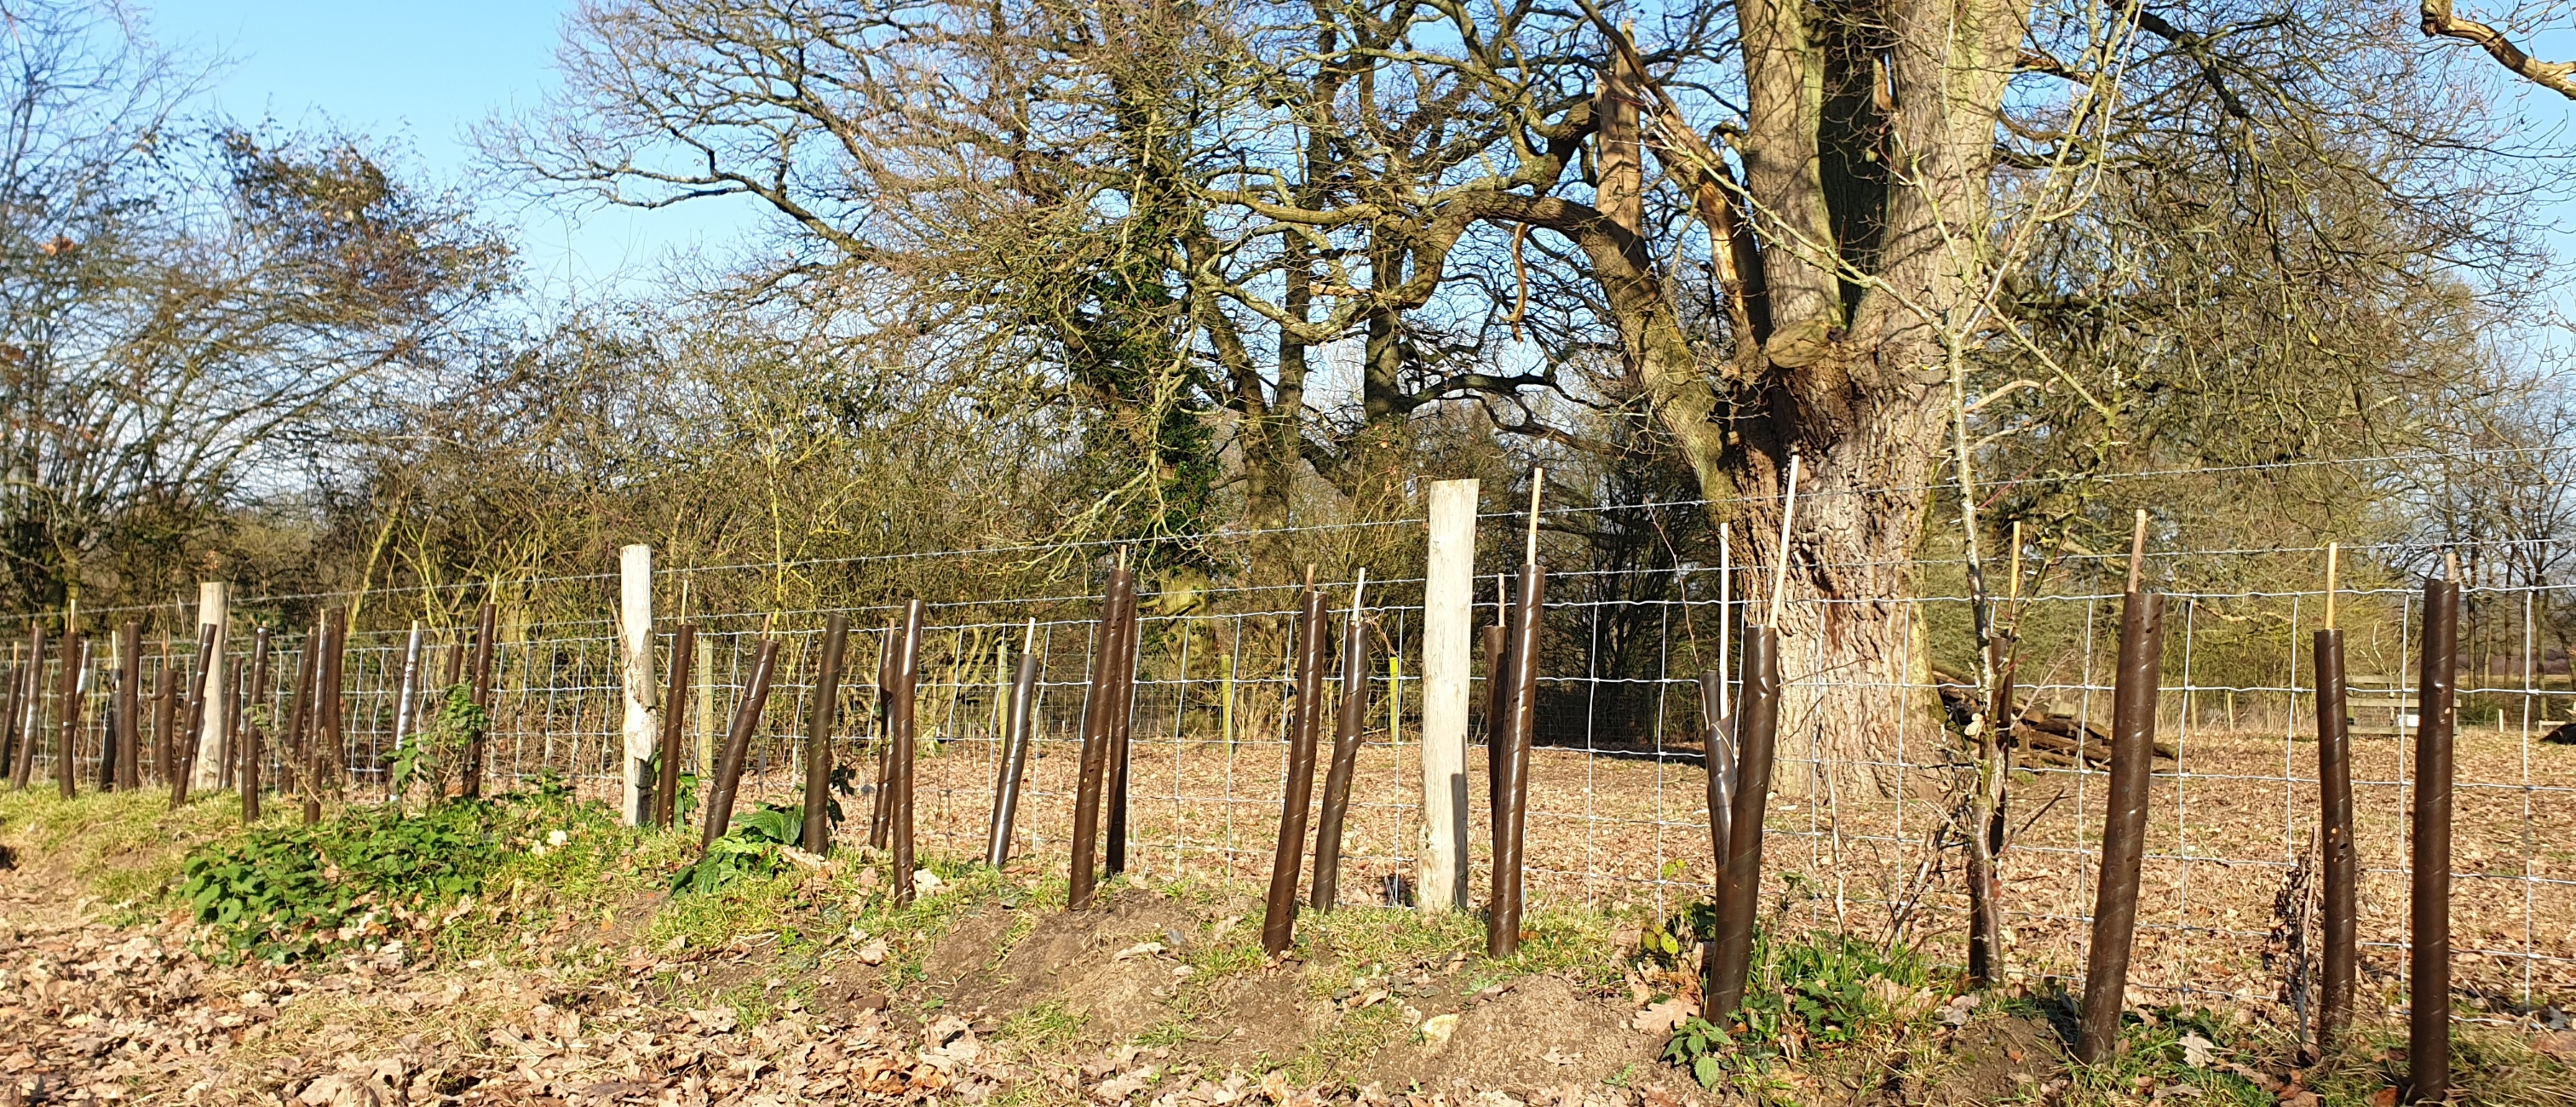
Spiral tree guards on bamboo canes
If you do decide to guard, make sure you hammer in your supporting stake on the north side to reduce the shading effect it will have. If you buy planting tubes, buy the big ones so your hedge can grow a few side branches. Spirals are cheaper and you can allow some side branches to poke out.
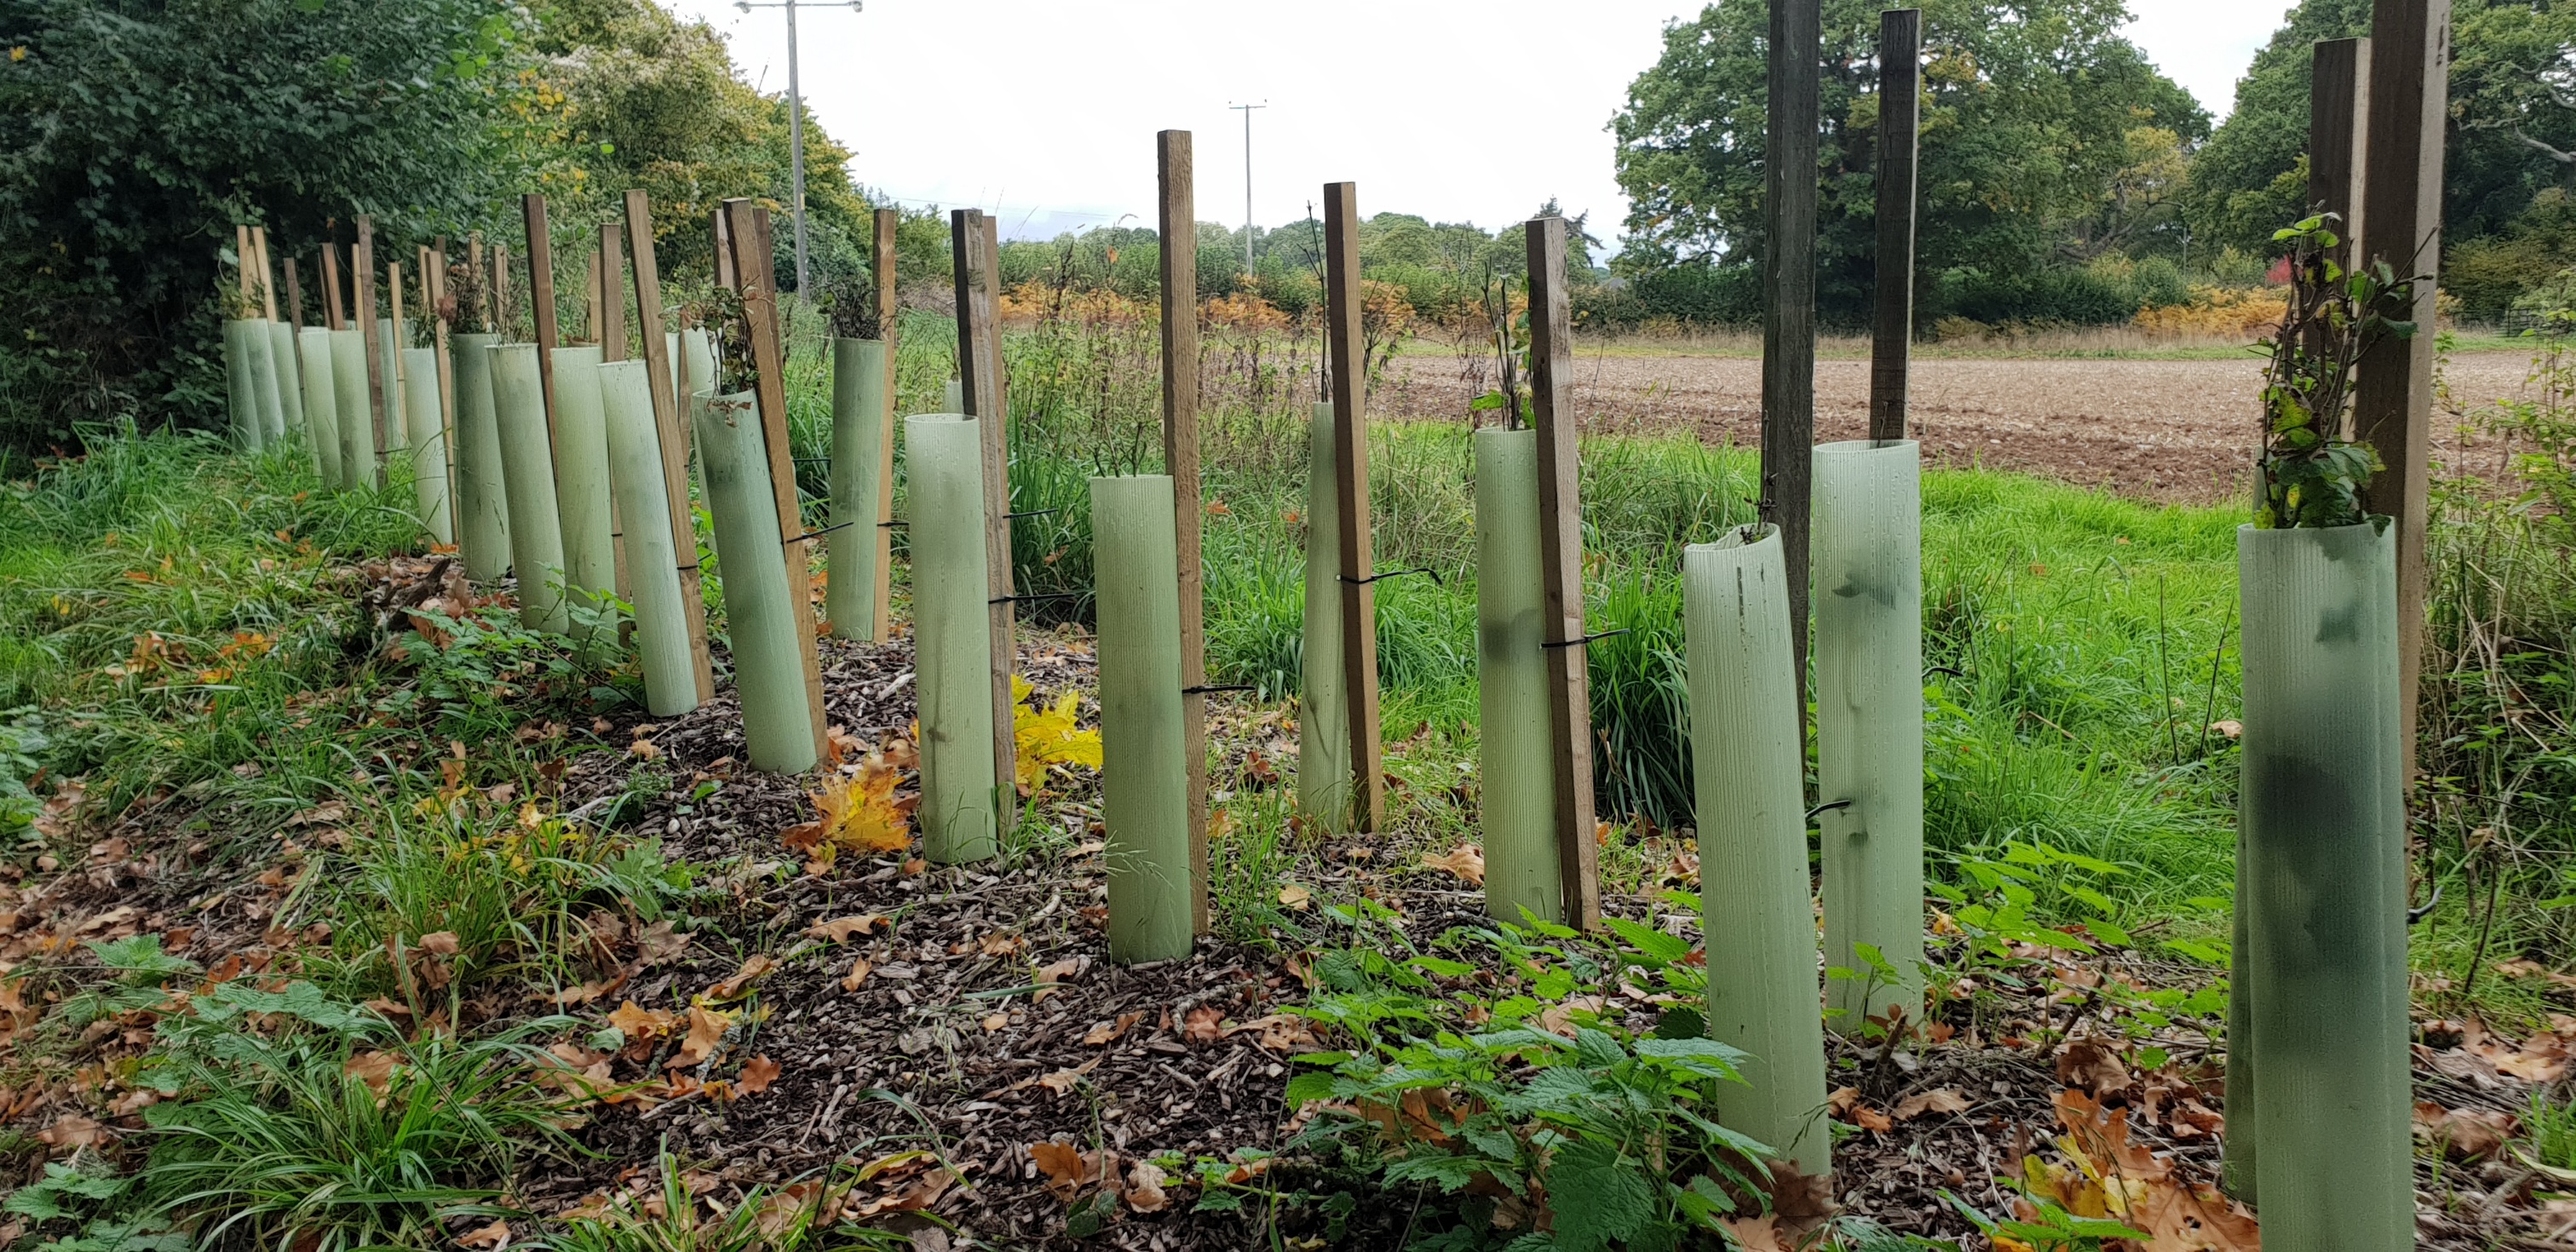
Hedge planted in tubex tubes
As soon as you think your hedge is too big to be snipped off by rabbits and deer, remove the guards so it can benefit from natural conditions. Keep an eye on it though as those pesky rabbits sometimes ring-bark young plants. If they start eating the bark you’ll need to protect them.
You could consider rabbit netting either side of your hedge. This can be useful if you want to keep rabbits out your garden. Rabbit netting is another tutorial on its own. Get in touch if you’d like to discuss that.
Shaping and trimming your hedge
Assuming your hedge is doing well in its second and third years, don’t be afraid to trim off the wispy leaders that start reaching for the sky. Cutting them back will stimulate side grown and bush out your hedge. Even if your goal is a six foot hedge, trimming it at three foot, again at four foot, five foot and again at finished height will result in a much bushier hedge.
If you’d like any advice, or if you’d like us to plant your hedge for you, just drop me a line.
3 comments on Hedge Planting

Really informative and well presented article. Thank you.
Thanks Tony 😊
Thanks very much, this is a really helpful piece. I wish I’d found it earlier. I’ve planted about 350 whips over the past couple of years but still have more to do. My biggest problem has been with bank voles chewing down plants and tubes don’t stop them. I seem to have had success with adding lots of sharp grit to the planting and base of the plant but any other tips would be appreciated.
Thanks again.