Now you’re probably asking why a conservation and access firm is making cider. What’s that got to do with conservation or peoples enjoyment of the natural world? That great man Sir David Attenborough once said something along the lines of; ‘In order for people to care about wildlife, first they need to appreciate and value it.’ One thing that most of us relish is a cool glass of cider on a hot summer’s day. That is probably reason enough to look after your apple trees!
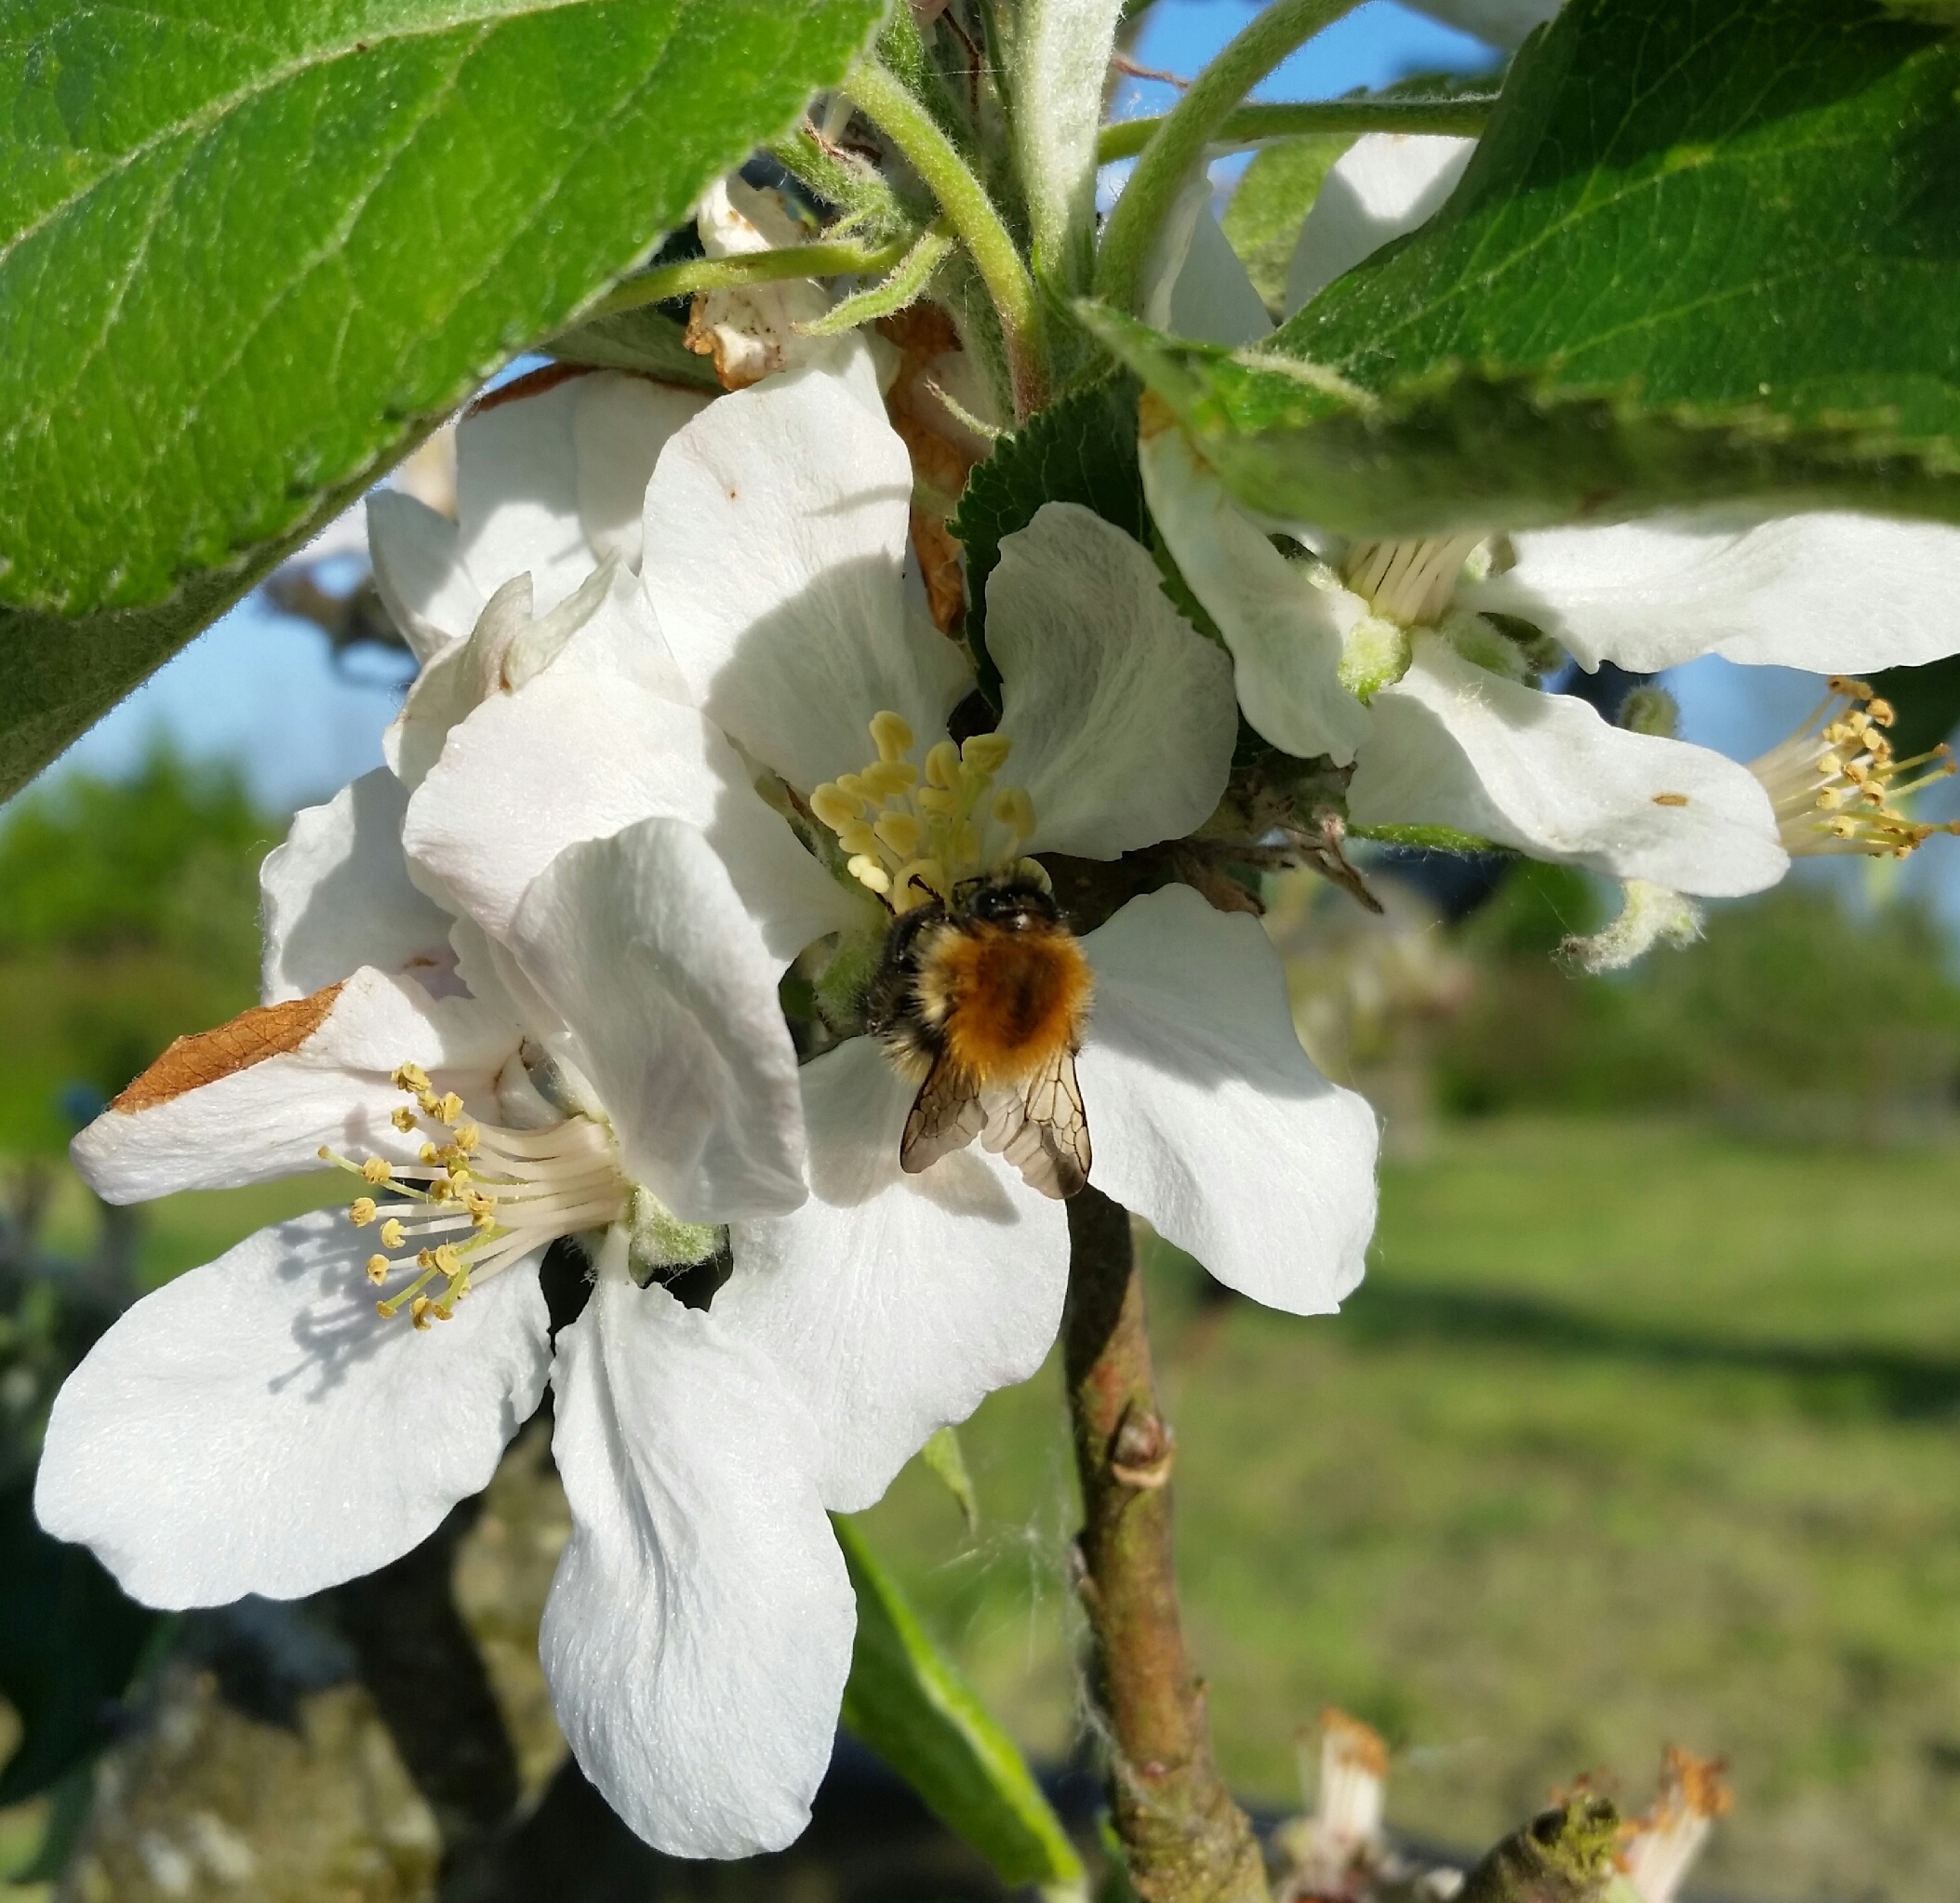
 Orchards are a fabulous habitat for all sorts of species, from mosses and lichens, right up the food chain to insects, birds and mammals. And orchards don’t have to be acres and acres of trees. One or two in garden is still a valuable resource for you and your local wildlife. I could bang on about soil conservation and permaculture too….but back to the headline here…you want to make cider!!
 Cider making always was, and should be today, a social thing. Get some like-minded friends to join you with your apple pressing. The more, the merrier. Imagine a BBQ, some booze and apple pressing with a good bunch of friends. That’s a recipe for a great afternoon. Then there’s that wonderful winter tipple, mulled cider. Knocks mulled wine into a cocked hat in my opinion.
If you want to have a bash at the whole process yourself, read on. If you want us to come and help you, skip to the bottom.
Stuff you’ll need
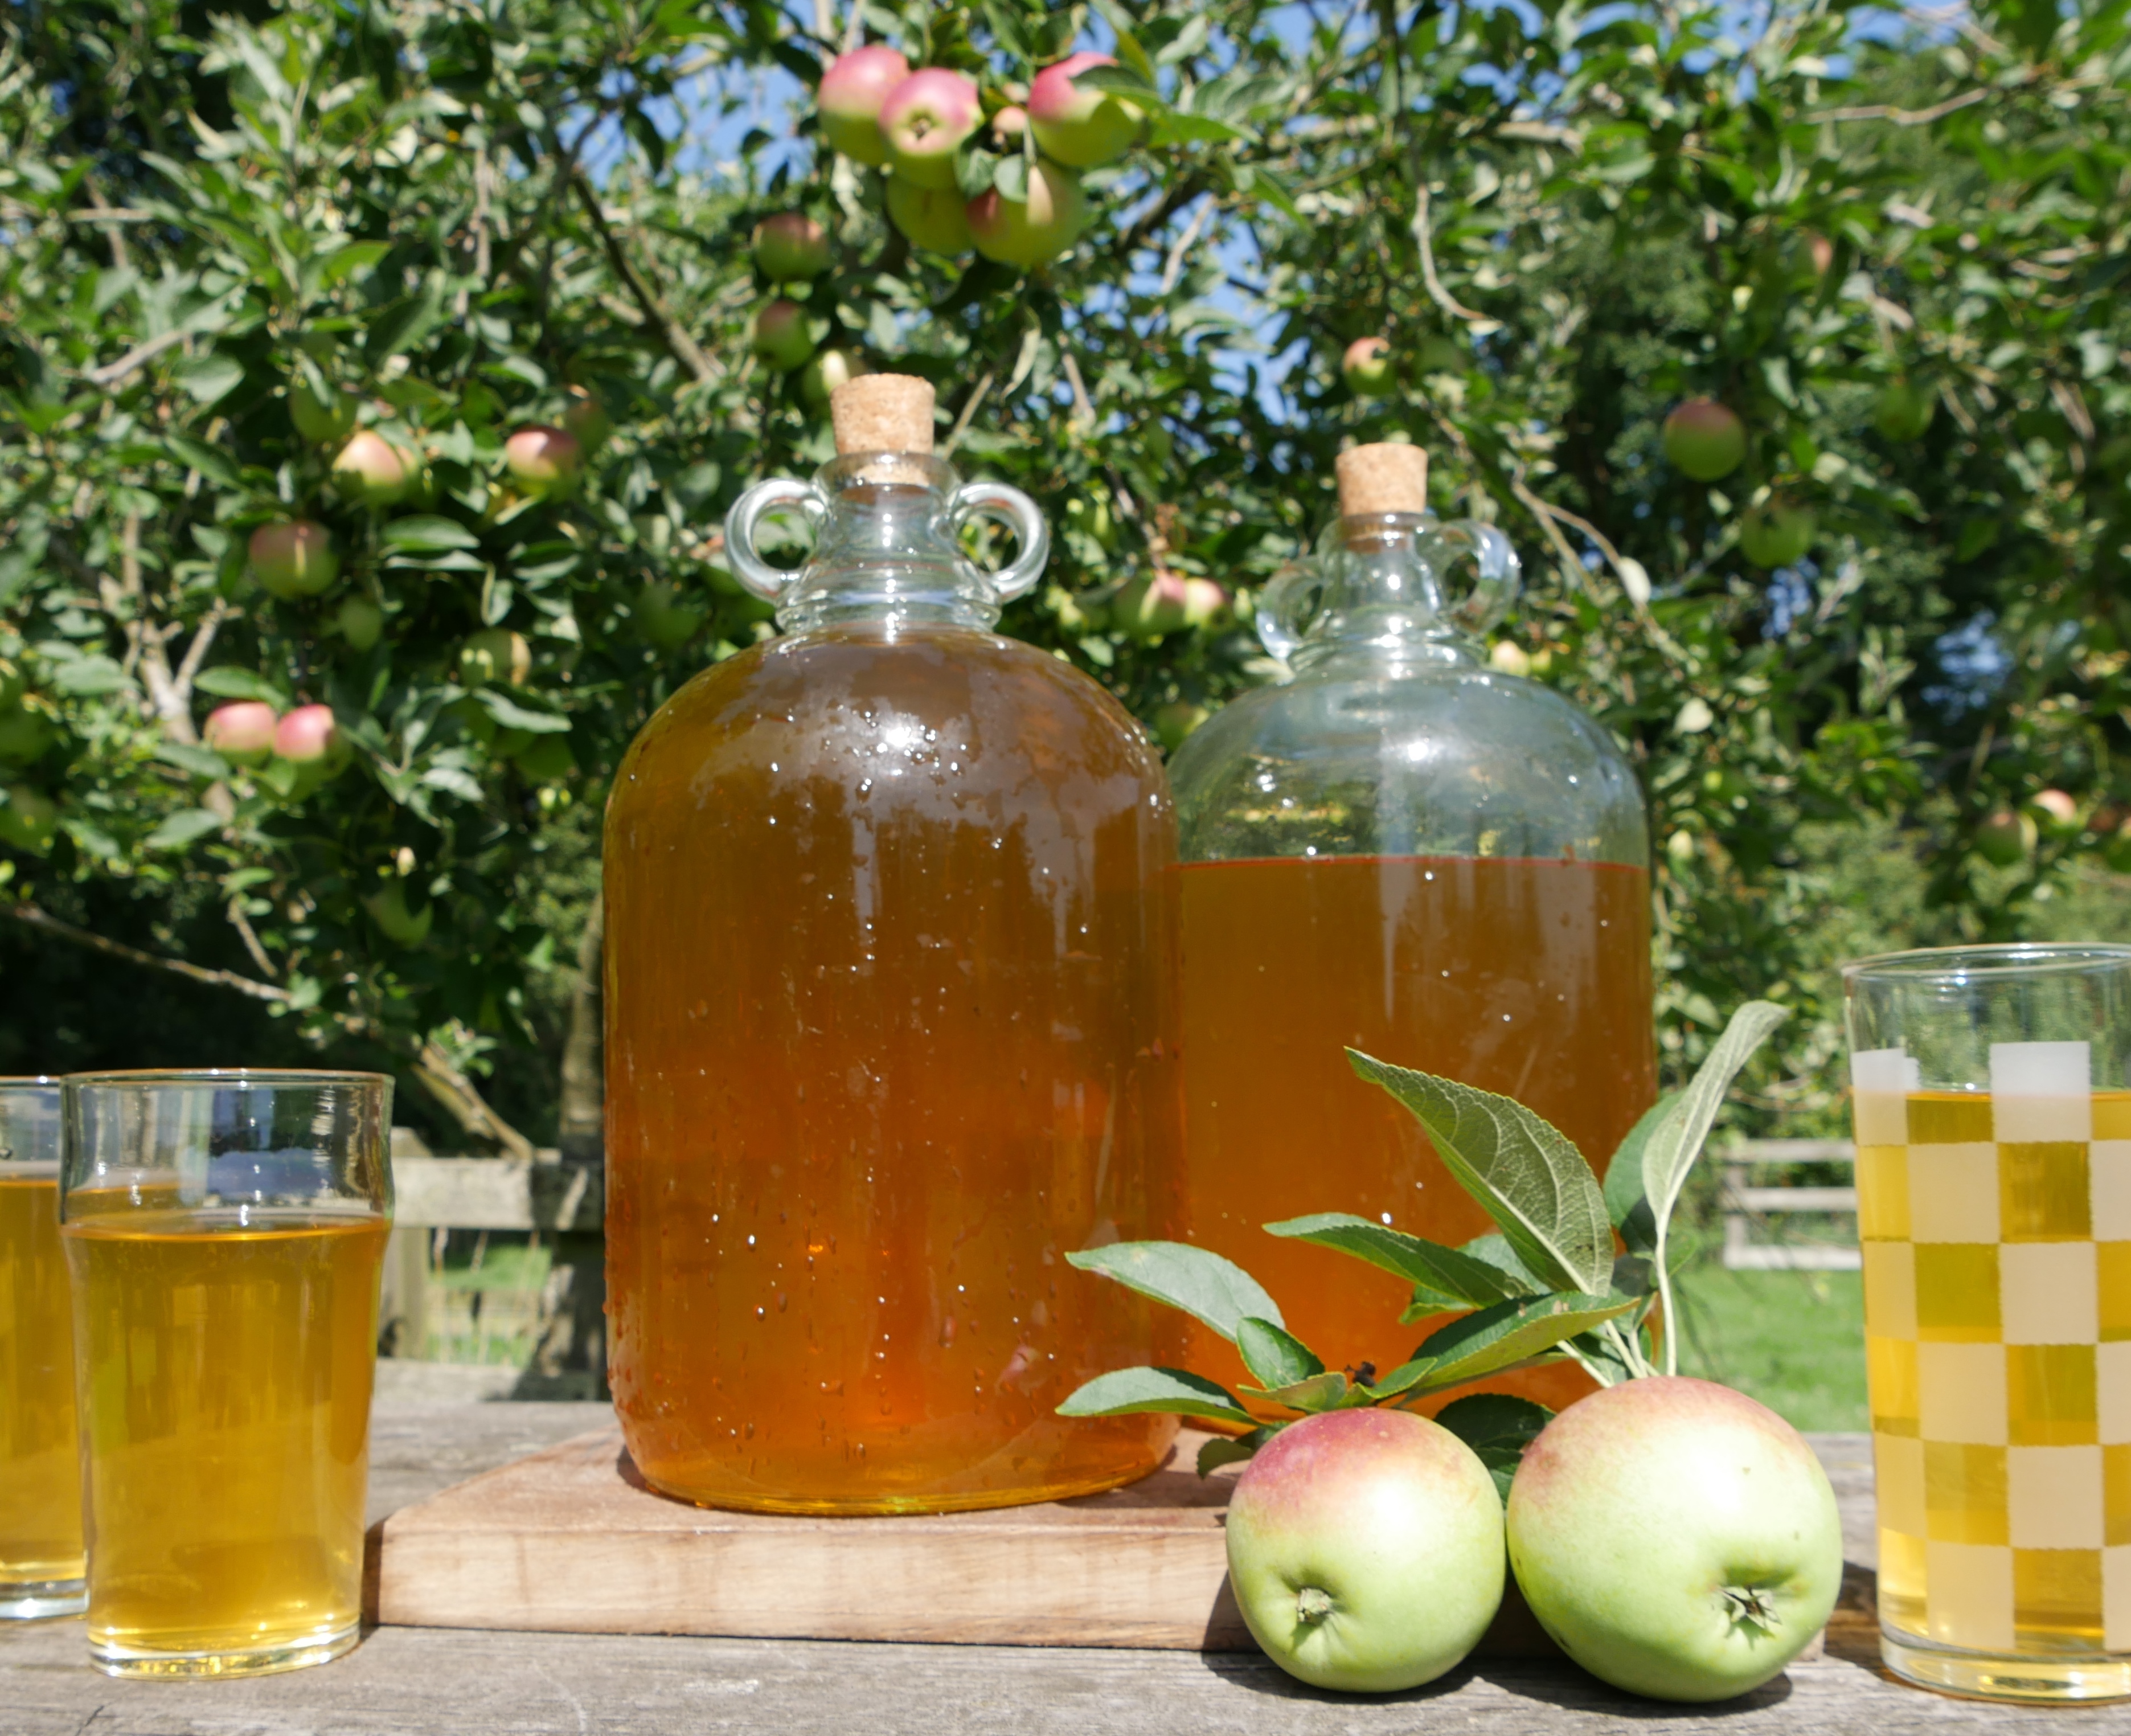
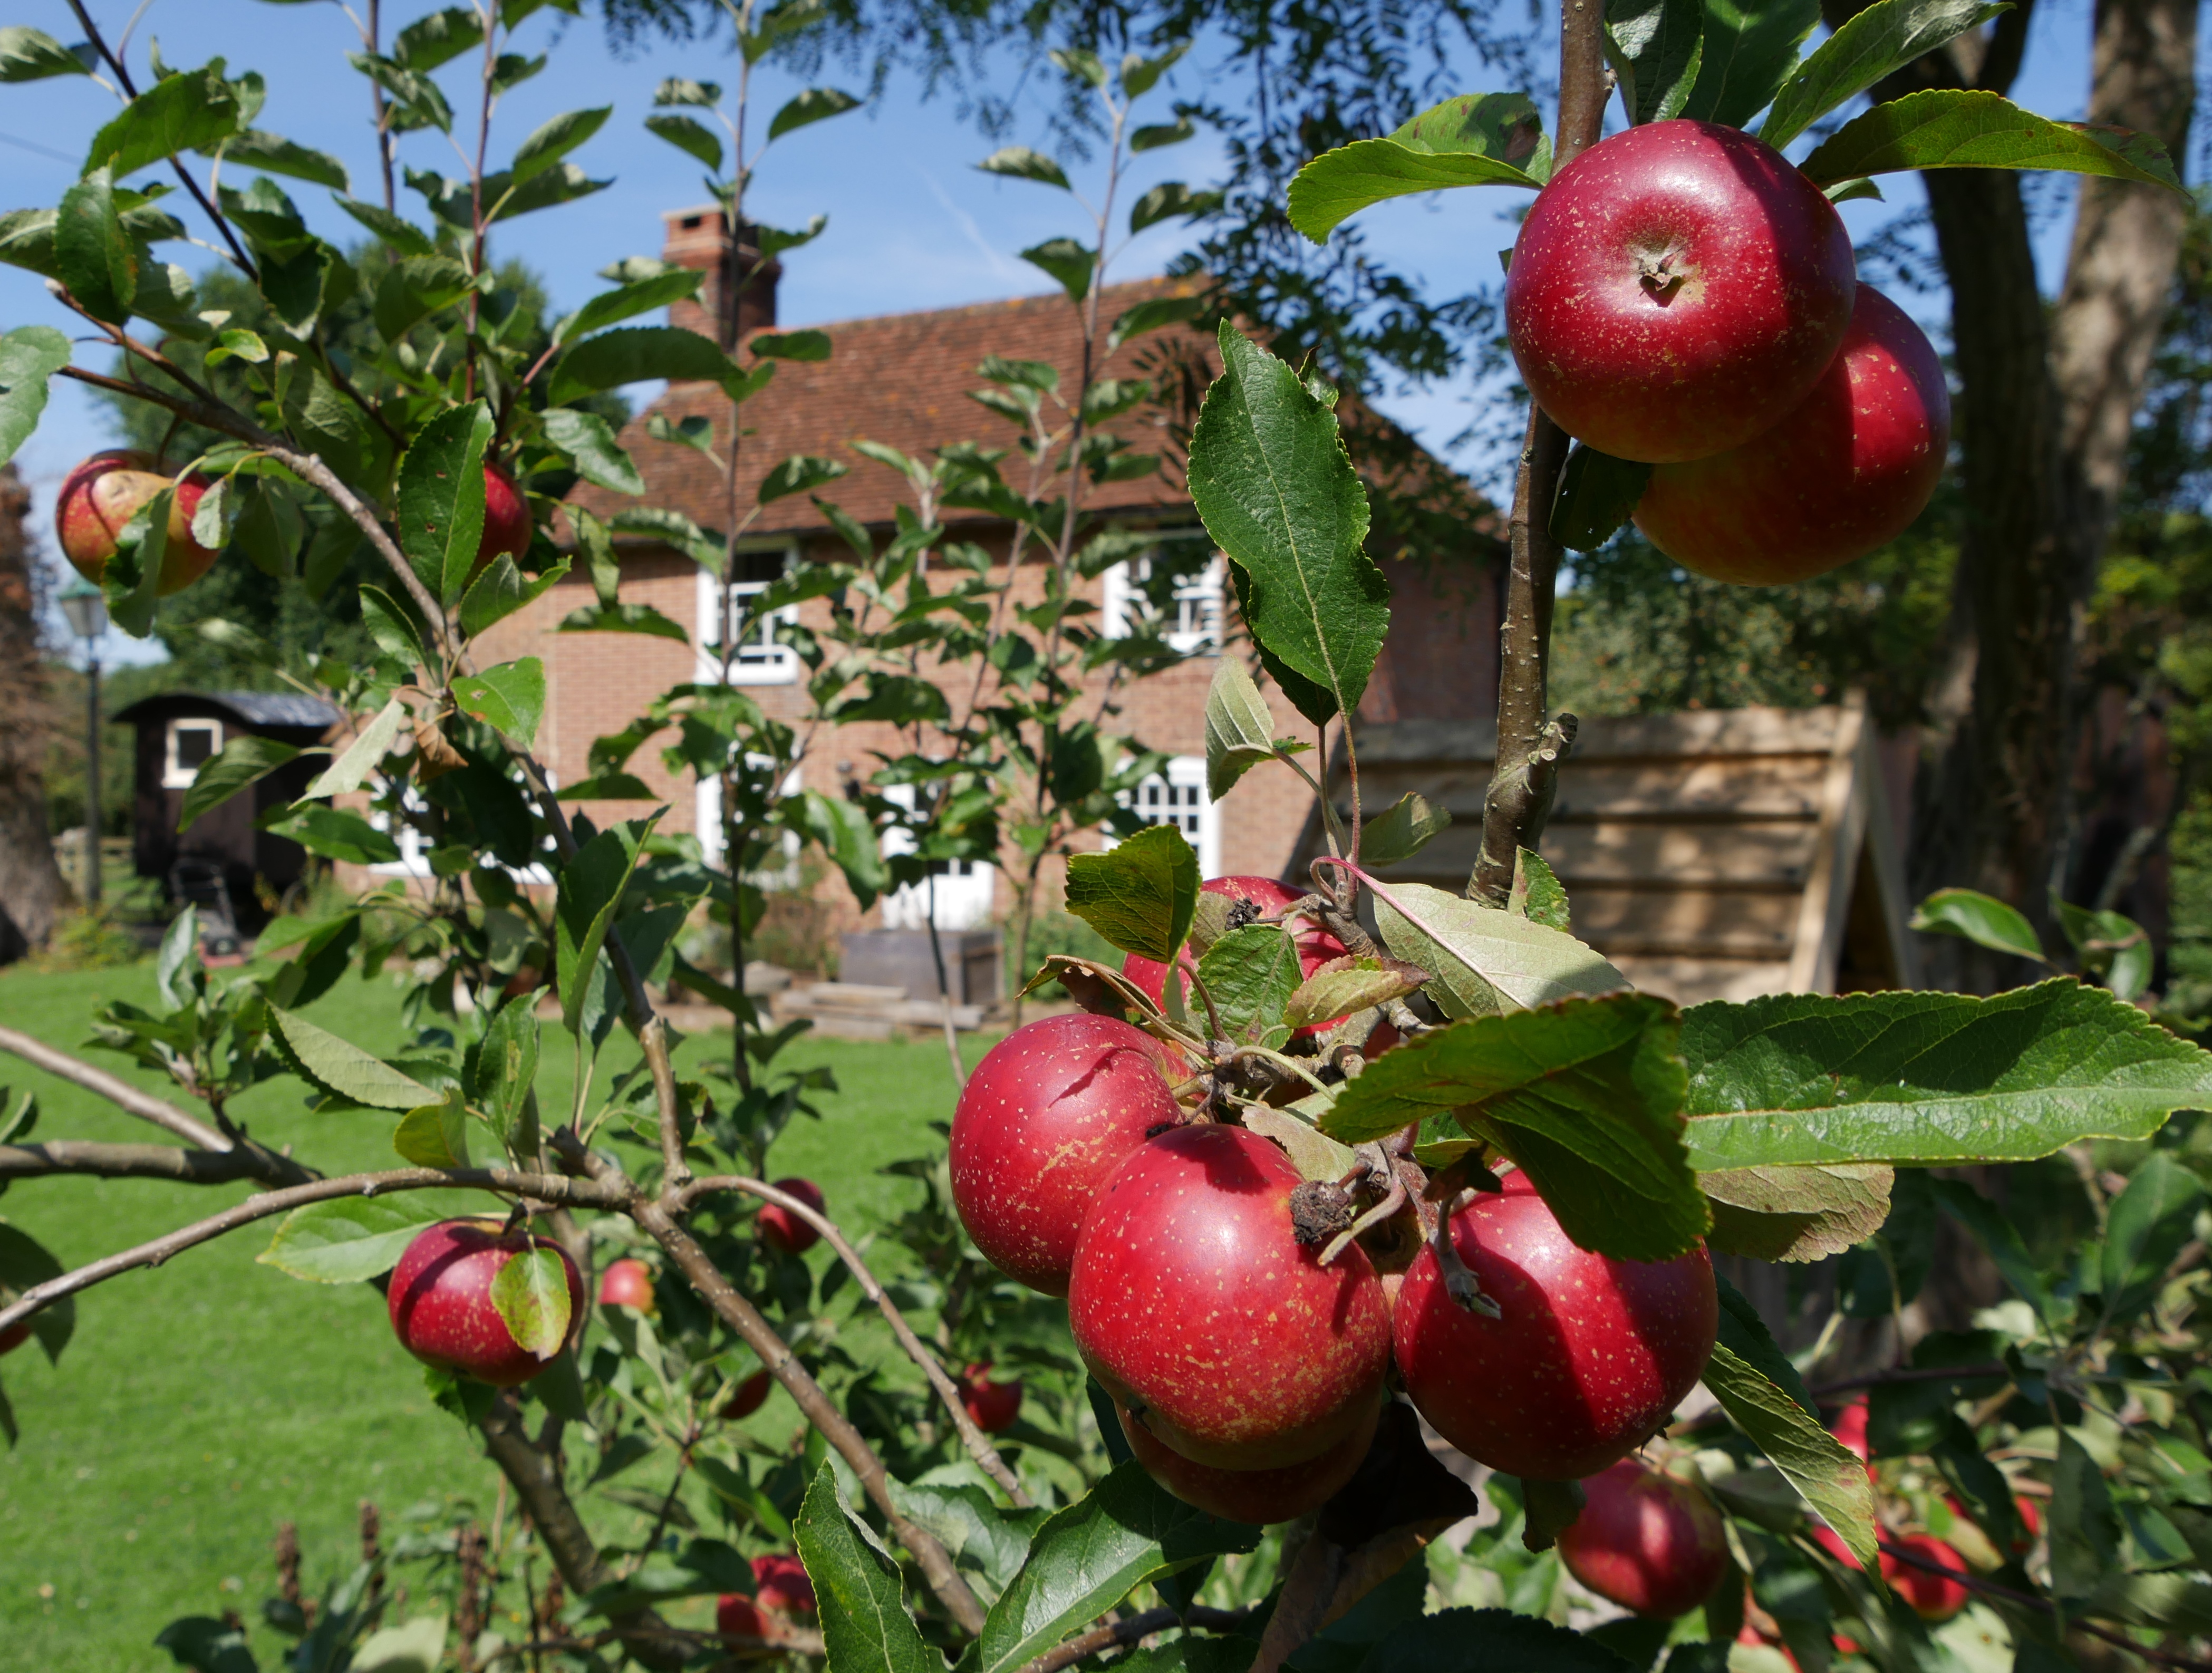
Firstly, and obviously, you’ll need apples, and quite a few of them. I always advocate making a good sized batch of cider. You can make just a gallon if you are going small scale, but five or six gallons is a far better quantity. If you make a cracking 1 gallon batch of cider it’s over disappointingly quickly. You’ll only get seven pints off it by the time you’ve syphoned it off the dead yeast. You don’t want to be precious with it. The whole point of home-made cider is to share it with friends and have a good time. So, assuming I’ve convinced you to make five or six gallons, you’ll need roughly a wheely-bin (couple of dustbins) full of apples for each six gallon fermenter.
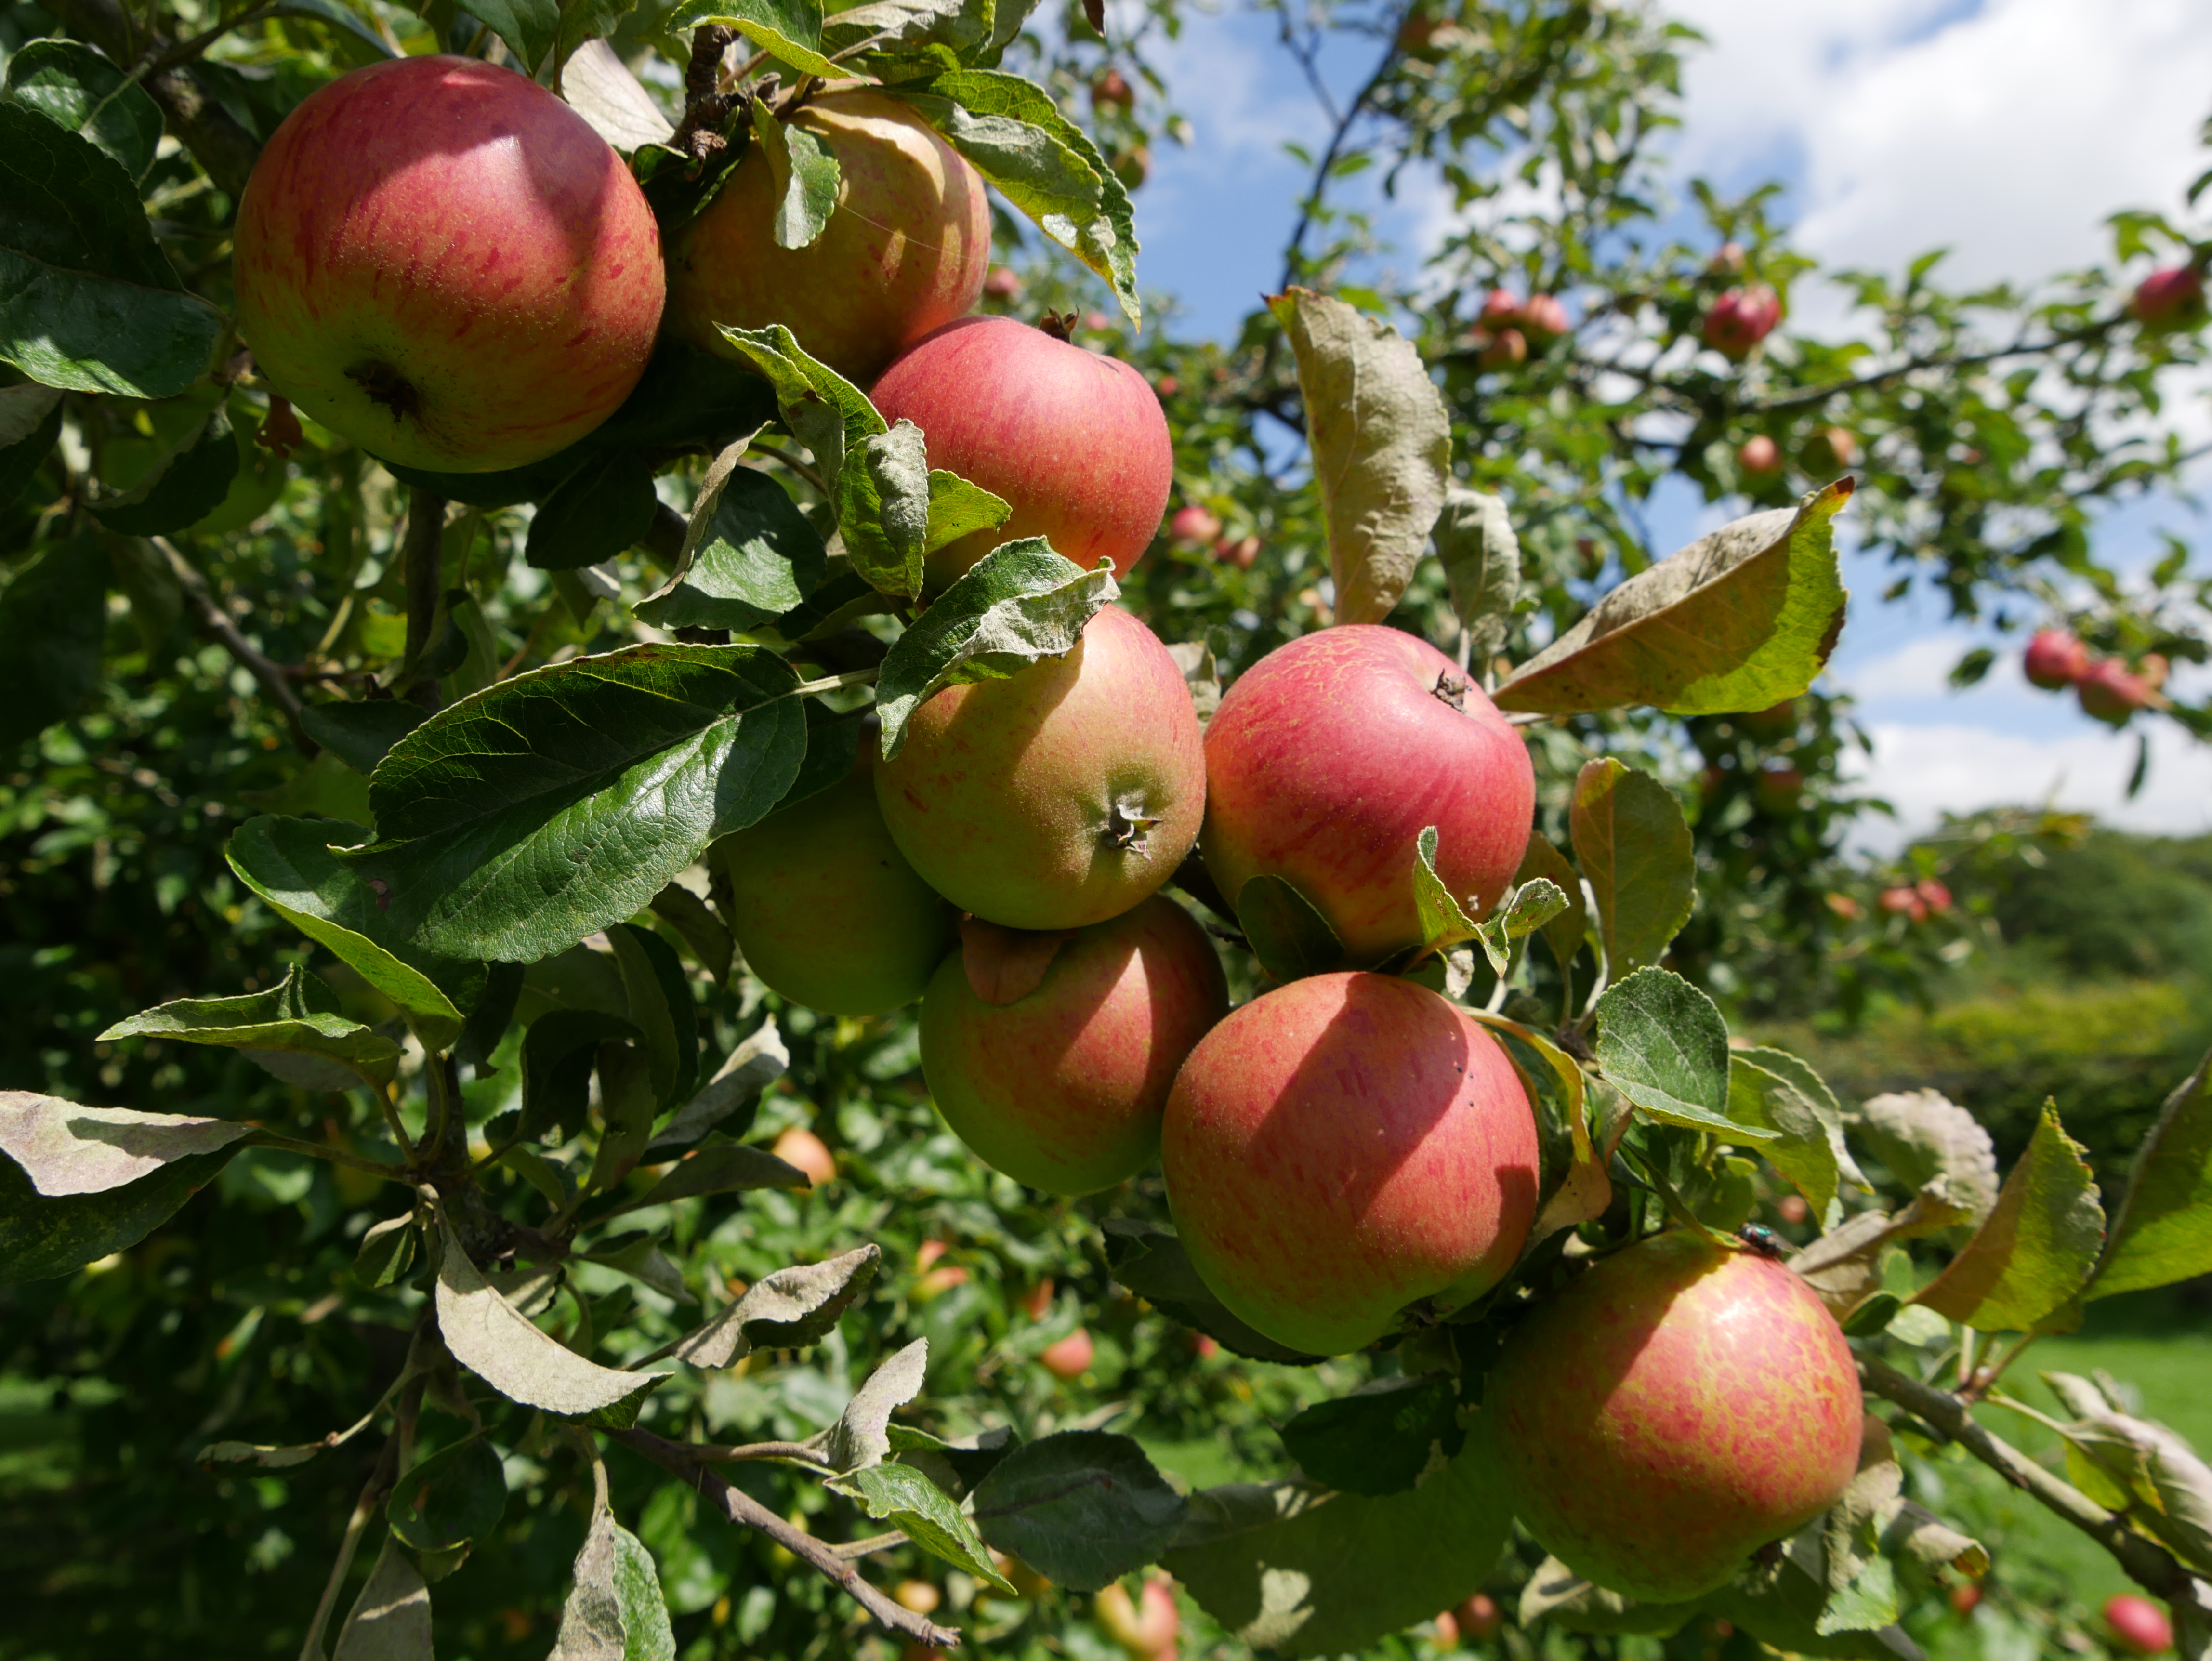 Don’t worry about the variety of apples. They all make good cider. Often a mix of cookers and eaters makes a great tipple. The joy of home production is the different flavours your various apples give you. If you don’t have your own fruit trees it’s always worth asking those with trees if you can have their apples. So often people are only too pleased that their apples are going to be put to good use, and if there’s a pint of cider in it for them, they’ll be thanking you for taking them.
Scratting your apples
Next you’ll need something to chop your apples up. This is the dullest part of the process so if you can mechanise it, or talk children into doing it, so much the better. The finer you can chop them, the more juice you will get out of them. In the old days they were crushed with a big stone wheel in a circular trench, often powered by a donkey. These days we use scratters, which are machines to break up your apples.
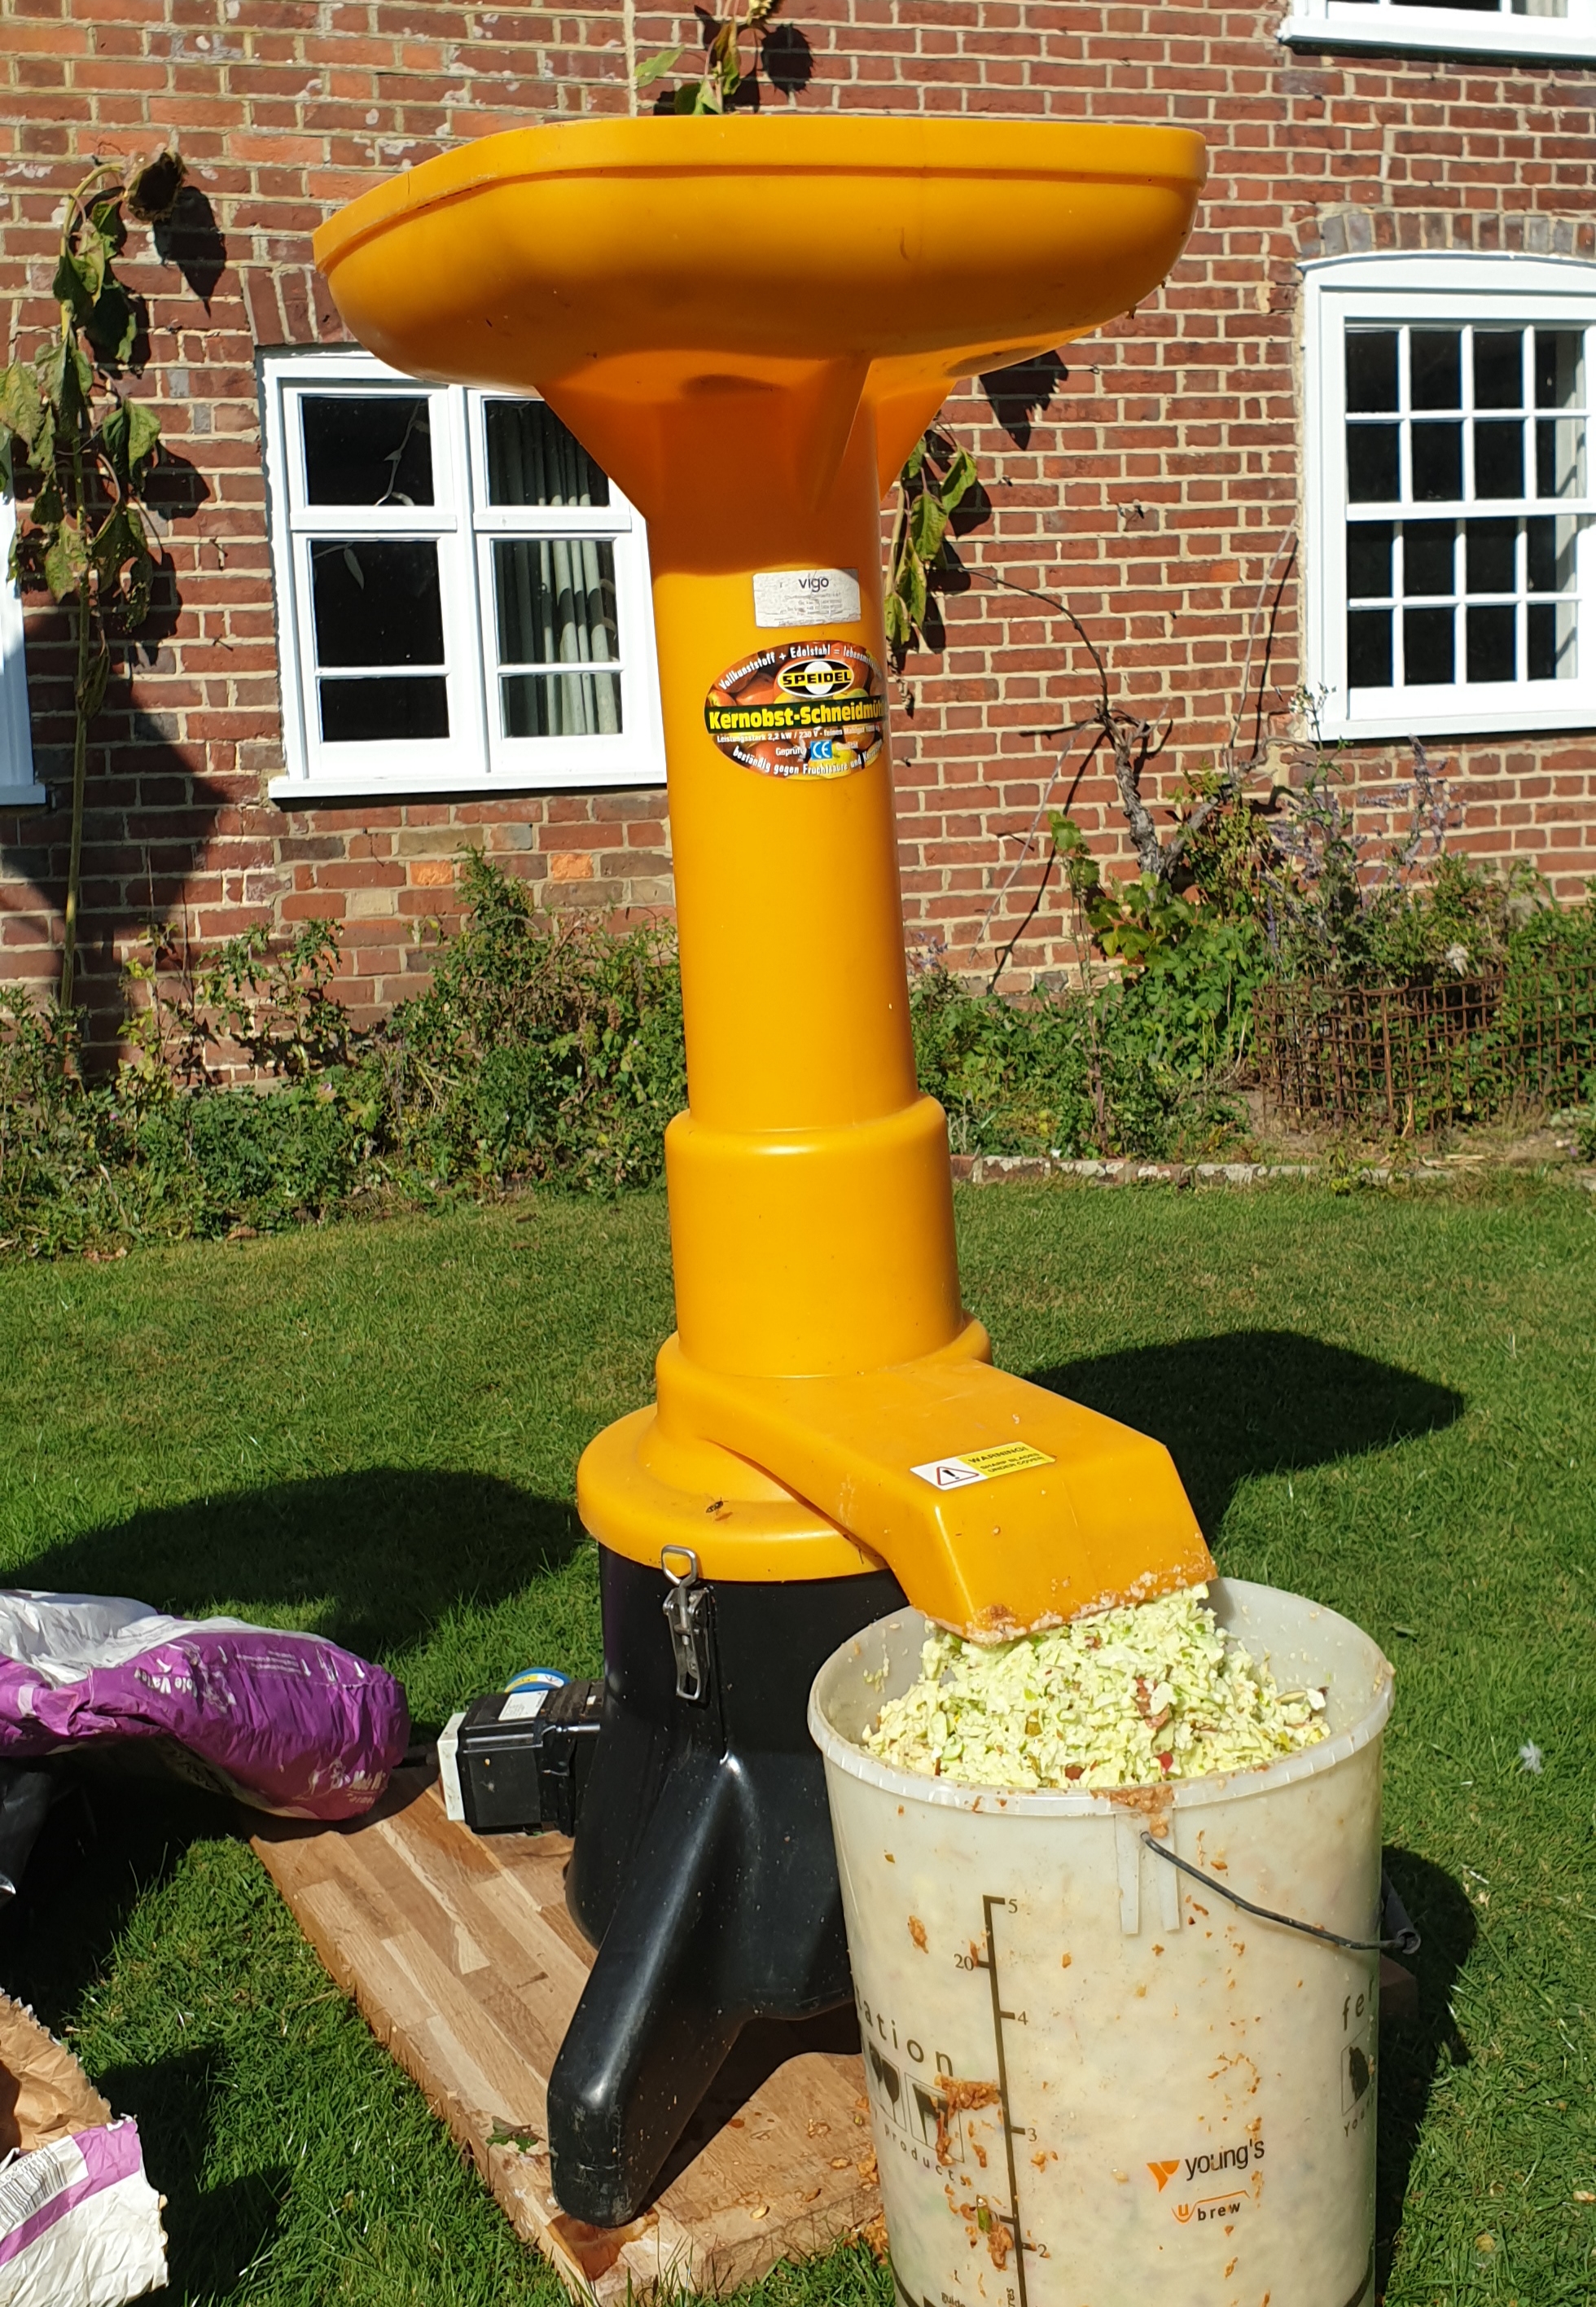
Electric Apple Scratter
I’ve got a couple of hand cranked scratters and an electric one that’s like a garden shredder. As fast as you pour the apples in the top, fine apple pulp is delivered at the bottom. It’s not so effortless with the hand cranked ones!
I’ve heard of people getting inventive at designing their own scratters; using garden shredders, making attachments for a drill that they push into a bucket of apples etc. Once scratted your apple pulp soon goes brown. Don’t worry about that, its fine.
Pressing your apples
There are a couple of kinds of press for us enthusiastic amateurs. One is basically a slatted bucket that you fill with apple pulp and the other is a beam press which involves making layers of apple pulp in cheese cloths. Then there’s usually a coarse screw that’s wound down onto a block that squeezes the juice from your apples.
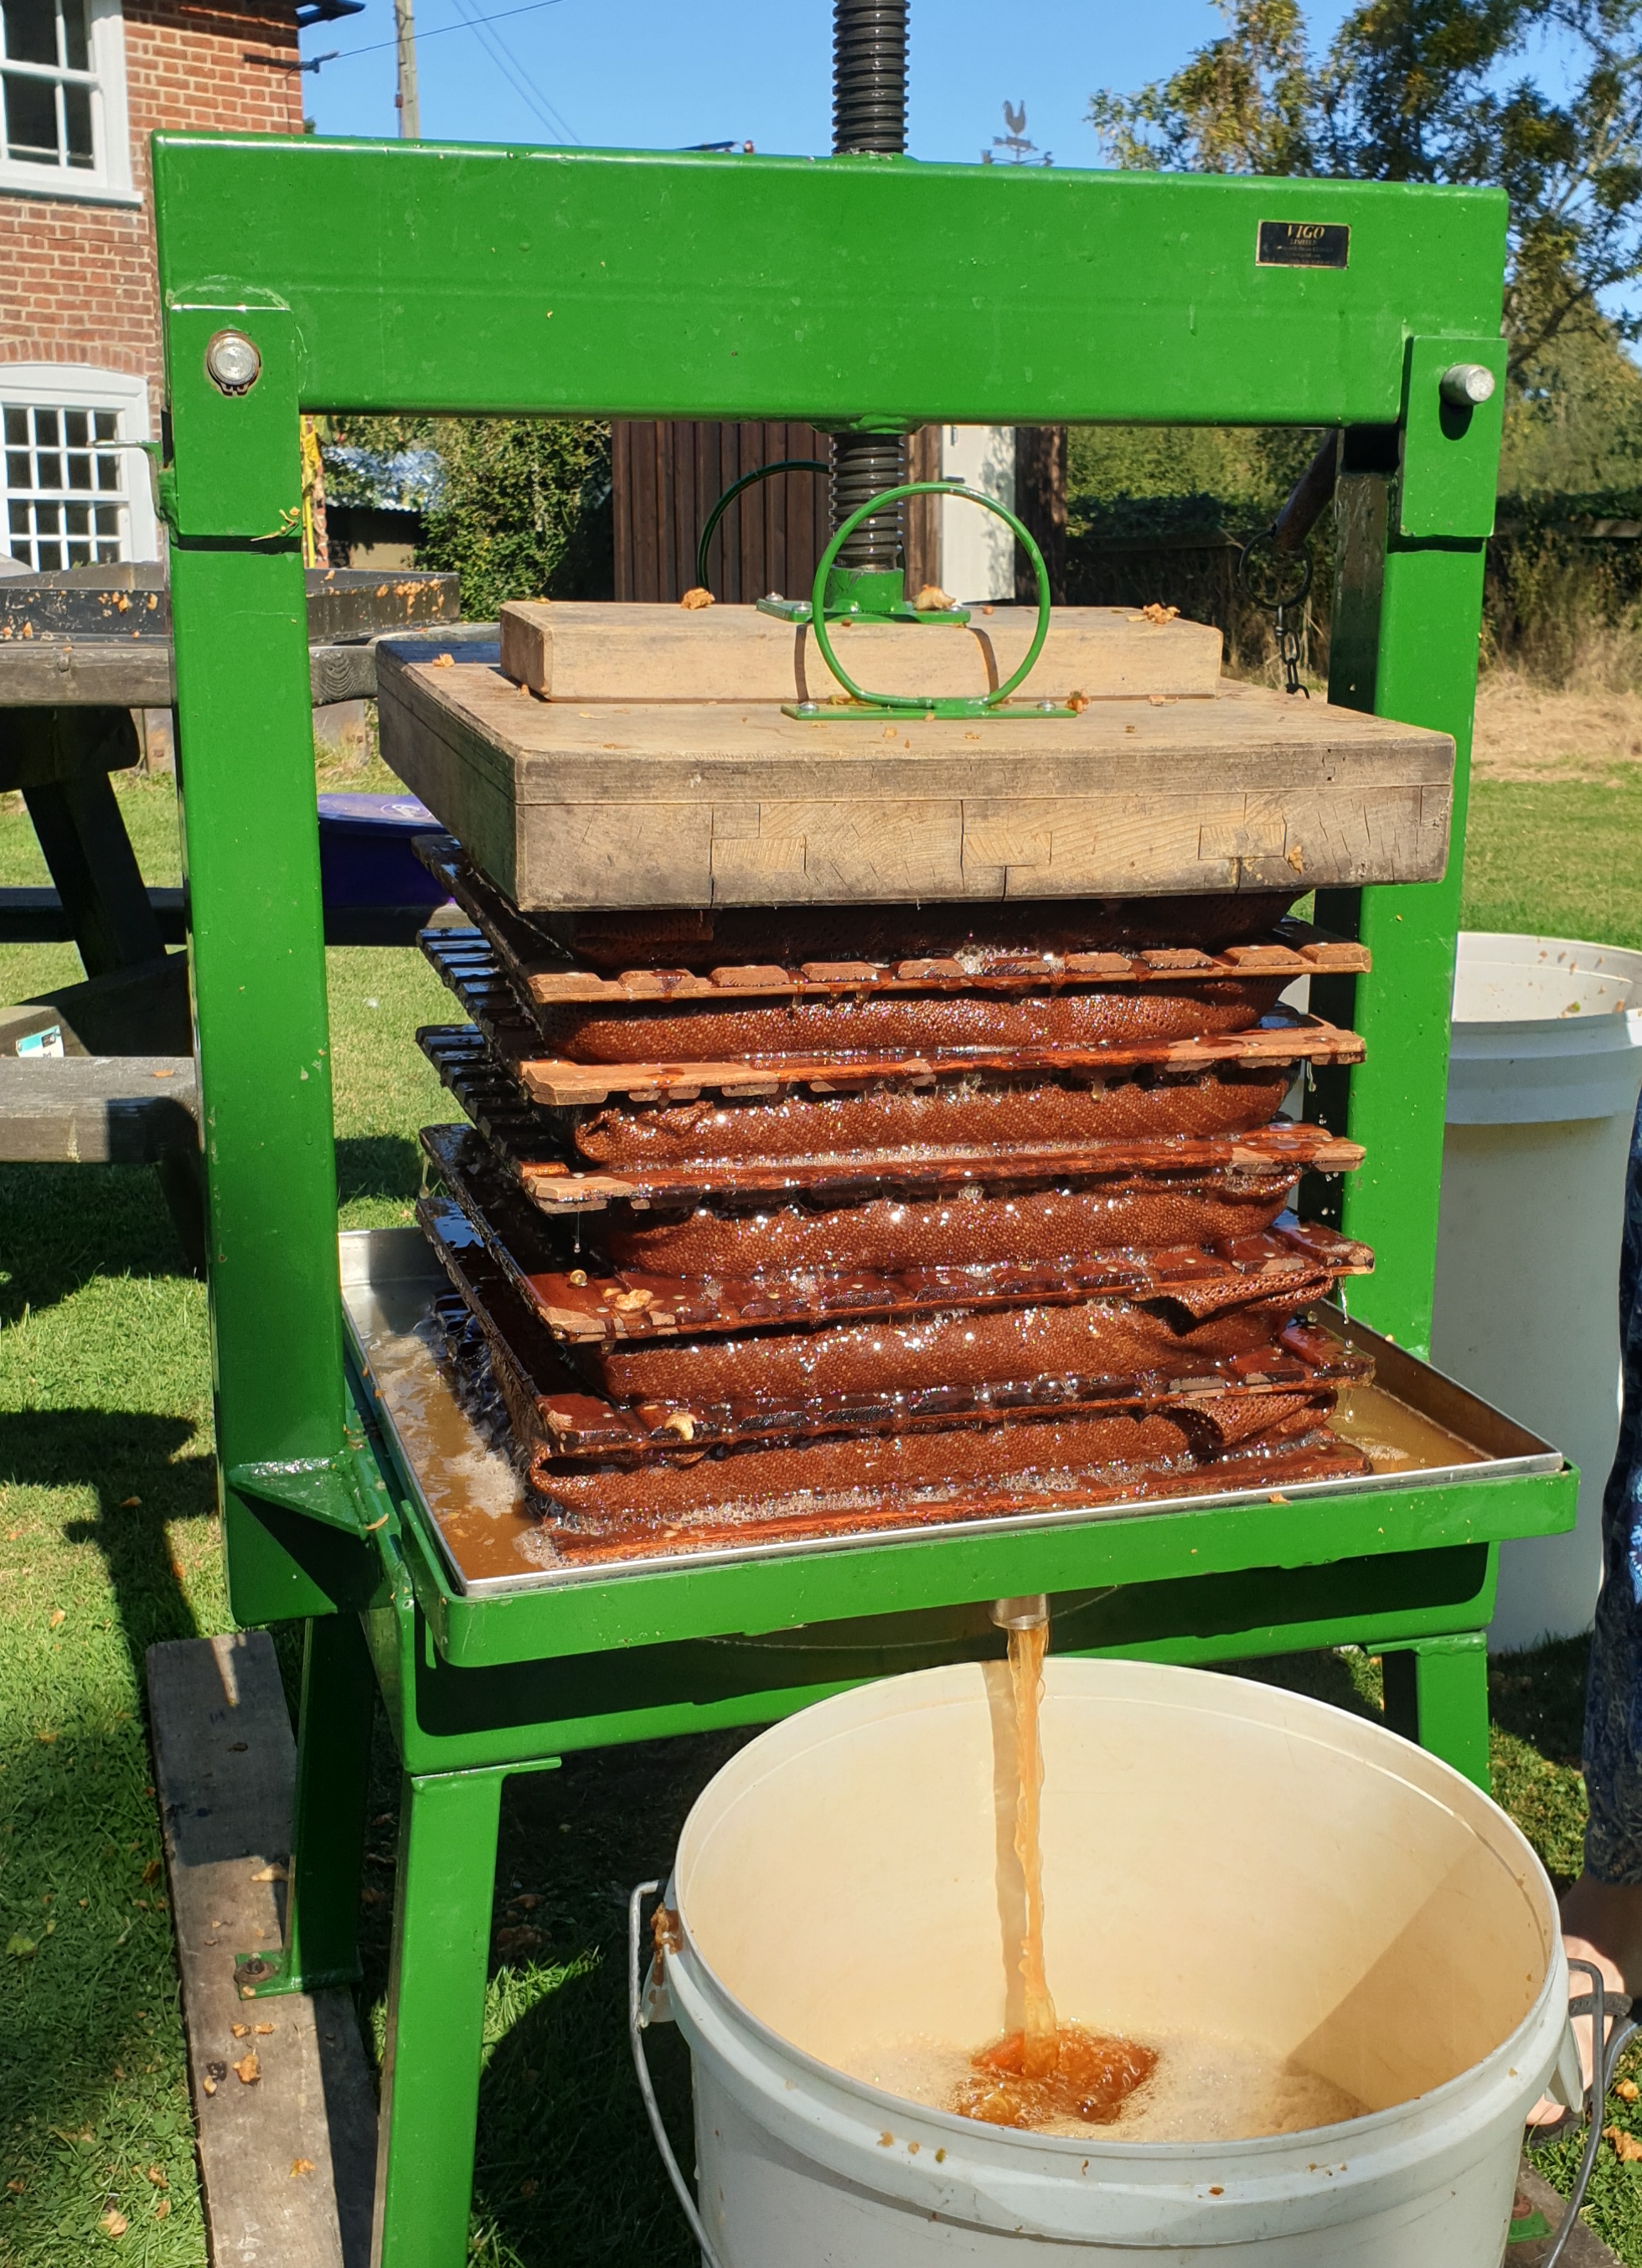
Beam Press
It’s a joyous moment when you see your apple juice flowing from those apples like liquid gold! I’d recommend you have a slurp of the fresh apple juice. You rarely taste fresh organic apple juice so go ahead and treat yourself!
Like the improvised scratters, I’ve heard about all sorts of home-made presses made out of bits of agricultural machinery and stone breakers etc. By all means have a go, but the press needs to deliver several tonnes of pressure so it needs to be robust!
Fermenting your apple juice into cider
In a nutshell, this is a food grade plastic or glass container that holds your apple juice. Yeast starts consuming the sugars and multiplies. Simply speaking, as yeast consumes the sugars it gives off two by-products. One is carbon dioxide, (the same gas we all breathe out), the other by-product is alcohol. It’s important to keep air out of your apple juice as its fermenting, which is why we use an air-lock. An air lock lets the carbon dioxide out but doesn’t let air in. The bubble air locks or the Speidel style piston are the most common.
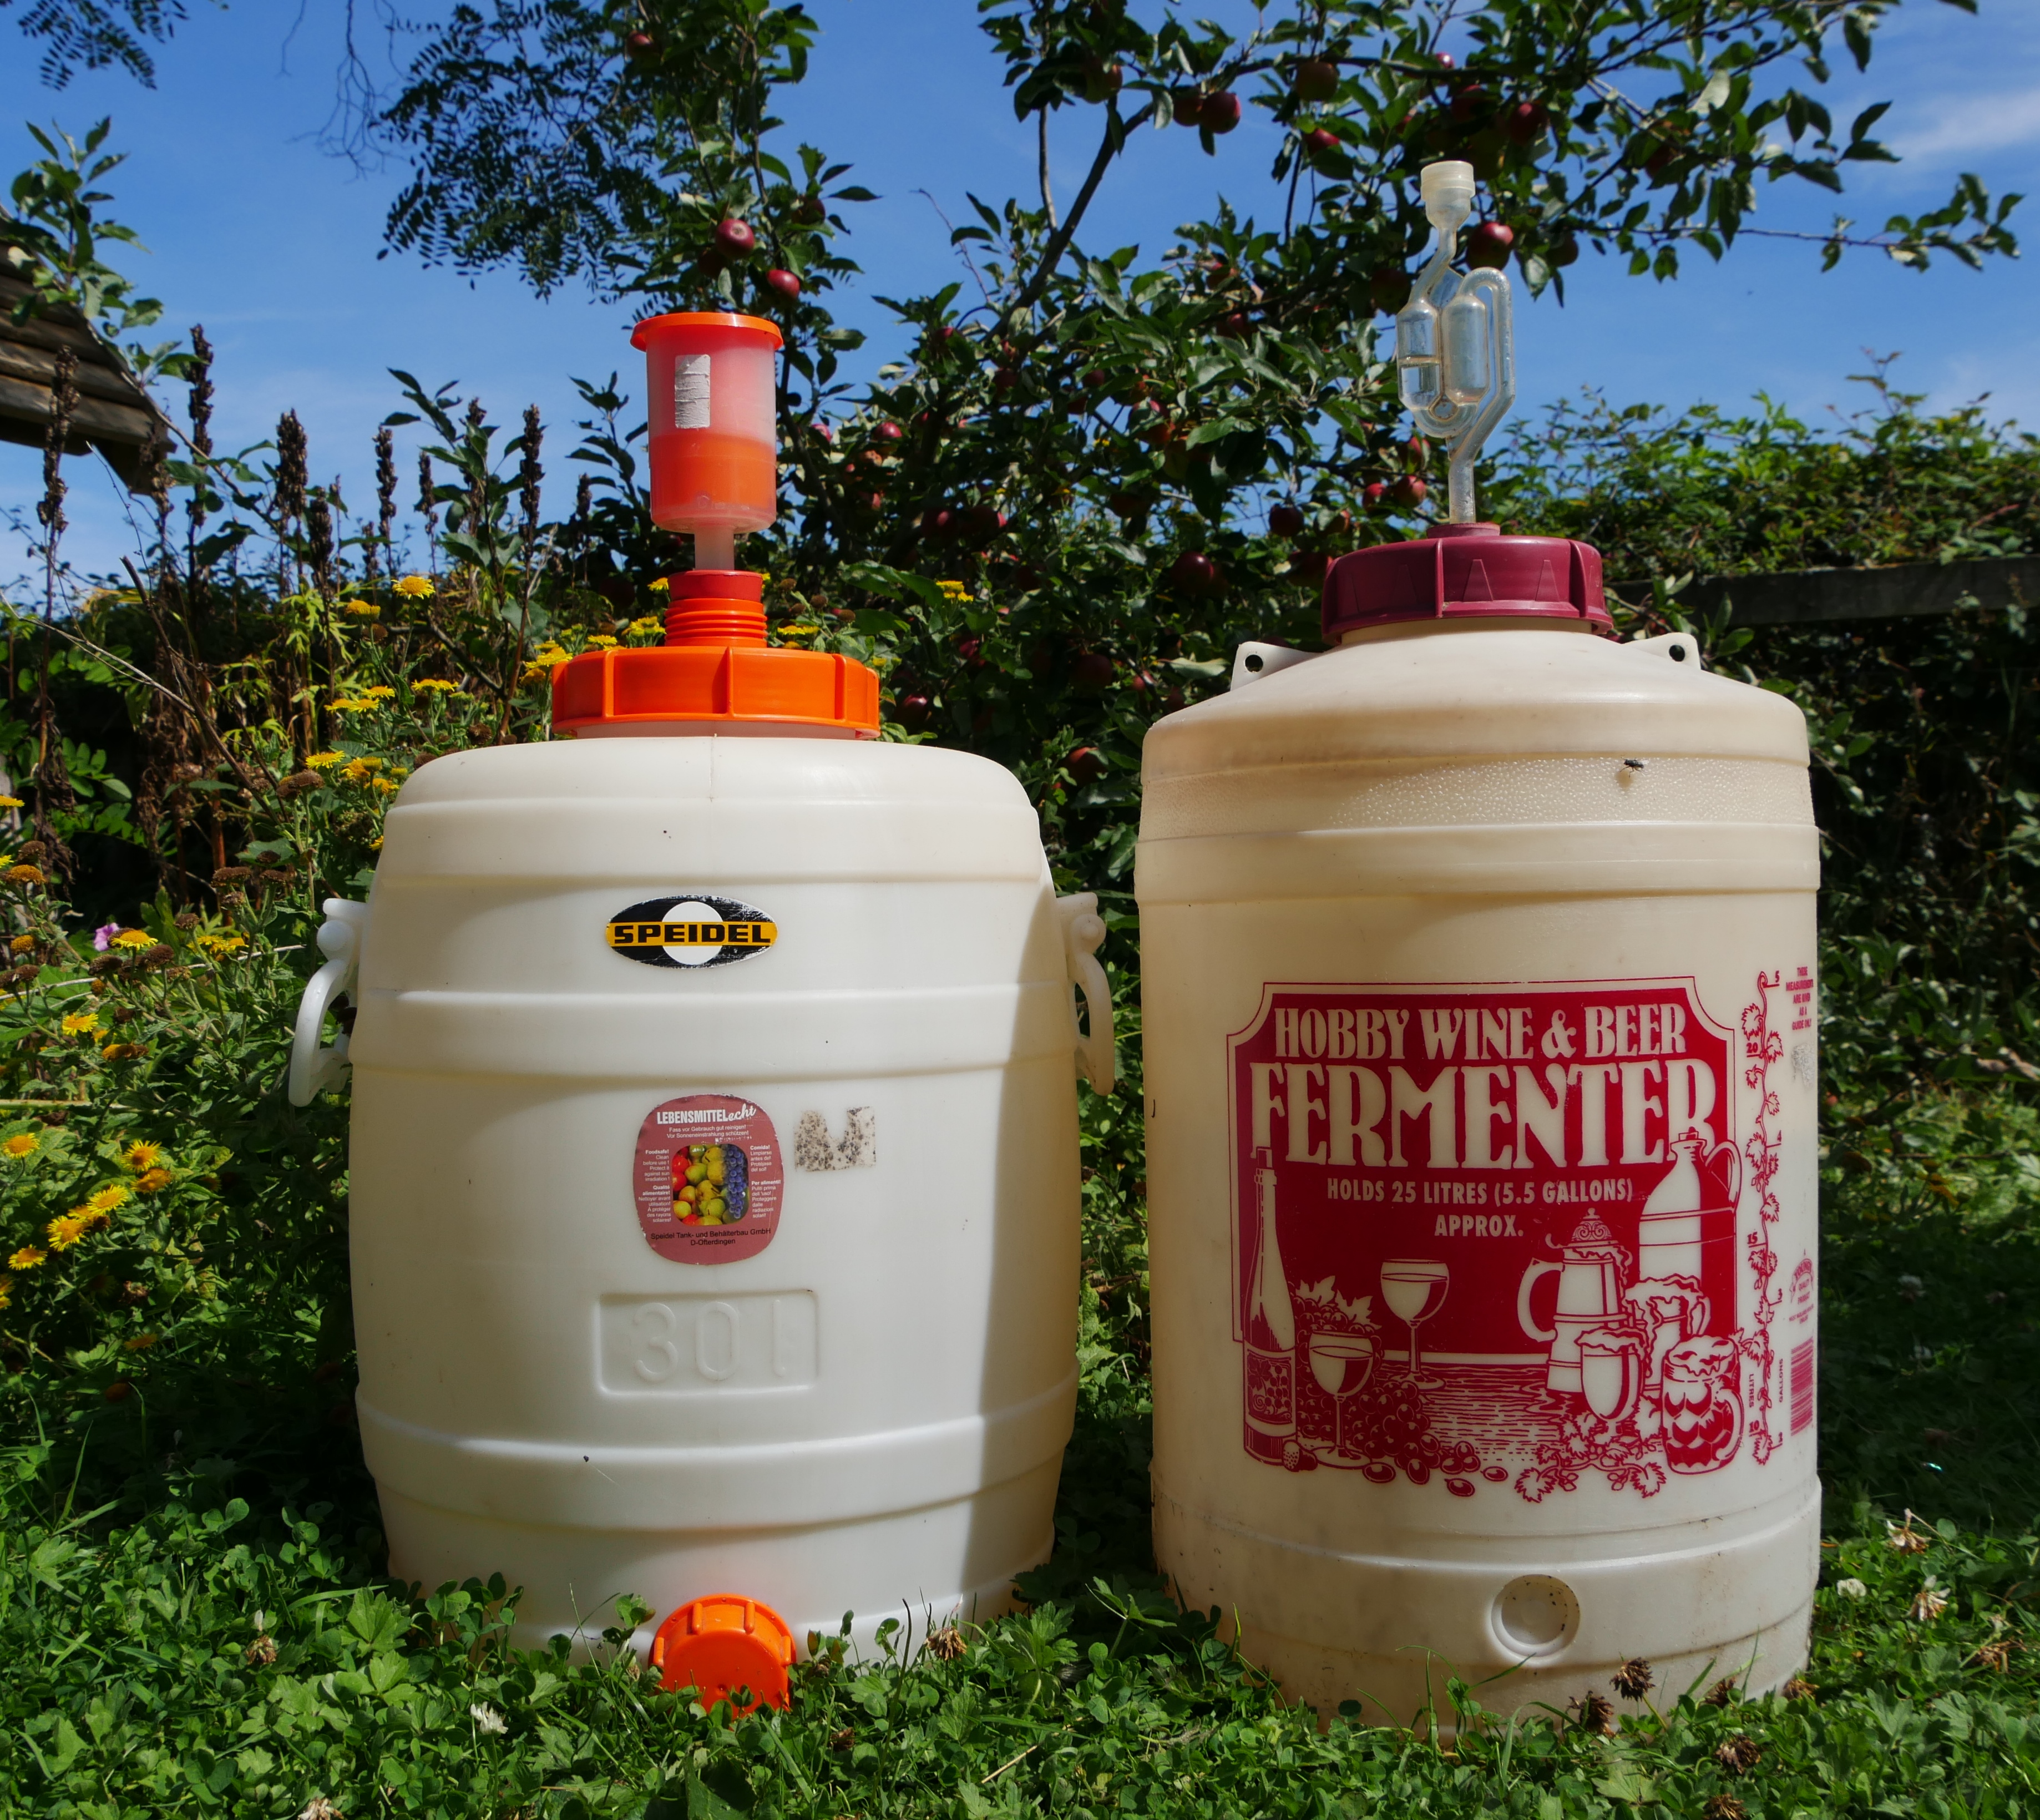 Before pouring your apple juice into your fermenter its worth making sure it’s clean and well rinsed out. Bacteria like apple juice just as much as yeast does. This could be disastrous!
In my opinion there’s a lot of rubbish talked about getting the right yeast for your cider. People talk about killing the wild yeast by adding crushed up campden tablets to their apple juice, and then pitching in their special cider yeast. I would very strongly advise you not to do this. I’ve been making cider for years and never used campden tablets. I’ve had friends use the campden tablets and they’ve had problems with the fermentation and had an after taste in their cider. The joy of home-made cider is that it can be organic and chemical free. I steer clear of these sulphates and enjoy a natural product.
All I do is pour my apple juice into my clean fermenter and screw on the air-lock. There’s usually enough natural yeast around to get your fermentation going. If you want to be sure you’ve yeast in you apple juice, drop in some cider yeast, or even plain old baker’s yeast will work just as well. After a day or so, you’ll see your air-lock bubbling and you’ll know your yeast is making your cider!
Patience
Imagine your yeast as busy little fishes swimming about consuming the sugars from your apple juice and excreting alcohol and burping carbon dioxide. Whilst there is natural sugar in the apple juice their swimming about keeps the liquid cloudy. Once they’ve consumed most of the the sugar they sink to the bottom and the liquid clears. The rate of fermentation depends on the temperature. It’ll ferment much faster if is 30ish degrees centigrade and much slower if it’s cold. Allow at least a couple of months or so for your yeast to do its business.
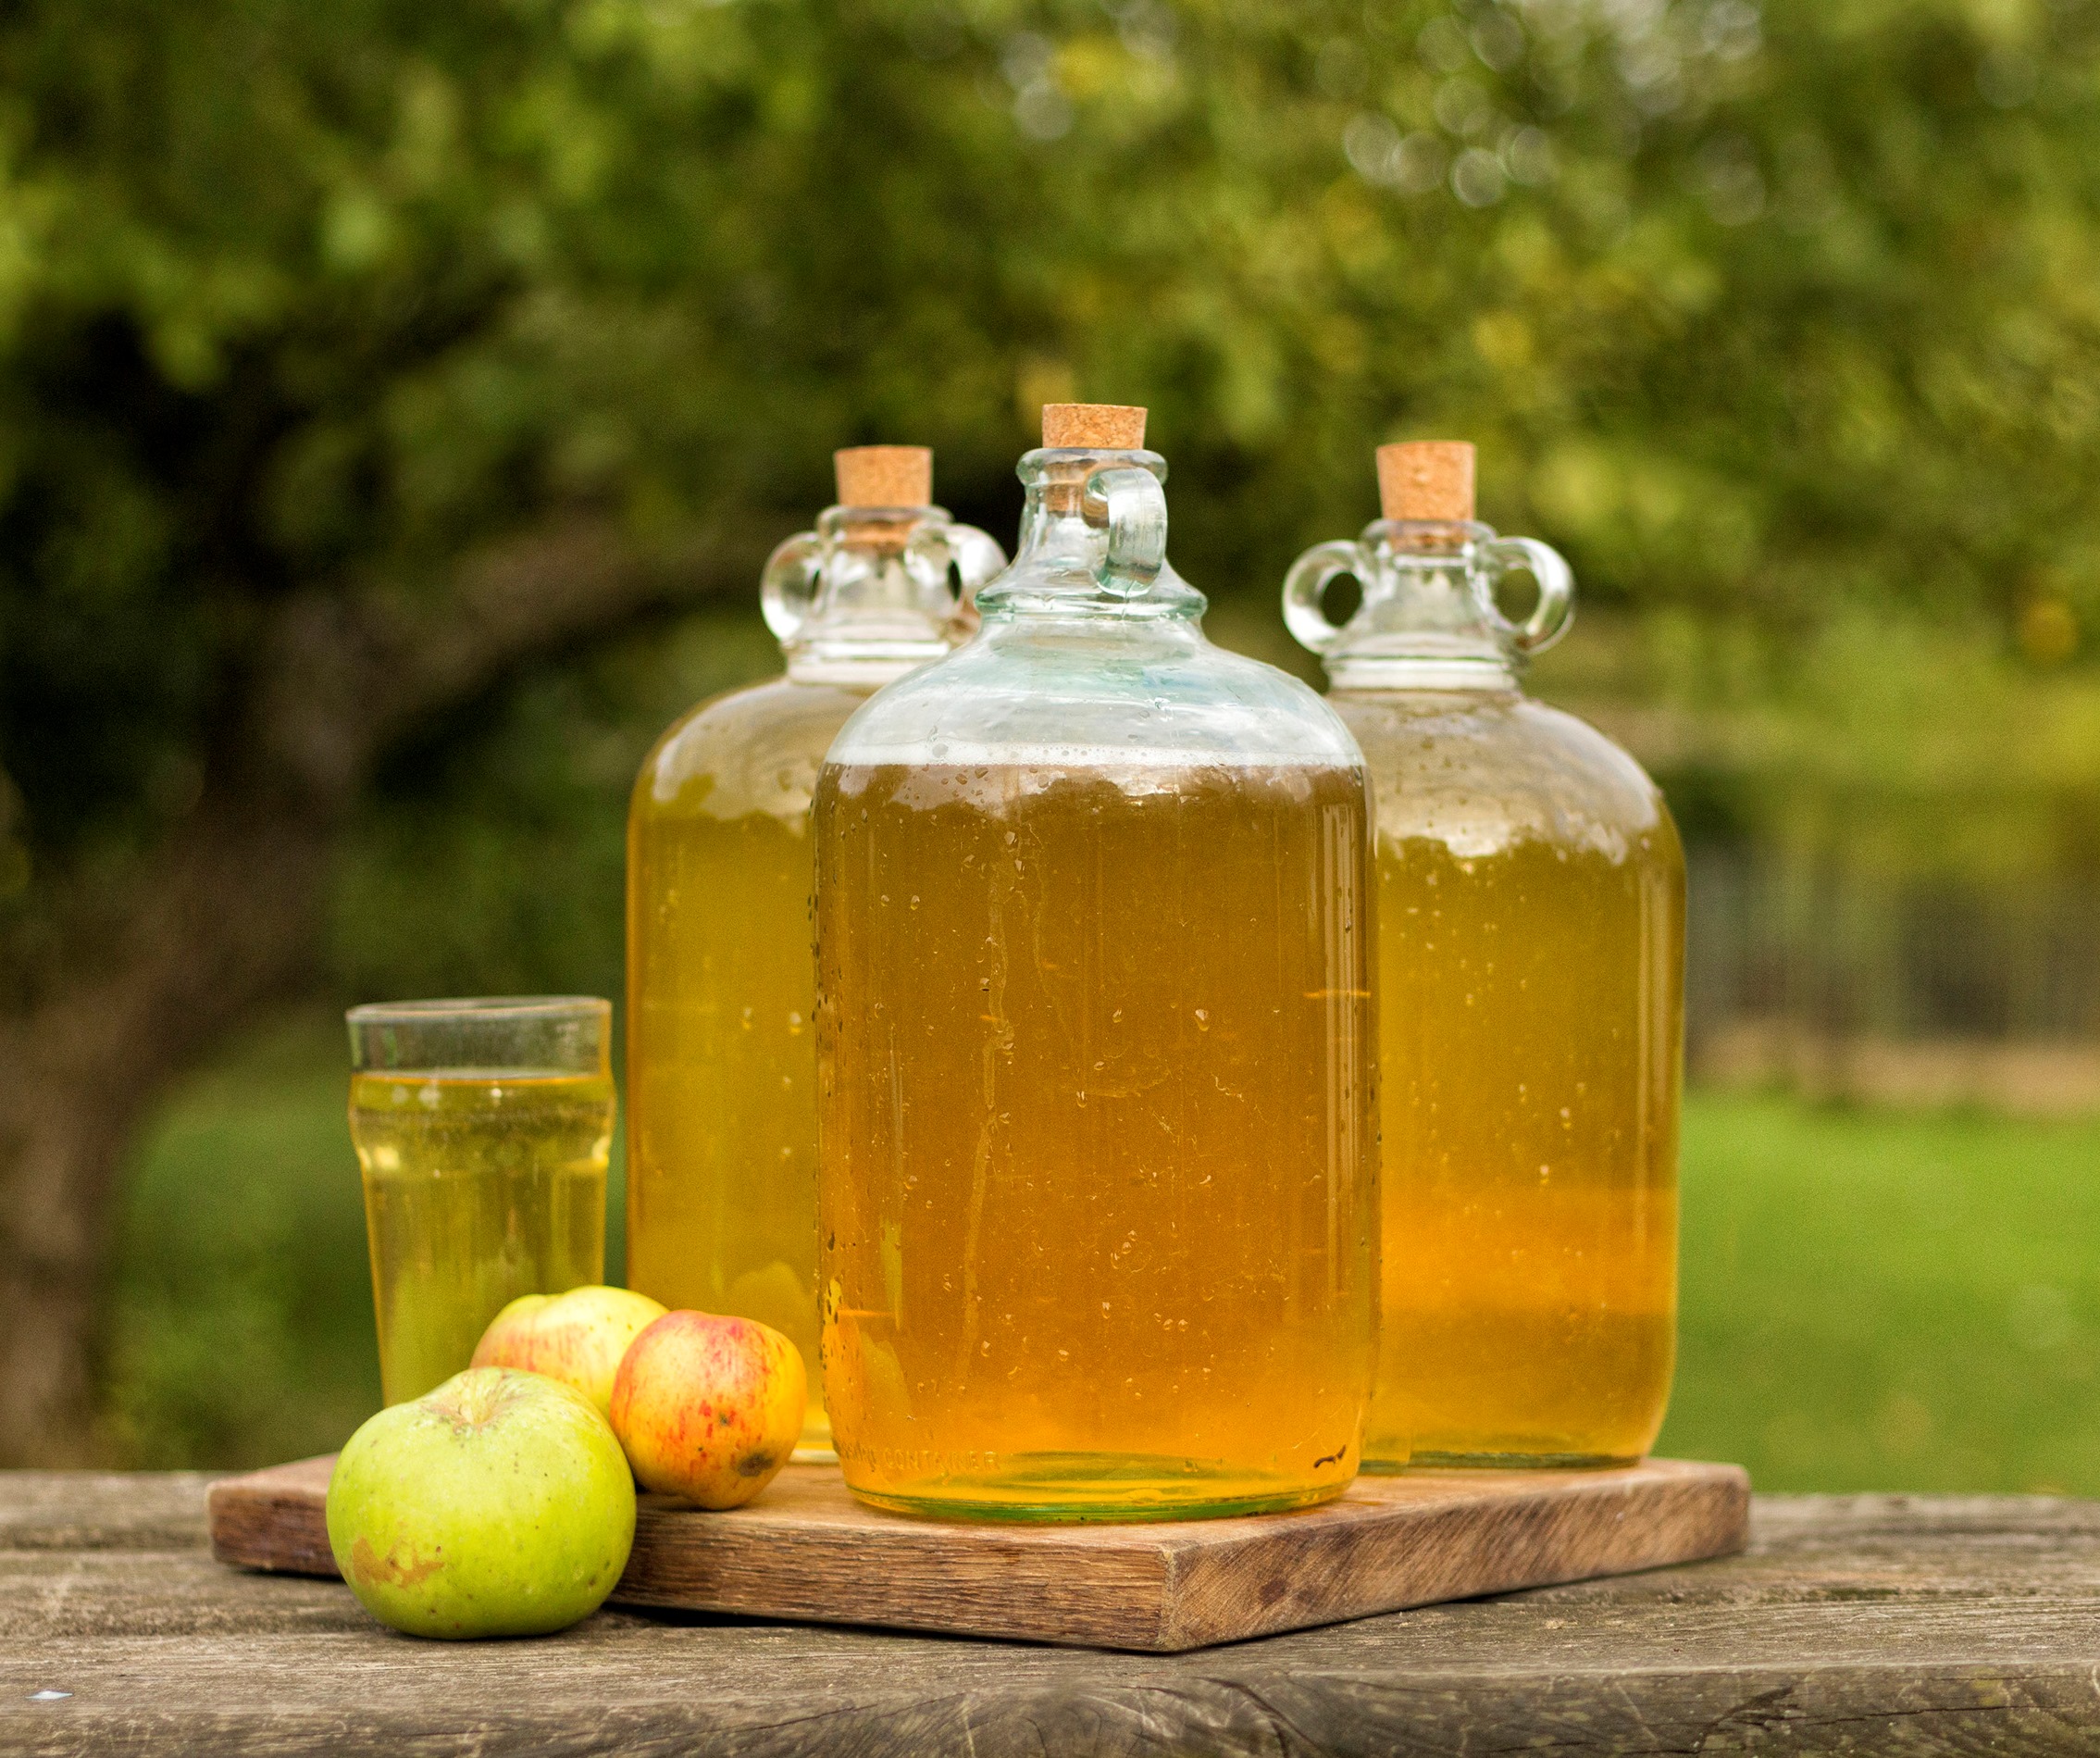 There are all sorts of products that will clear your cloudy cider by various means. Some are more palatable than others, but my advice is patience. Why pollute your lovely organic cider with additives? Give it time and it will clear on its own. The cold can help clear it towards the end of fermentation, so a garden shed during the winter is perfect. Remember to keep water in the air-lock or you’ll have gallons of cider vinegar! As long as you keep the air-lock working it’ll keep in the fermenter for ages. I’ve had cider that’s been in my fermenters for well over a year, just stored in my shed and it’s absolutely fine.
Once your cider has cleared and the spent yeast, (known as must), has sunk to the bottom, syphon the clear cider from the top with a short length of hose. It is often incredibly dry if the yeast has consumed all the sugar. I sweeten mine to taste and put it straight in the fridge. The sugar could get your yeast going again, but if you put it in the fridge, the yeast will be fairly inactive.
The other thing that the books say, (that I’d advise you against), is killing your yeast with campden after fermentation. The main reason this is advocated is to help it clear and to stop any secondary fermentation. This is only a problem if you’ve bottled your live cider and the secondary fermentation produces sufficient carbon dioxide to blow the cork from your bottle – as in champagne. Some people prefer fizzy cider and this is how you make it. A little sugar in a 2l coke bottle with your live cider will make sparkling cider within a few days. It might make explosive cider within a few weeks so open it outside!
We can help
I can bring my scratters, press and food grade plastic buckets to your party and help you and your friends make cider. It’s a great social event if you can get 6 to a dozen of so friends together. I’d also be happy to host at my farmhouse if that was easier.
BOTTOMS UP!!!
Whatever you need, feel free to drop us a line and we’ll get back to you. Drop us a line at info@conservationandaccess.co.uk

Please leave a Reply